The theory is using the ink laid down by a laser or ink jet printer, glue is spread on the image and the printed page is put face down on a surface, paper,wood, fabric, glass,. Left to firmly dry, the printed paper is then moistened and with gentle rubbing the layers of paper are removed leaving the reverse of the printed image.
Social media postings by crafters and artists appear to make the process easy.
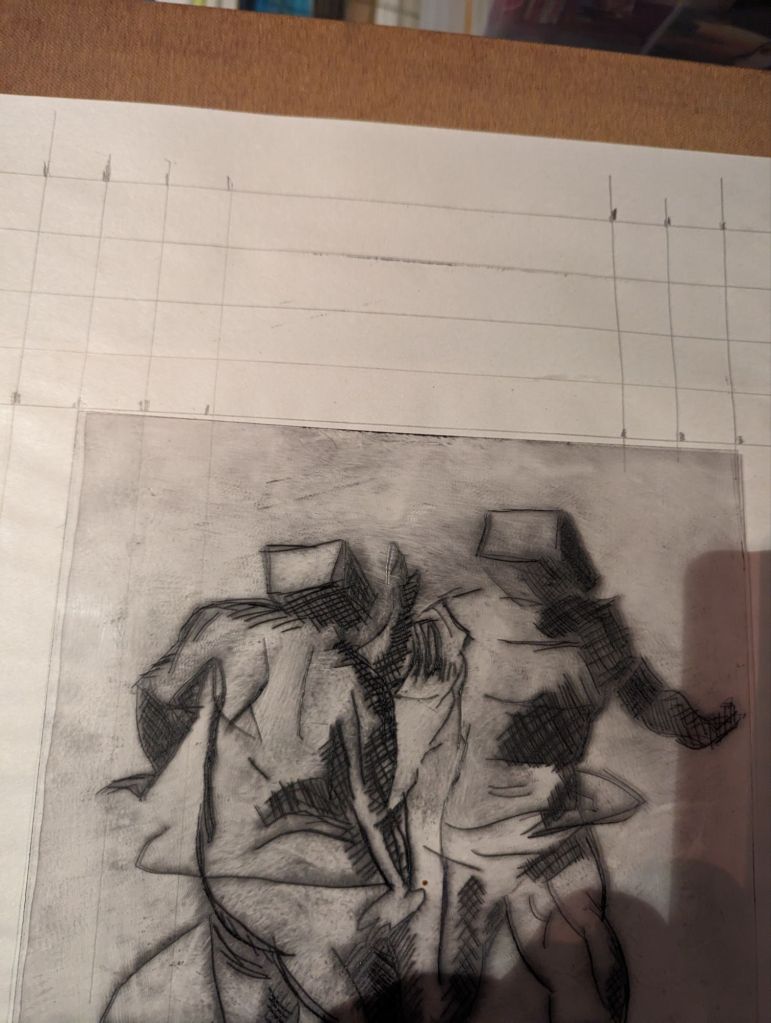
I used modge podge, a proprietary glue used specifically for image transfer. I spread it in a colour laser print on good quality printing paper.
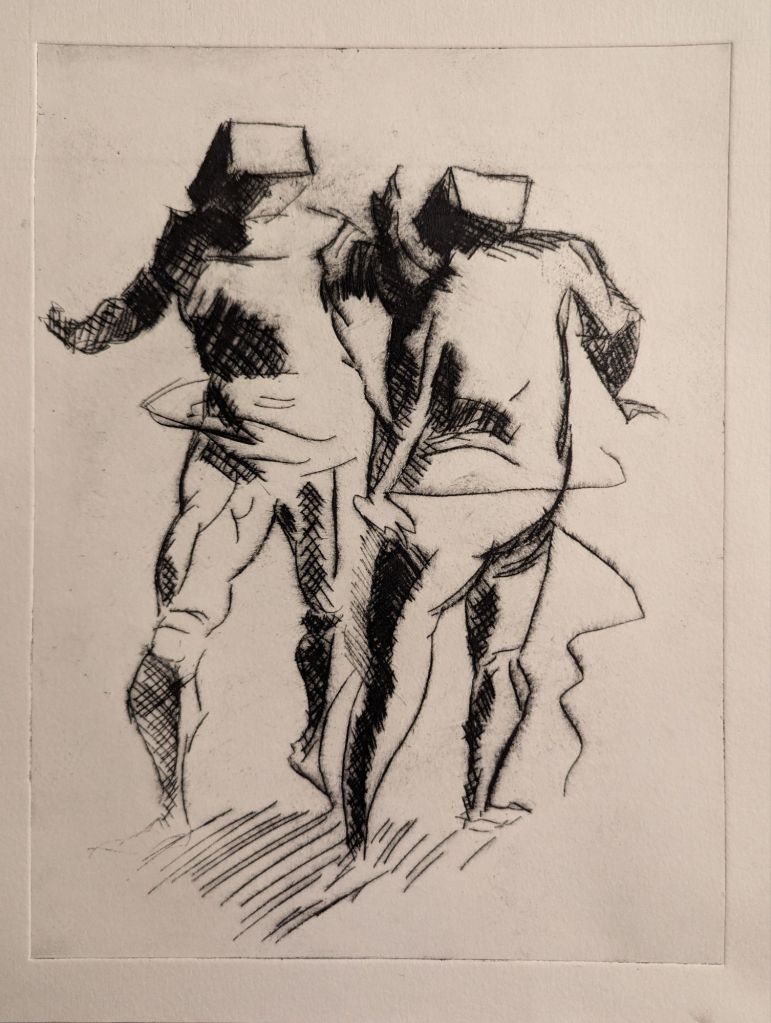
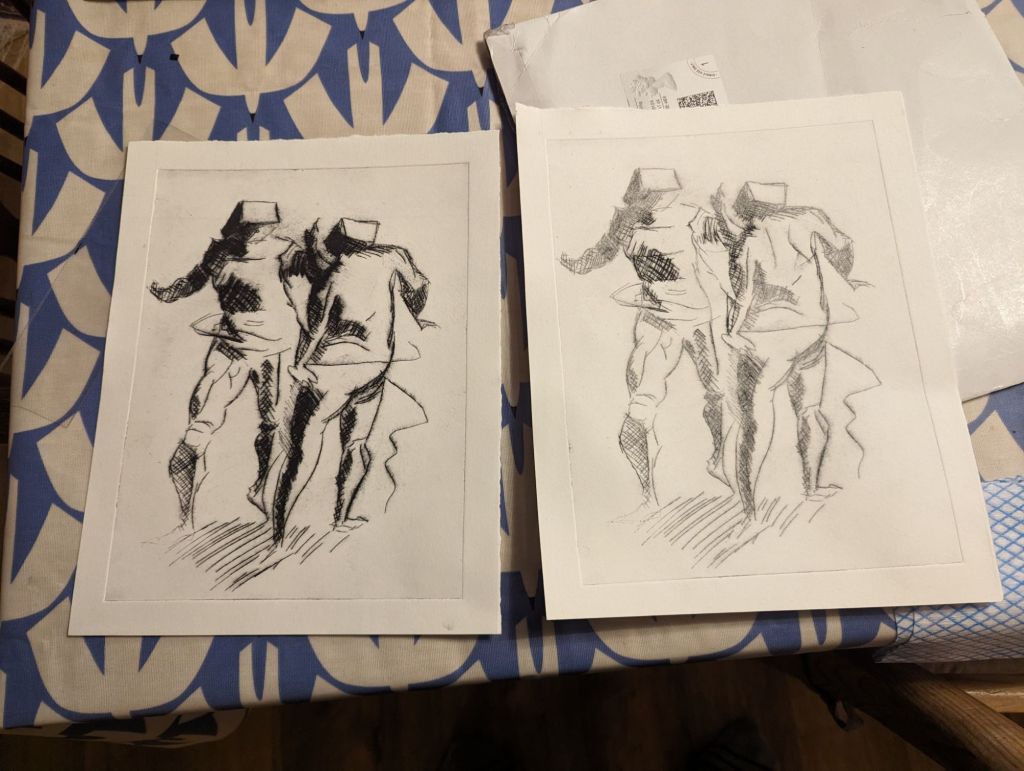
Left overnight the dry I soaked the paper with a flannel and then sprayed water until the paper was transparent , rubbing in a circular movement the paper easily came off in the first two layers, a final coating was difficult to remove without damaging the ink. I was left with an inked image with a faint bloom, the ink had come off in places, particularly where the ground paper had been cut.
I will try again with a high contrast black and white image where I may be more successful.