
A short film with the soundtrack I made
Sculpture
‘atlas in gaza’ a 15 week journey of creation

October 7th 2023, following an unforgivable outrage against israeli citizens by militants from Gaza, the Israeli government with the full support of its population turned its wrathe onto the Gaza strip, a narrow enclave that was the home to 2.3 million Palestinians. Reminiscent of John Milton’s poem Samson Agonistes
Promise was that I
Should Israel from Philistian yoke deliver;
Ask for this great Deliverer now, and find him
Eyeless in Gaza at the Mill with slaves,
Himself in bonds under Philistian yoke;
when an enraged blinded Samson strikes out madly in Gaza. Now Israel attacked a civilan population to destroy its terrorist government. Thousands of children were injured and killed, the rest are traumatised.

I have lived and worked in the middle east since 1976, I spent my 18th birthday in Jerusalem and visited Gaza many times. I was so desperately upset, I copied and drew some of the press photographs until I became too sad. Paula Rego’s famous image War , from an earlier Middle Eastern conflict transfixed me

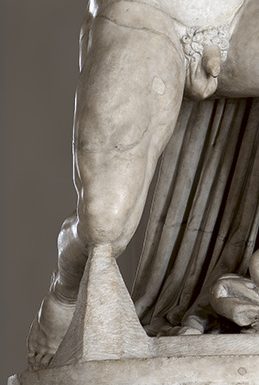
I had been thinking of a wounded god holding an injured world and looked at classical sculptures . I looked at the Farnese Atlas, a Roman 3rd century copy of a Greek original currently in a museum in Naples
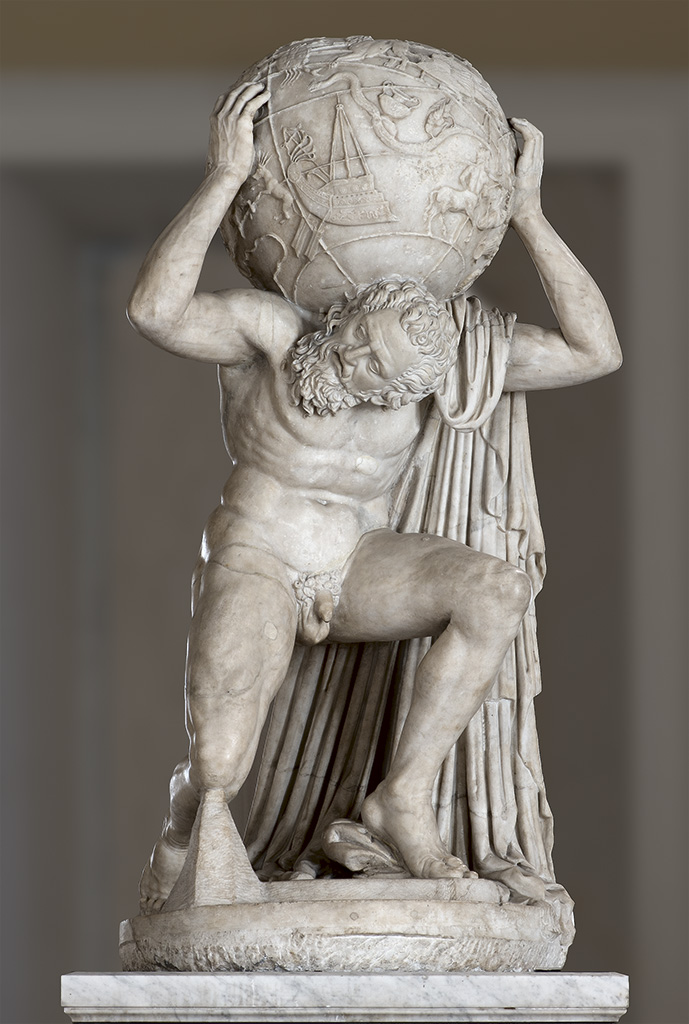
Atlas, a Titan, defeated in a war with the Gods was condemned to hold up the sky, and its constellations for eternity. He was turned to stone to ease his burden. In the Middle Ages the depiction of the constellations turned to the then new concept of the globe and now Atlas carries the world. Sometimes, with pride, sometimes as a burden

A silver rocco atlas, Reijks museum , Amsterdam
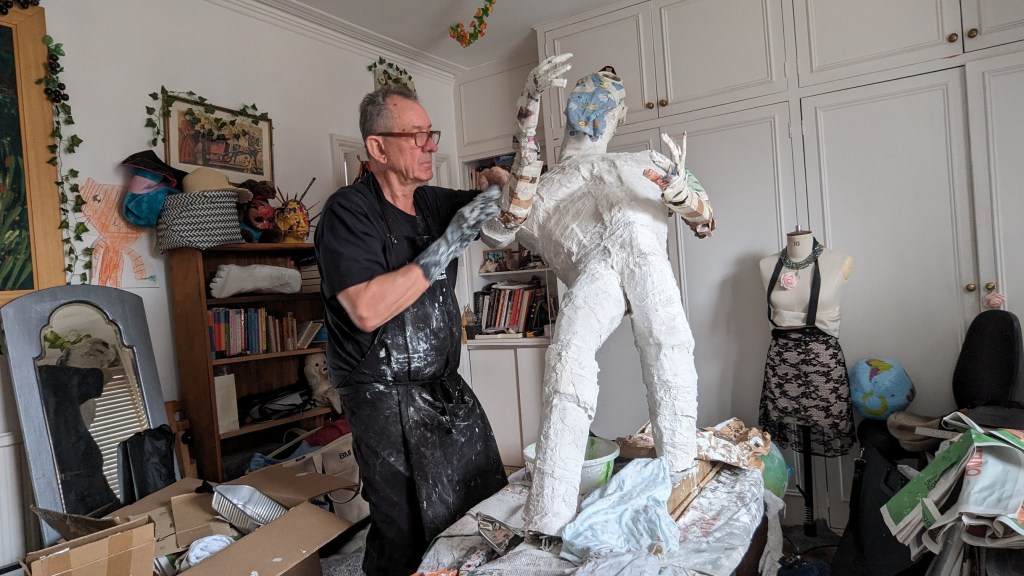
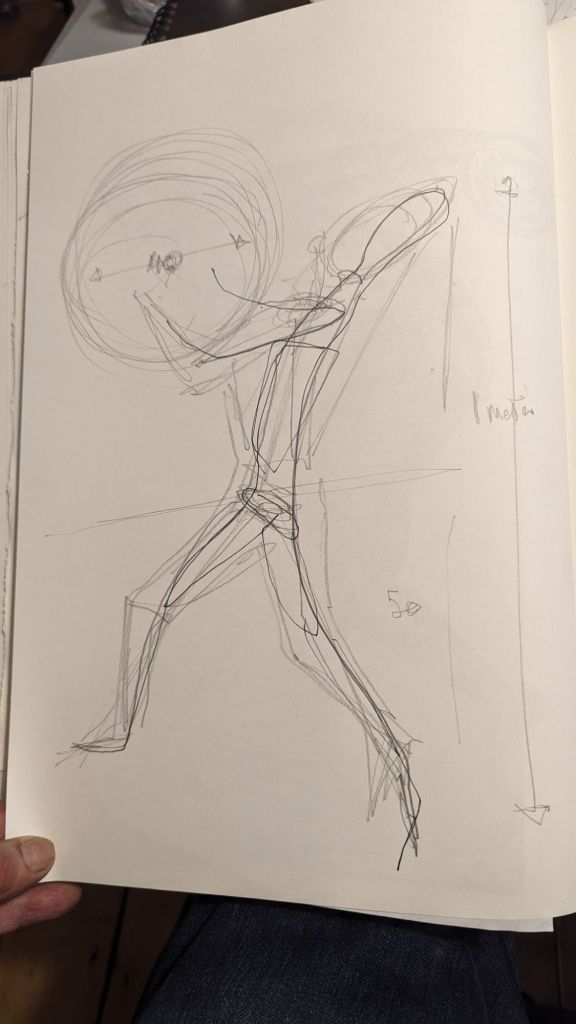
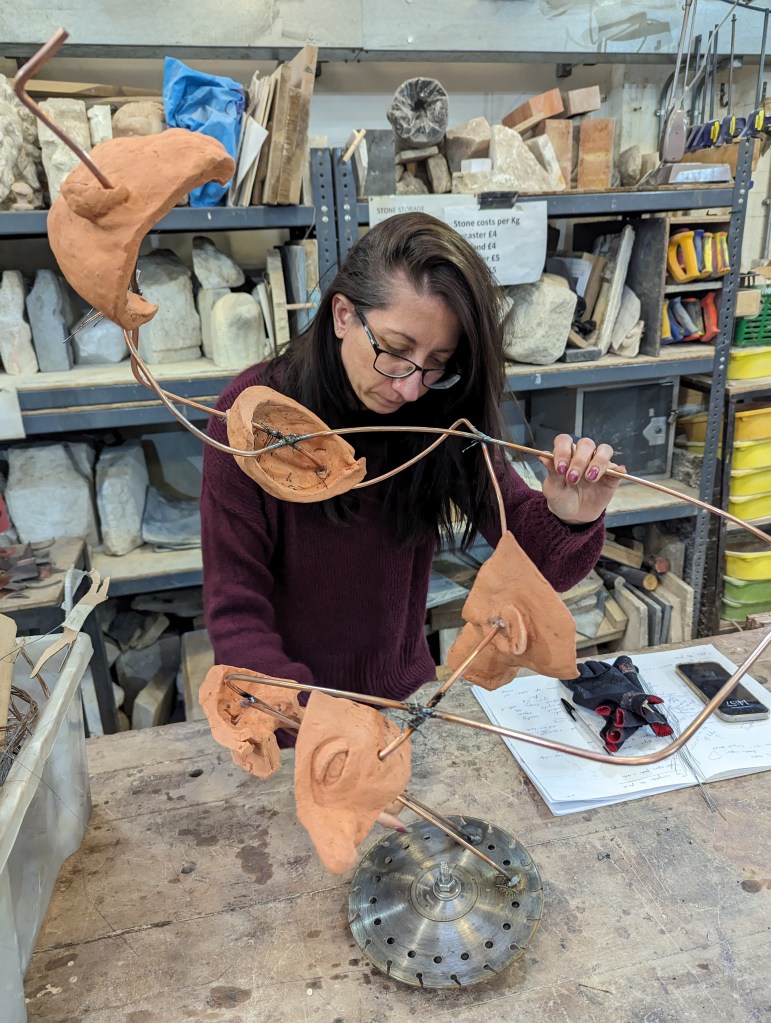
I asked a friend, Darren , a performer, to pose as Atlas, he is well built but quite sleight.
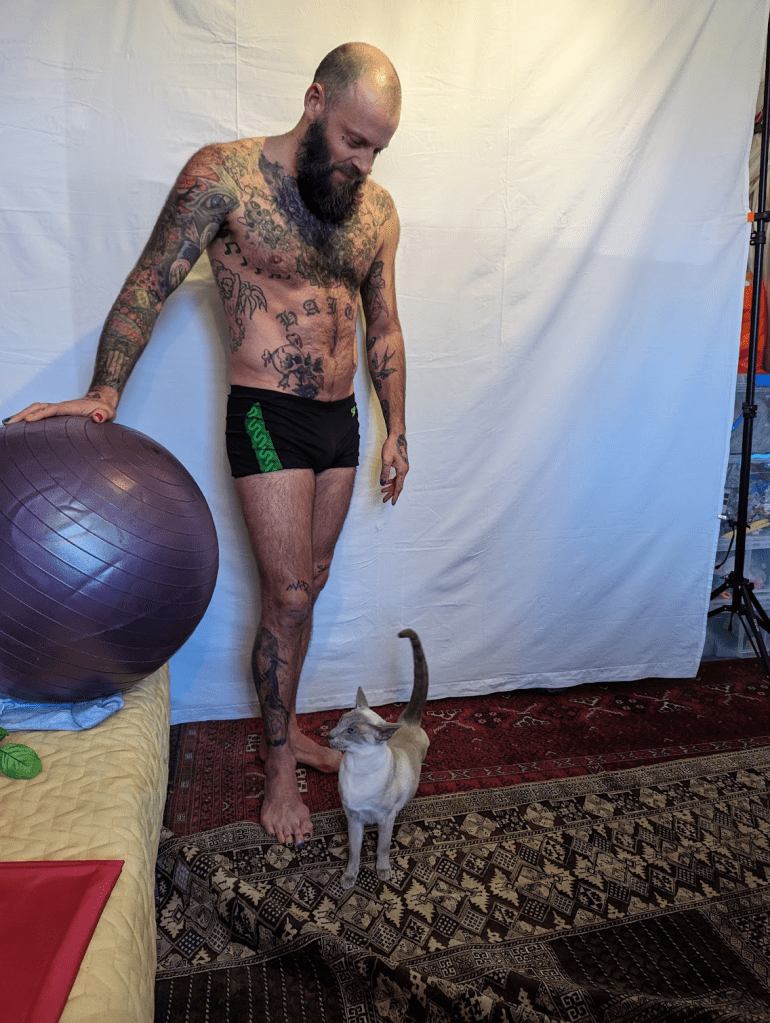
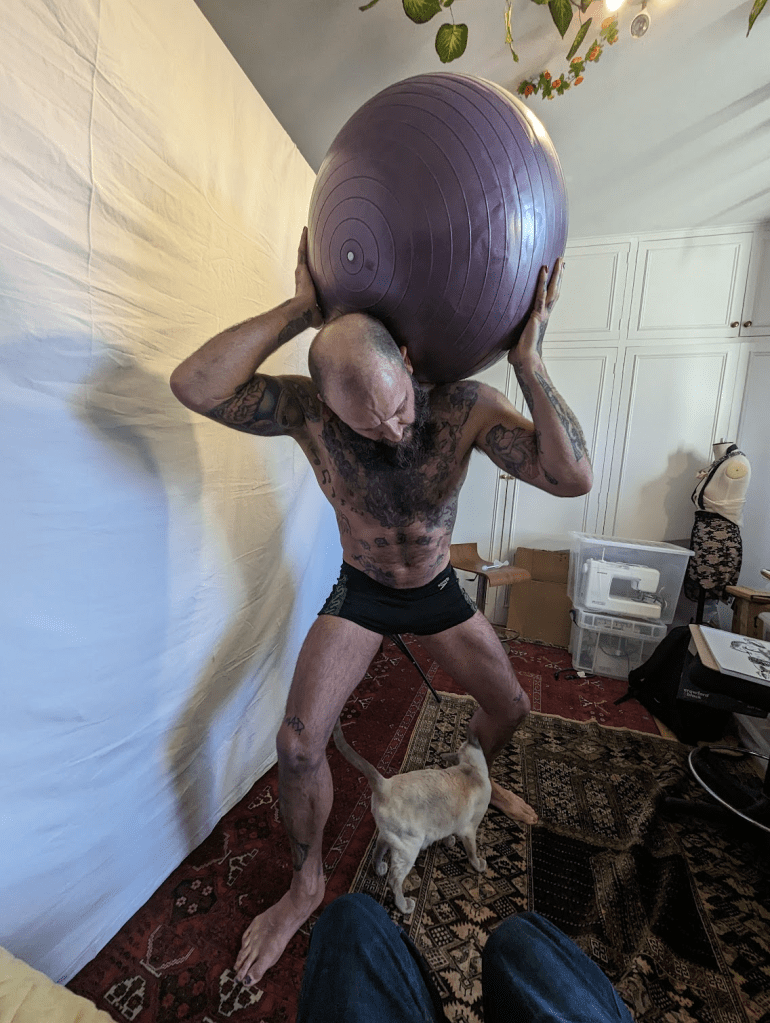
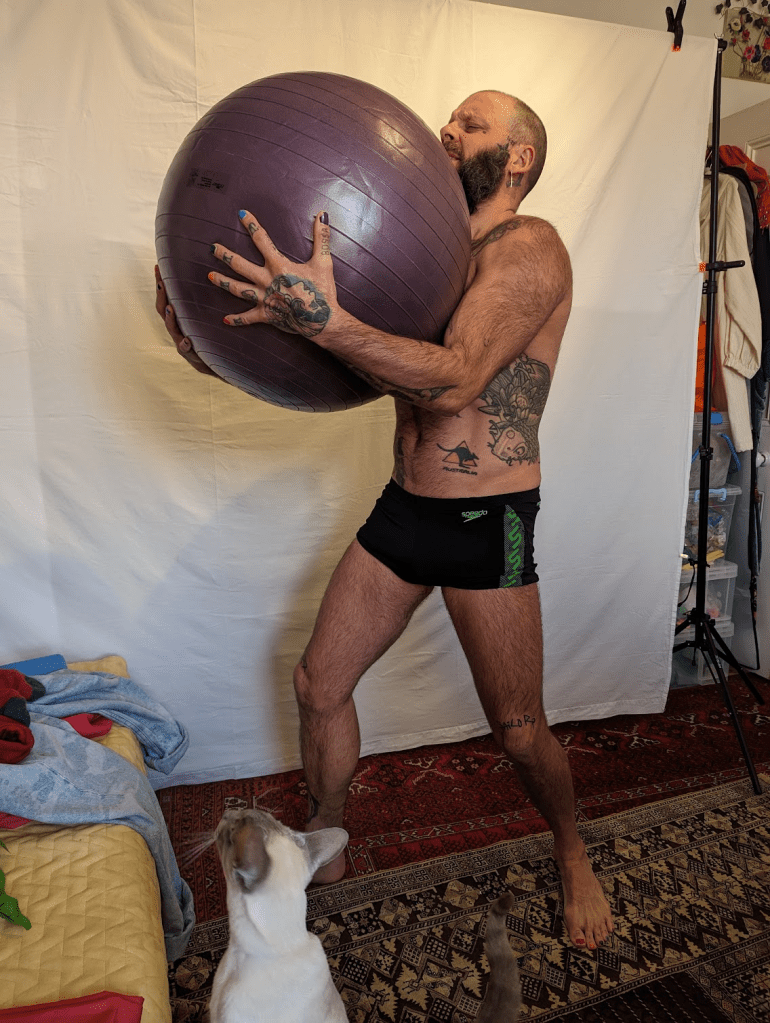
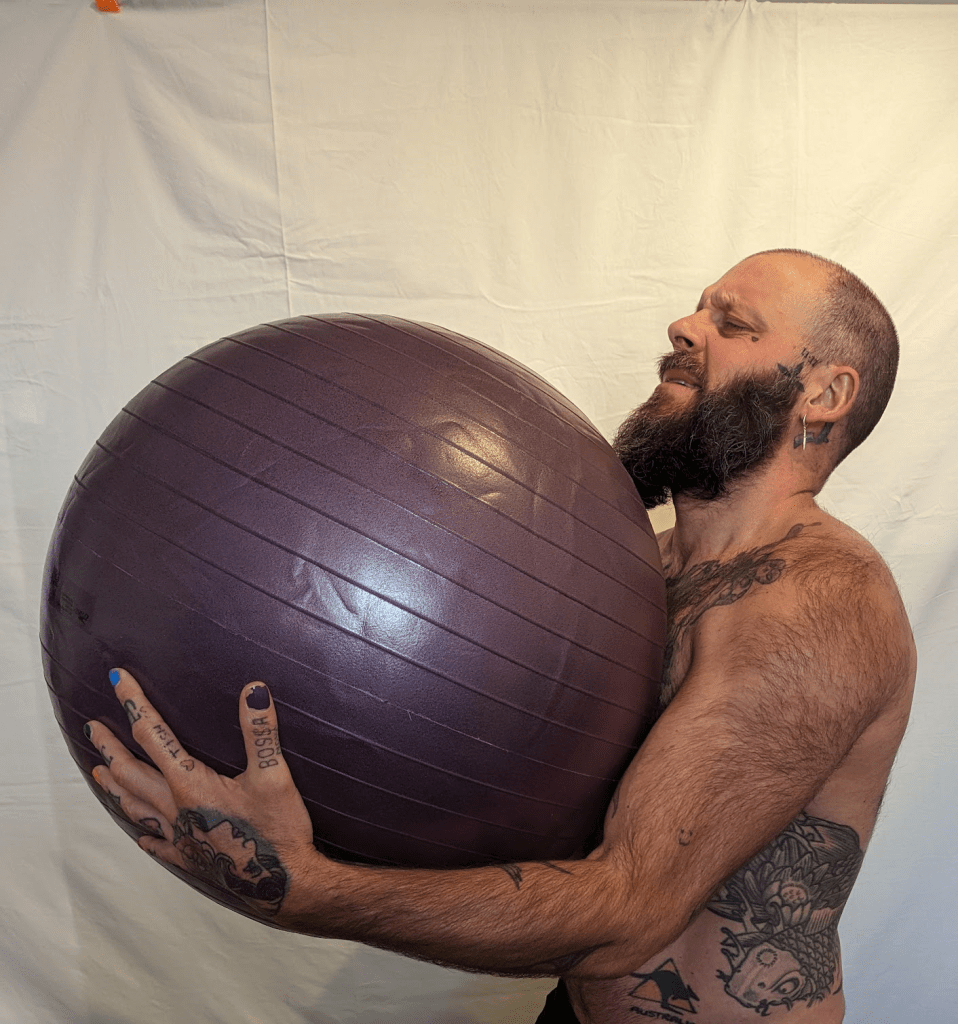
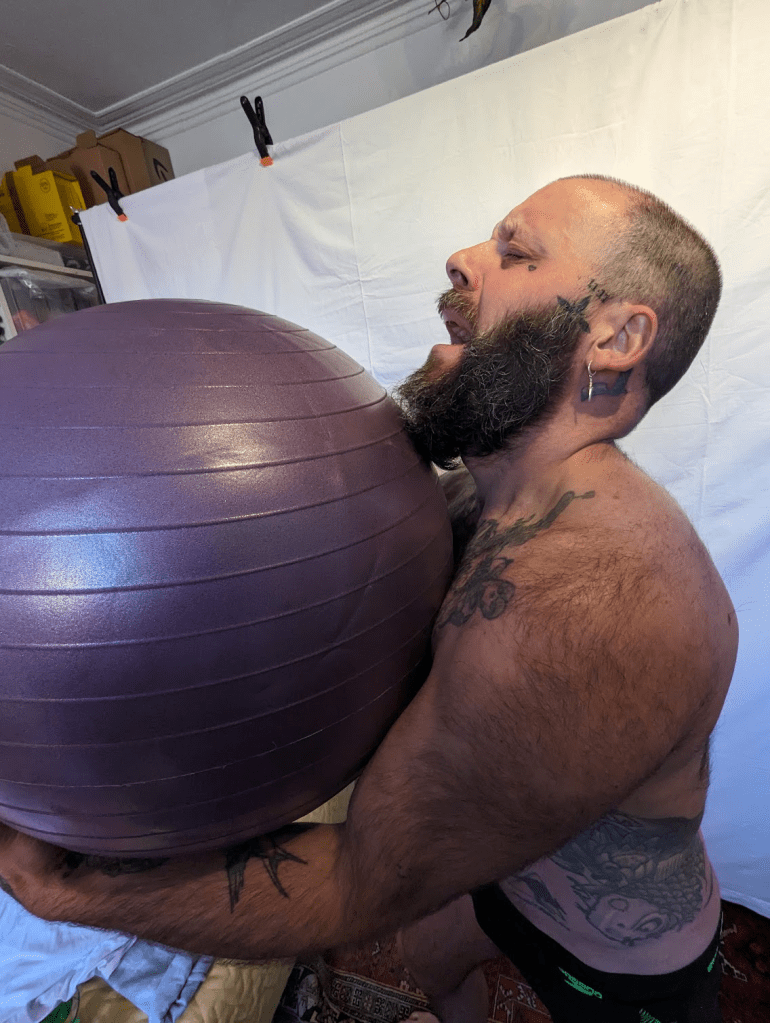
Darren is a perfect troubled Atlas, there were problems with posing with a rubber ball, the weight was not right and I had real issues later on trying to work out how Atlas would pose carrying an unfathomable weight, something I have yet to achieve.
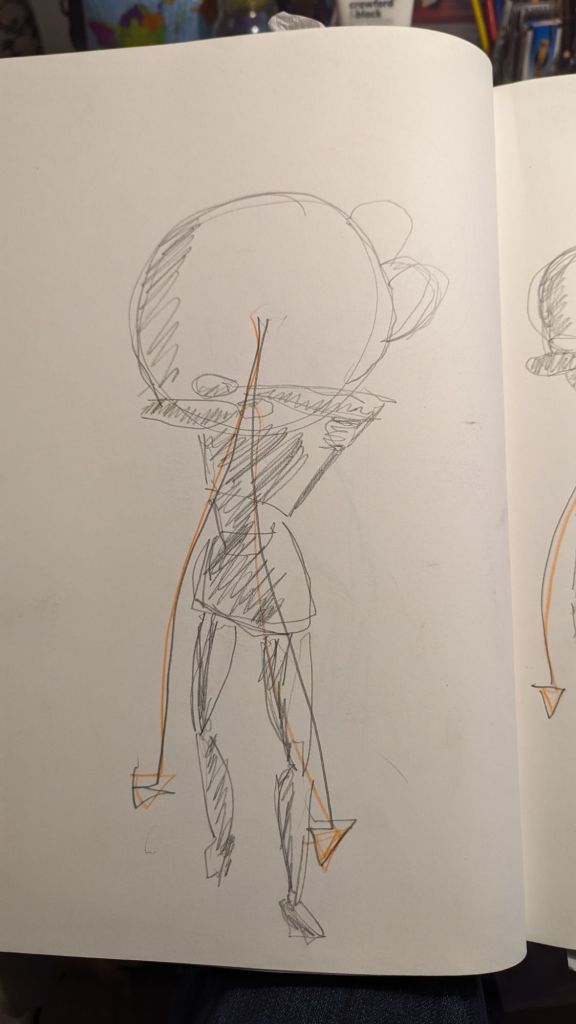
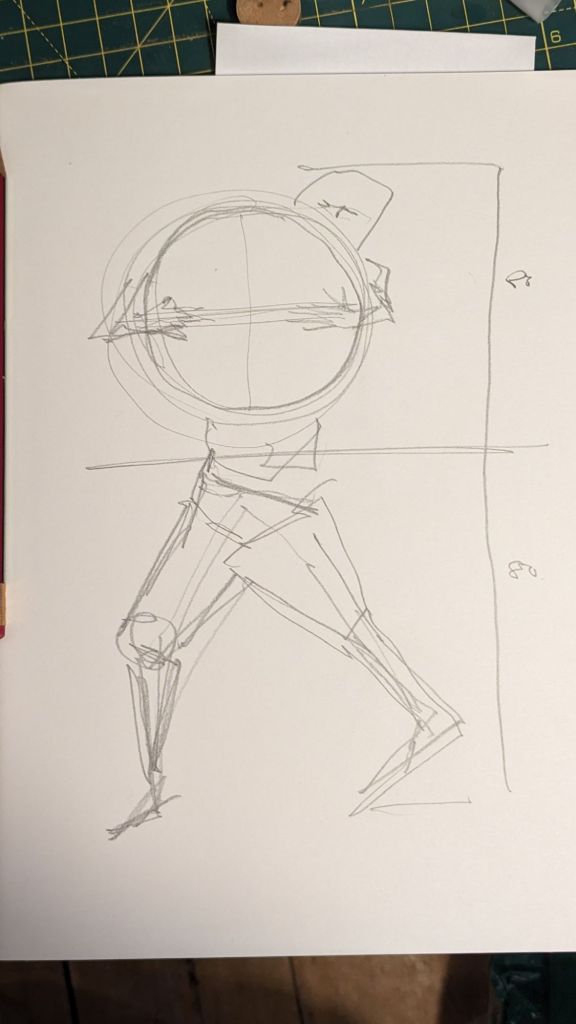
many sketches and a plasticine maquette later
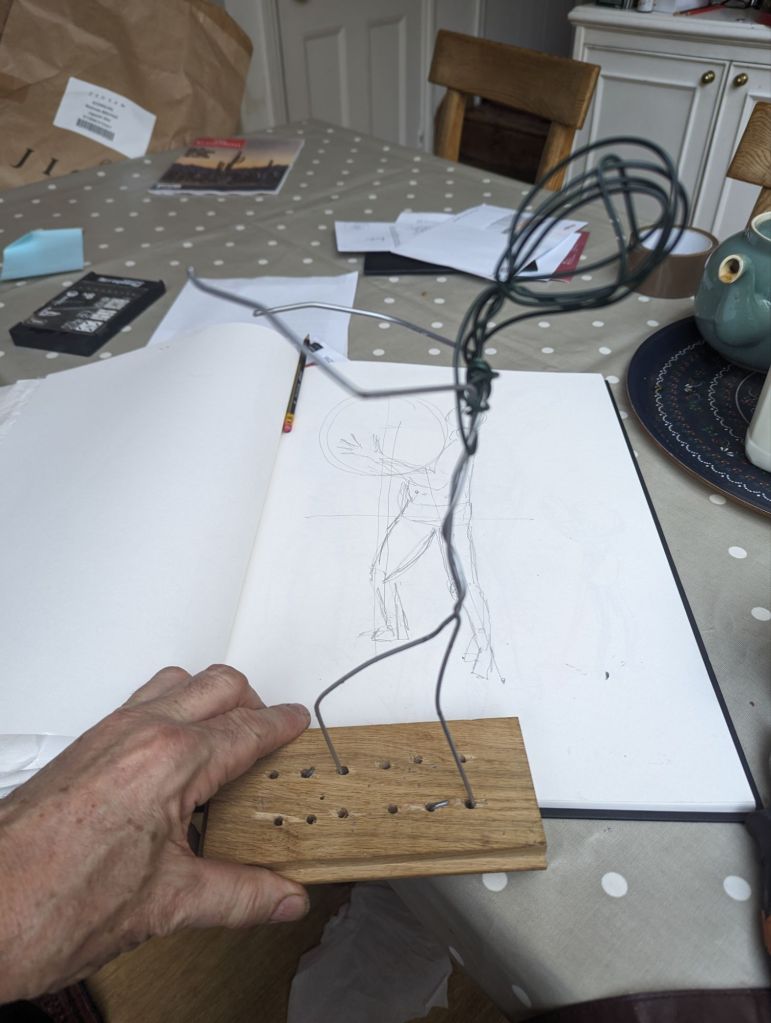
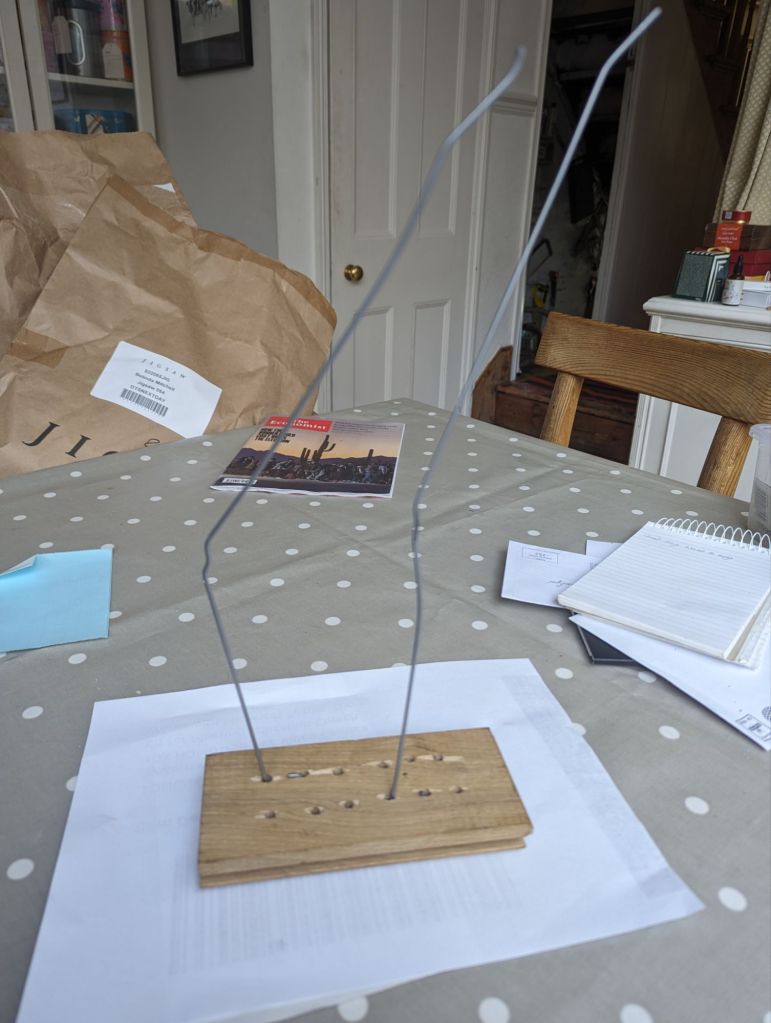
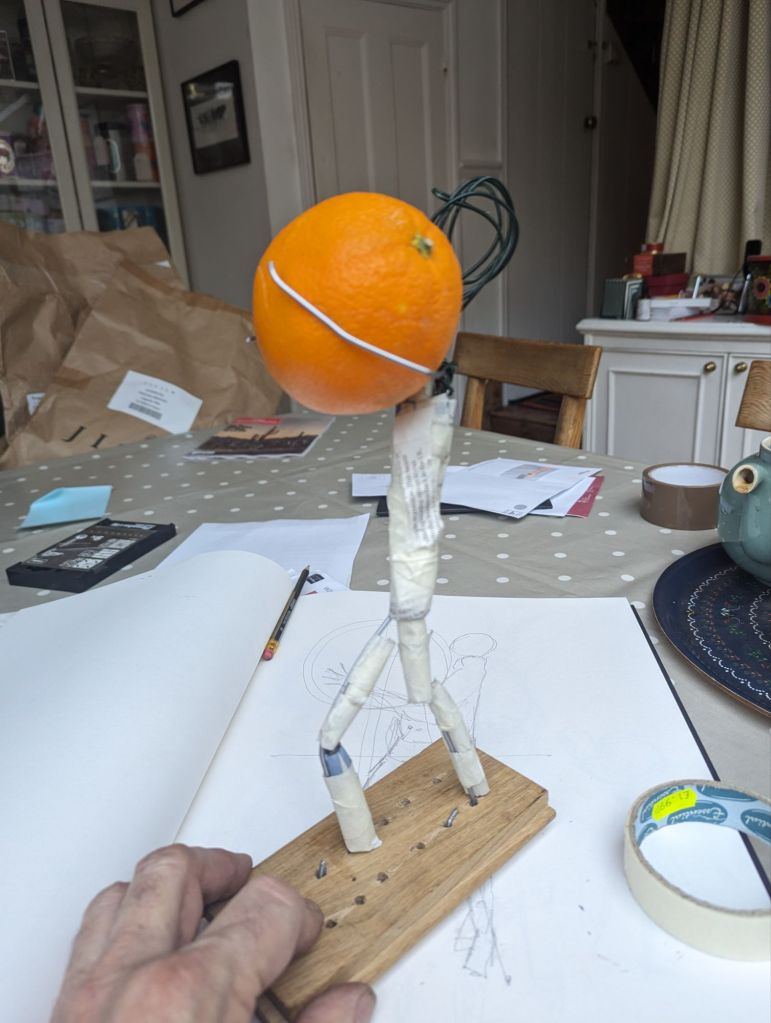
i made an armature from aluminum wire ( 4mm) attached to a repurposed floor board, planning a 1400 mm statue. My original plan was to use polystyrene waste as the form. With respect for my weak lungs I choose to use cardboard, newspaper and masking tape to build the body
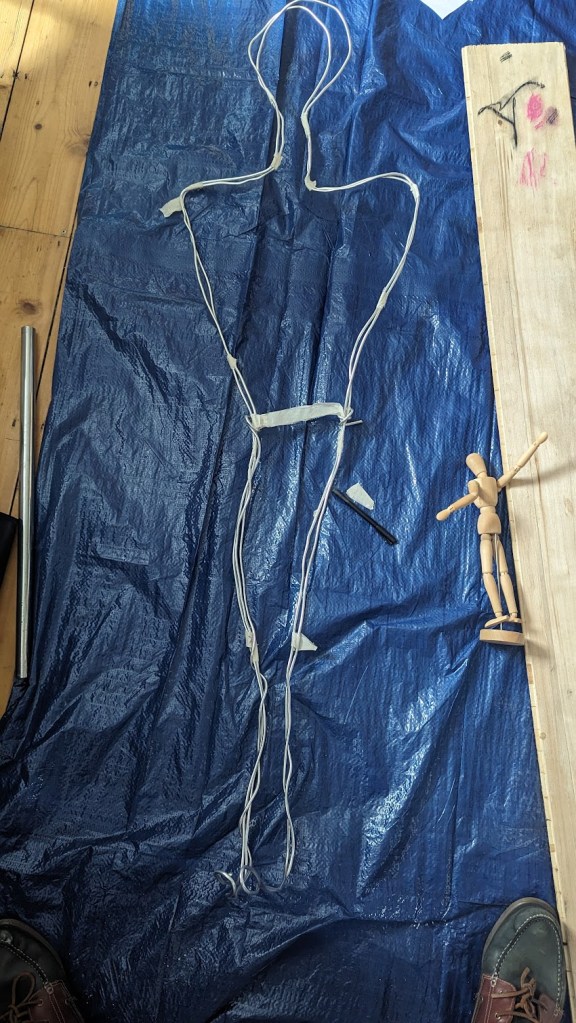
almost immediately I found the aluminium too weak and had to reinforce the ankles to the knees with mild steel kebab sticks

kebab stick support
I continued to build with cardboard, newspaper and masking tape, fixing to the frame. It was not as flexible, but restricted by the righidity of the cardboard I was able to produce a good if top heavy body
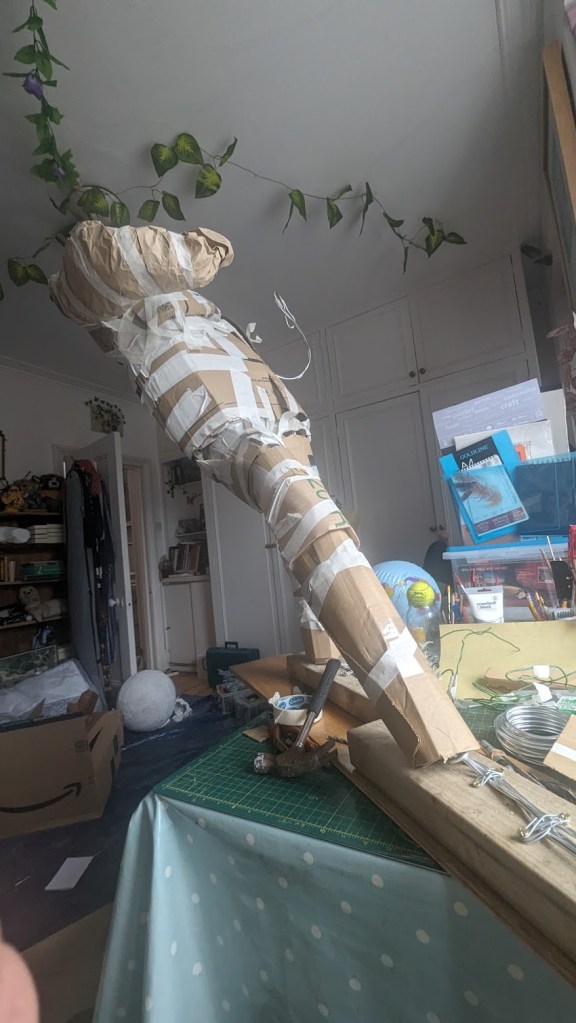
worrying about the permability of the cardbaord I coated it with several layers of PVA glue before plastering

pva glue to waterproof cardboard
during the porcess I watched countless you tube tutorials by expert and amatuer scultptors, they each had different approaches to the application of plaster but were universdal in the mixing of plaster of paris. It has to be treated with respect, I orgiannly stirred the water plaster water mis vigorously but learnt that a gentle addition of plaster to water at a ratio 2:3 and then a gentle hand stir will keep the plaster wet. I initially wrapped the statue in mudroc, a plaster infused bandage. Despite the waterproofing the cardboard became damp and I had to dry it for two days under a fan to circulate the damp air.
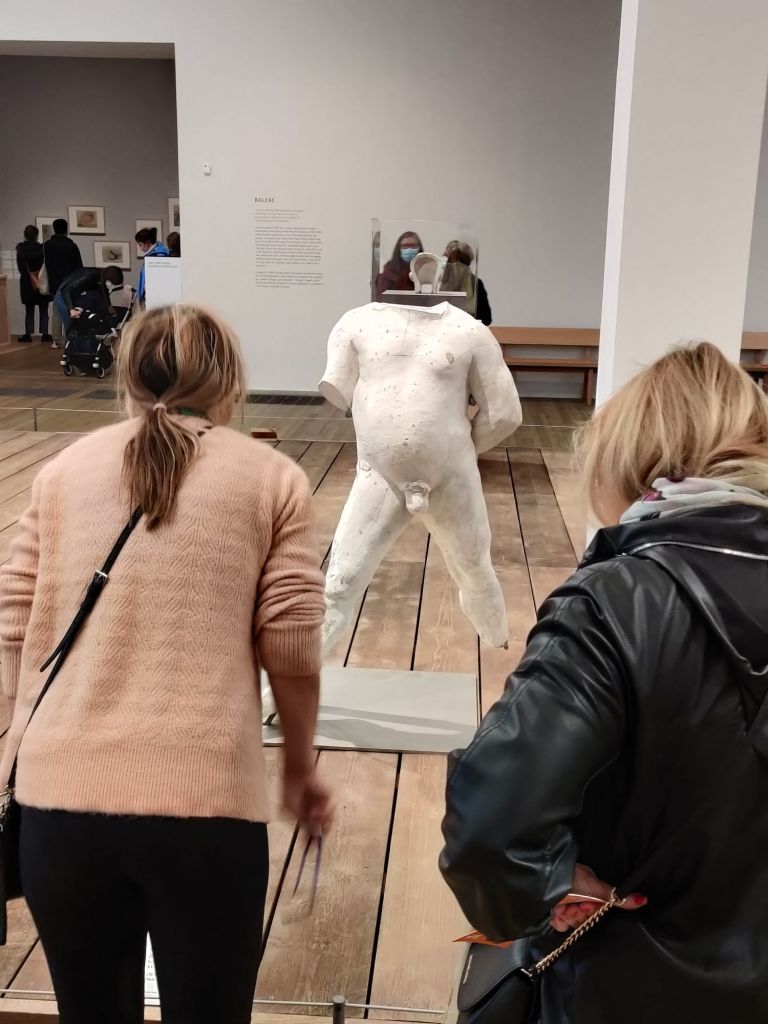
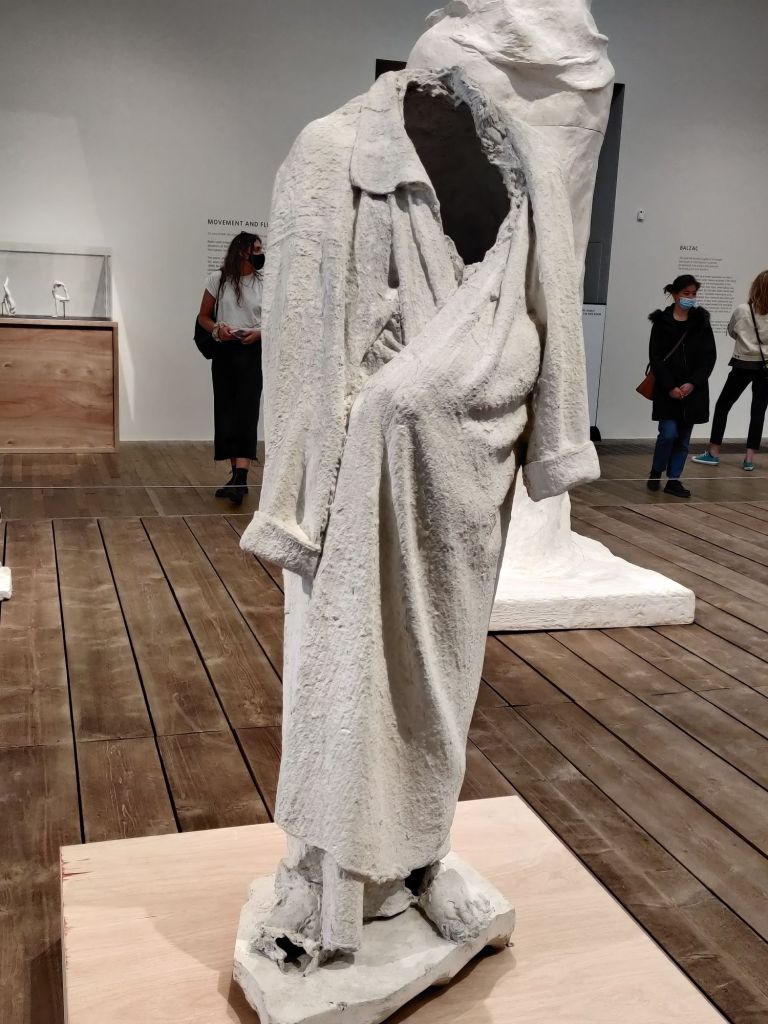

Exhibition at tate modern of rodin’s plasters and working practice
I had been fascinated by rodin and his working pracise, at a recent exhibition in the Tate I learnt that the famous balzac statue had been modeled using a dreesing gown of Rodin dipped in plaster. I made a sarong for the Atlas from a fitted sheet dipped in plaster. It was reasonably successful, keeping the flow of the material and a very pretty bow at the back.
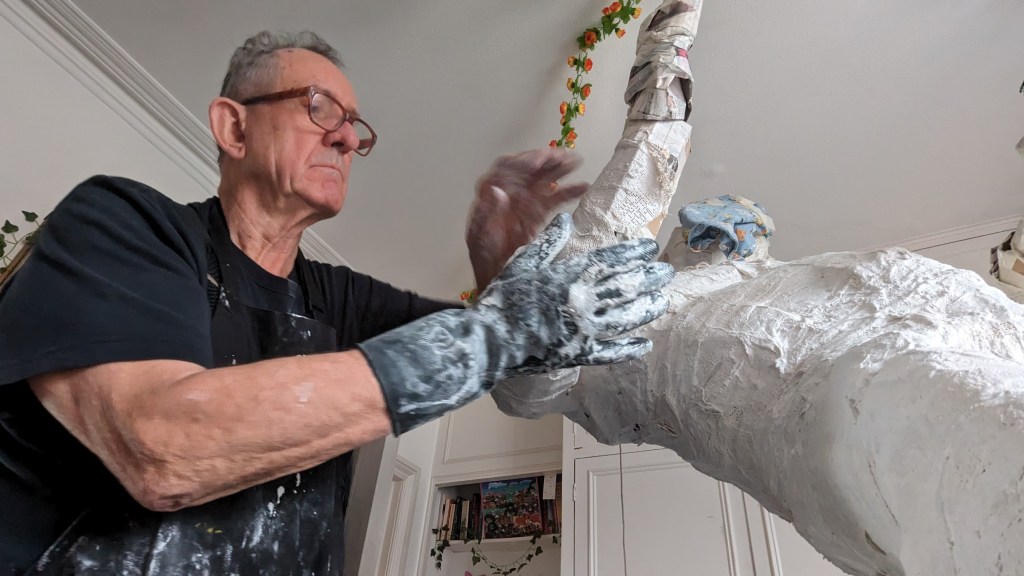
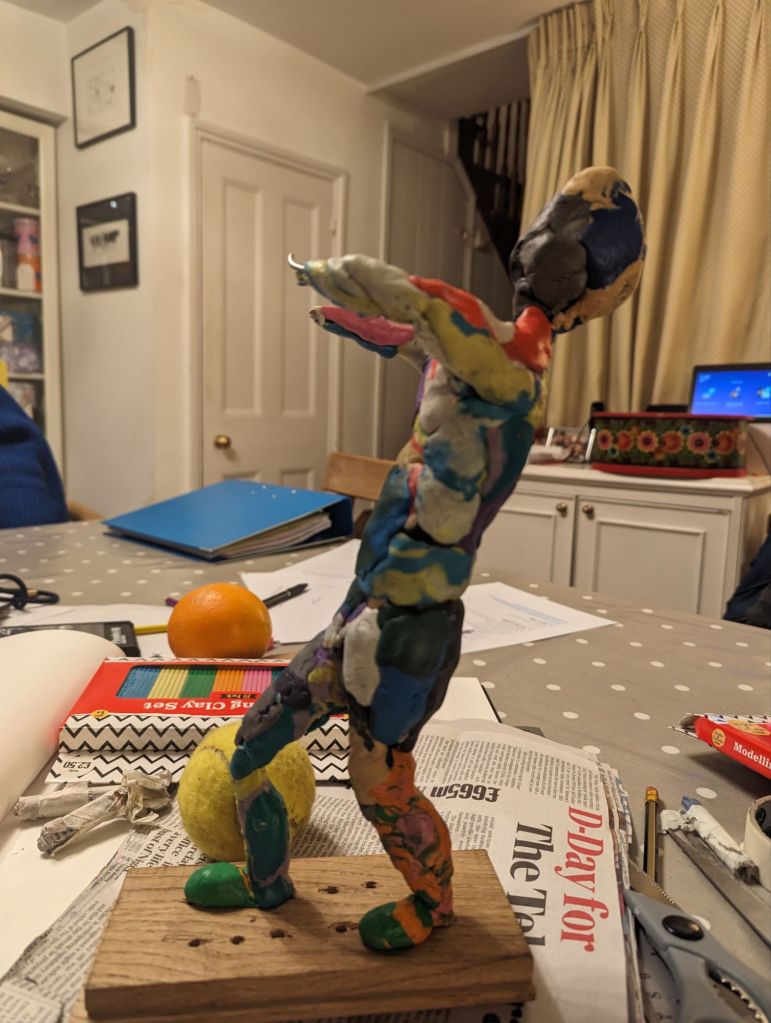
as I worked I fell under the spell of the materials, at first I was hoping for a smooth realistic finish but as I continued with the plaster I enjoyed the rough serendipity of the rapidly drying plaster. Certainly given more time and space I would have reworked some of hte limbs but the final uneven texture gave me an unexpectedly expressive form
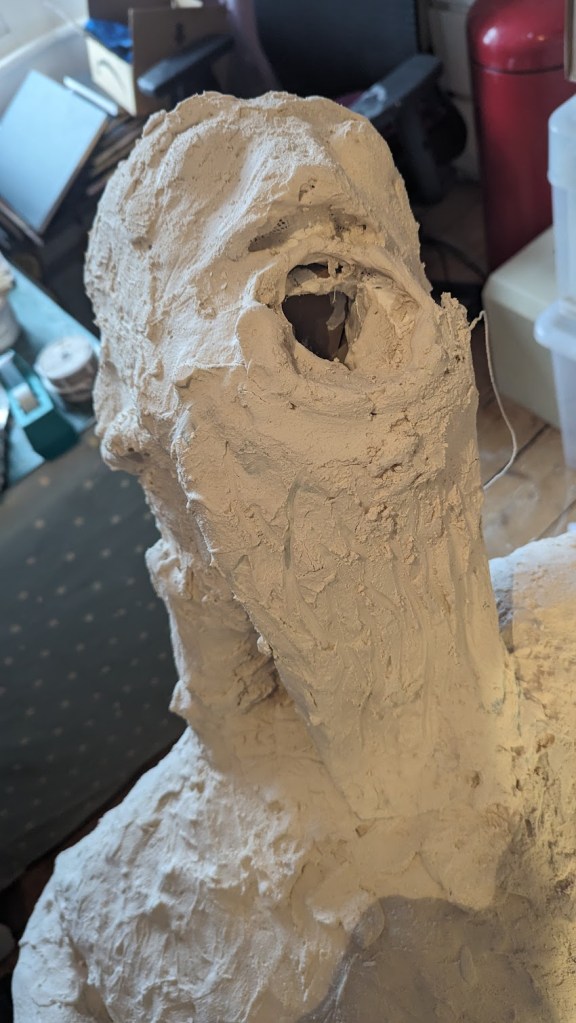
I wound as I built th staue that it skloped back under the wight of the plaster body and eventually I had to use a re enforcing rod to keep it from snapping there were some serious crack around the thighs , hidden and supported by the sarong. I was reassured to see the the Farnese Atlas has a support under one knee

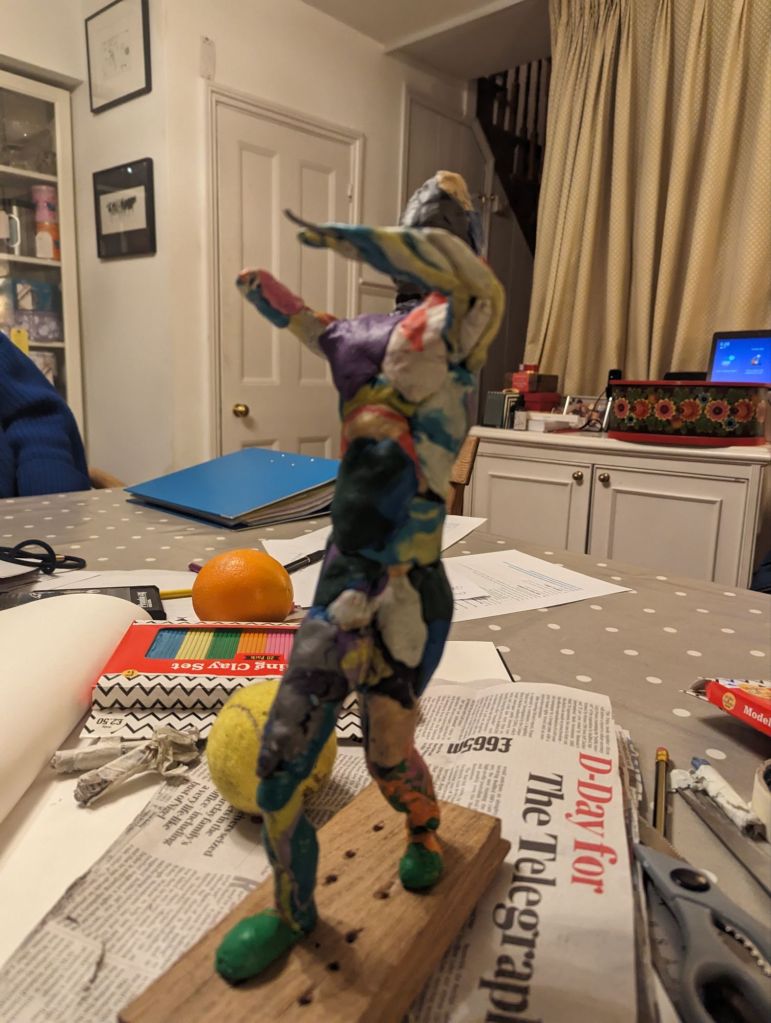
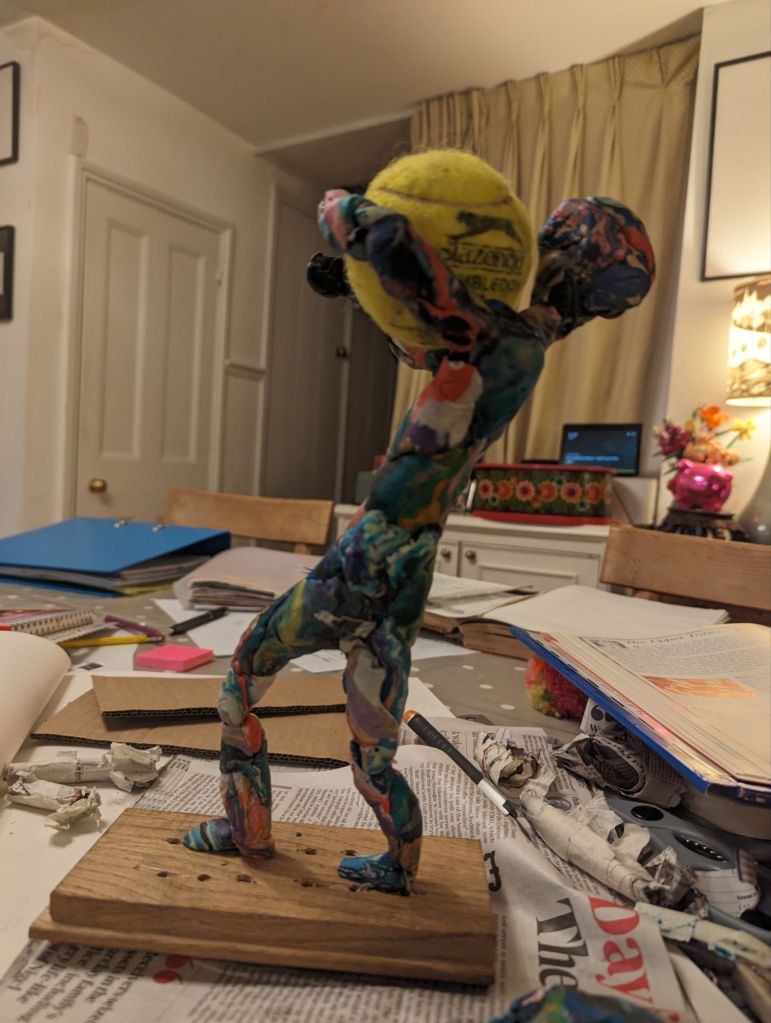
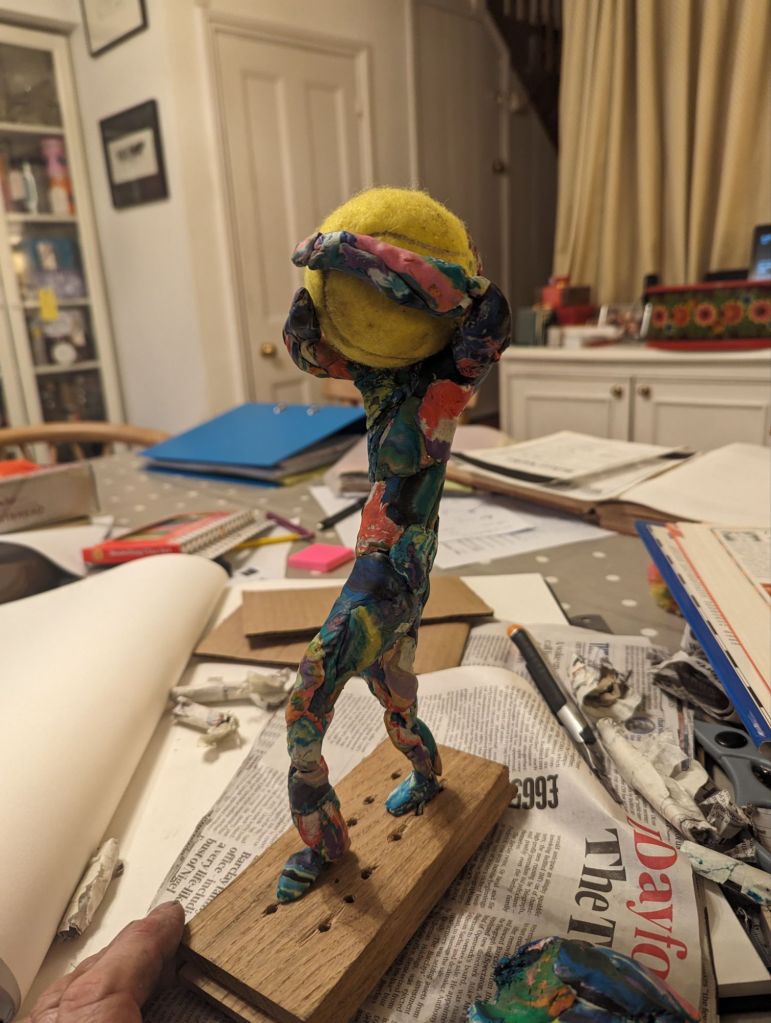
I finally. covered Atlas with a mixture of PVA and white acrylic paint to give it a clean waterproof finish. On exhibition I plan to sprinkle ash and surround the unfinshed feet ( left bare in case I have to remove the wire from the wooden base) with discarded clothes, the mess one sees in a refugee camp . There will be a sound element.
Final outcomes
making the statue was cathartic , I found the engineering , conceiving, m, fabrication deeply satisfying, trying to balance a creative concept with a three dimensional object whose final shape was often dictated by the limits of the materials, the unveness and fast drying of the plaster, the fragile cardboard underlayer and the unfortunately weak central armature limited the statue.
With an opportunity to make it again I would produce a properly welded skeleton from steel with a more considered shape. I would also have worked much harder on the weight of the world. It is still a rubber ball.
I hovered on the boarder of craft and art and am not sure where i found myself. Directed with sadness and anger I do believe that ‘Atlas in Gaza” is a valid piece of art.
I ts future is uncertain, I was proposing to have my fellow students destroy it after its exhibition but there is an opportunity for its temporary display in the garden of Hammersmith Quaker Meeting House, a sculpture that reflects their fundamental message of peace.
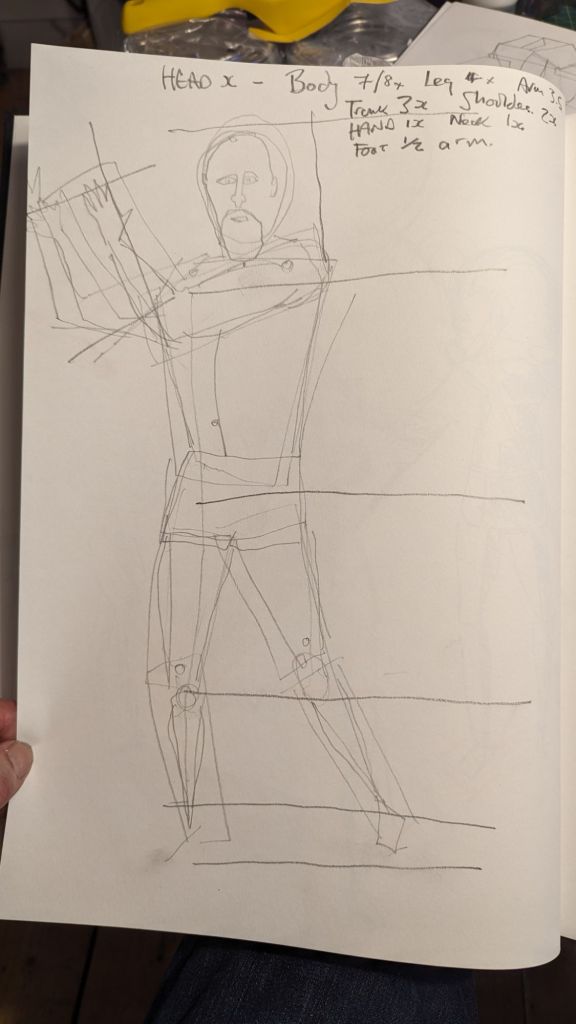
UP TO MY ELBOWS IN PLASTER OF PARIS, A REAL LESSON IN TRIAL AND ERROR
Planning a statue, , finished in plaster but with a core of an aluminum armature, a mass of reused polystyrene, cardboards and newspaper.
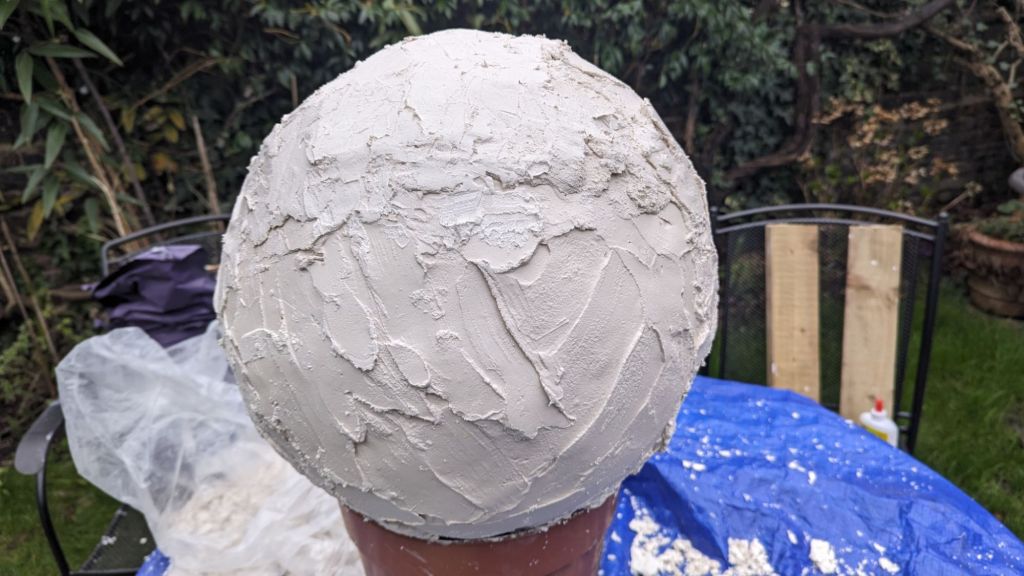
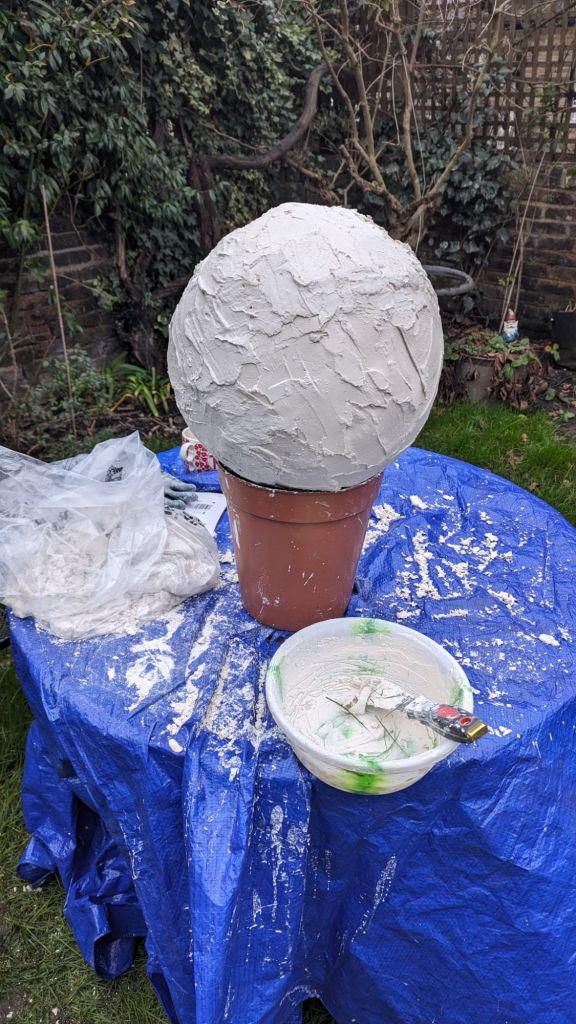
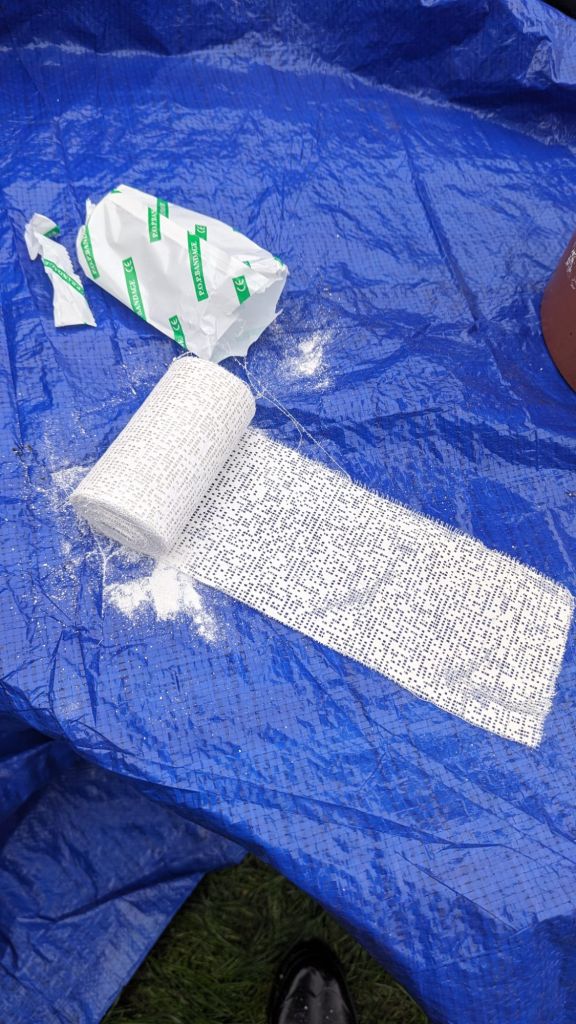
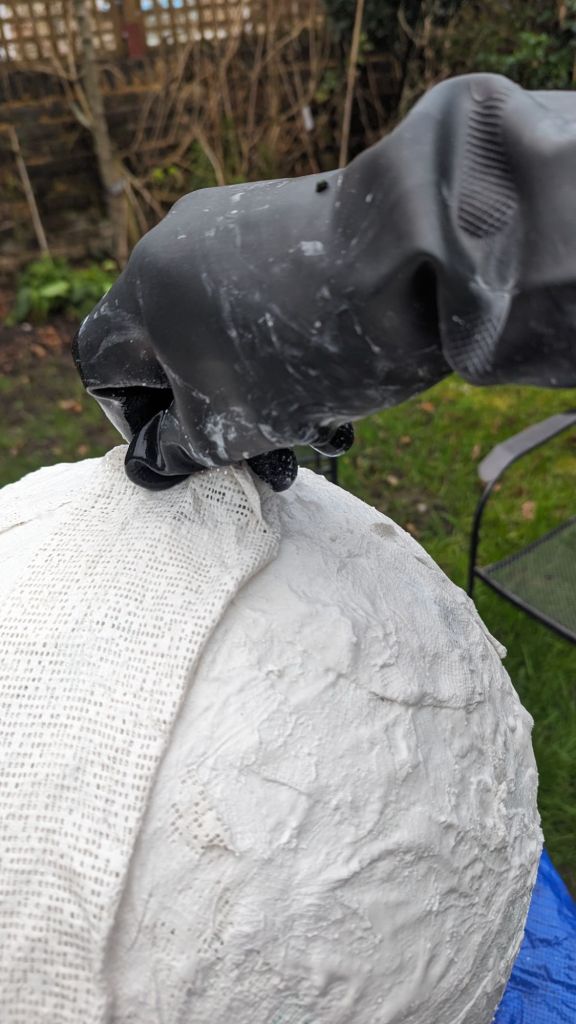
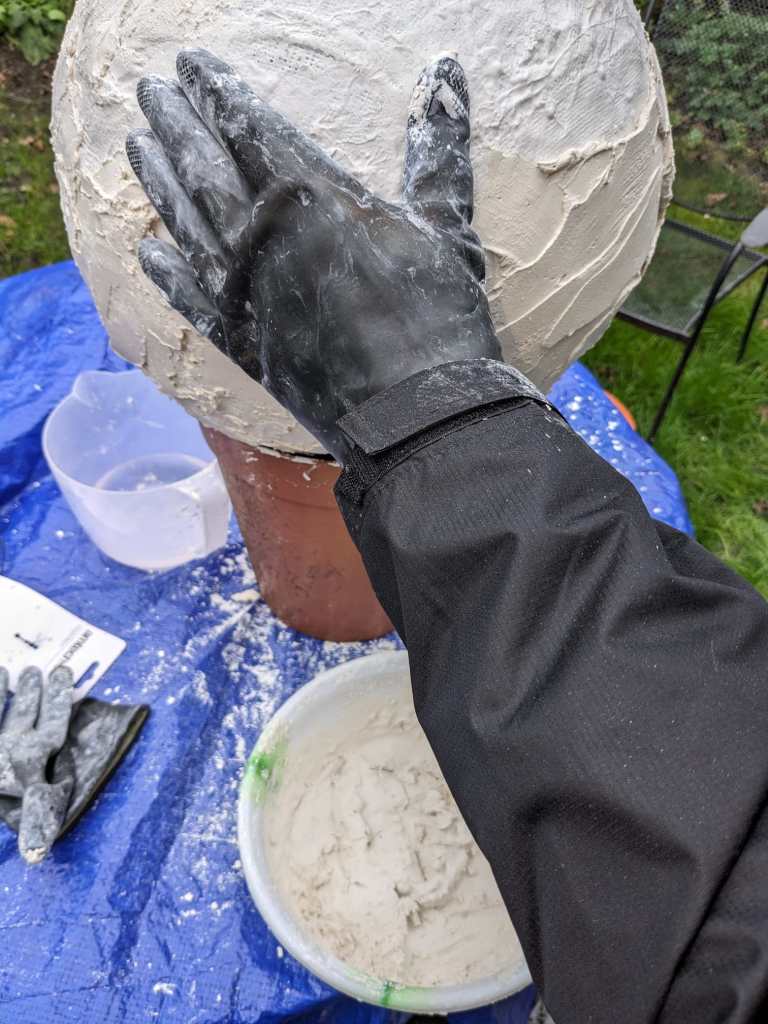
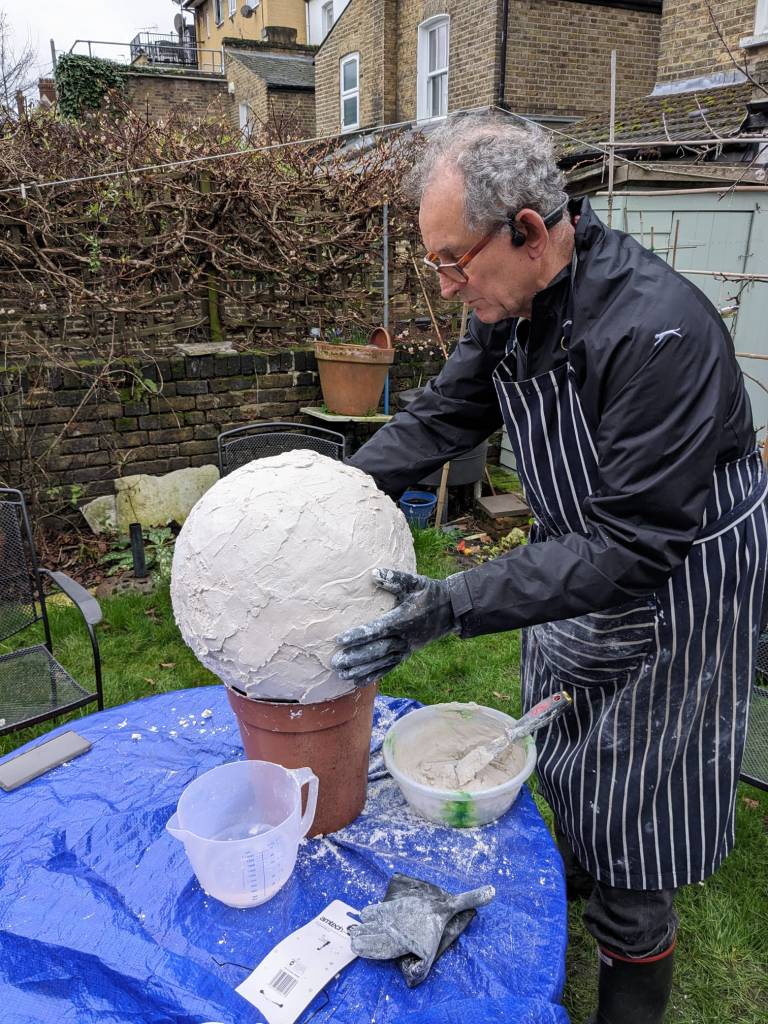
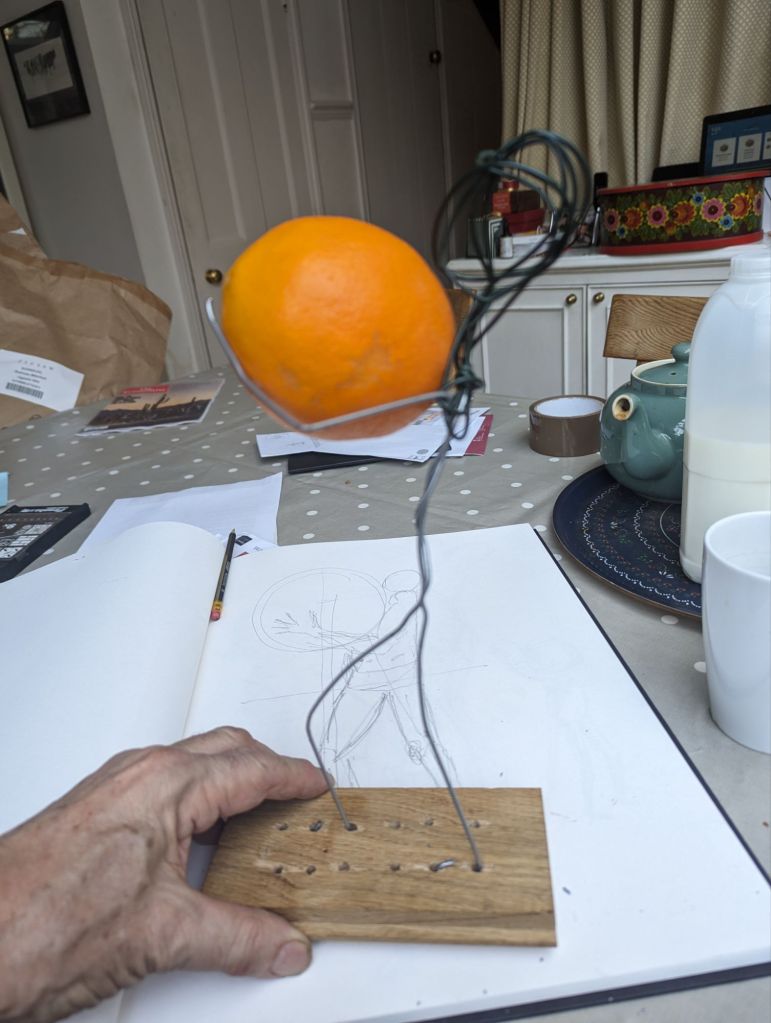
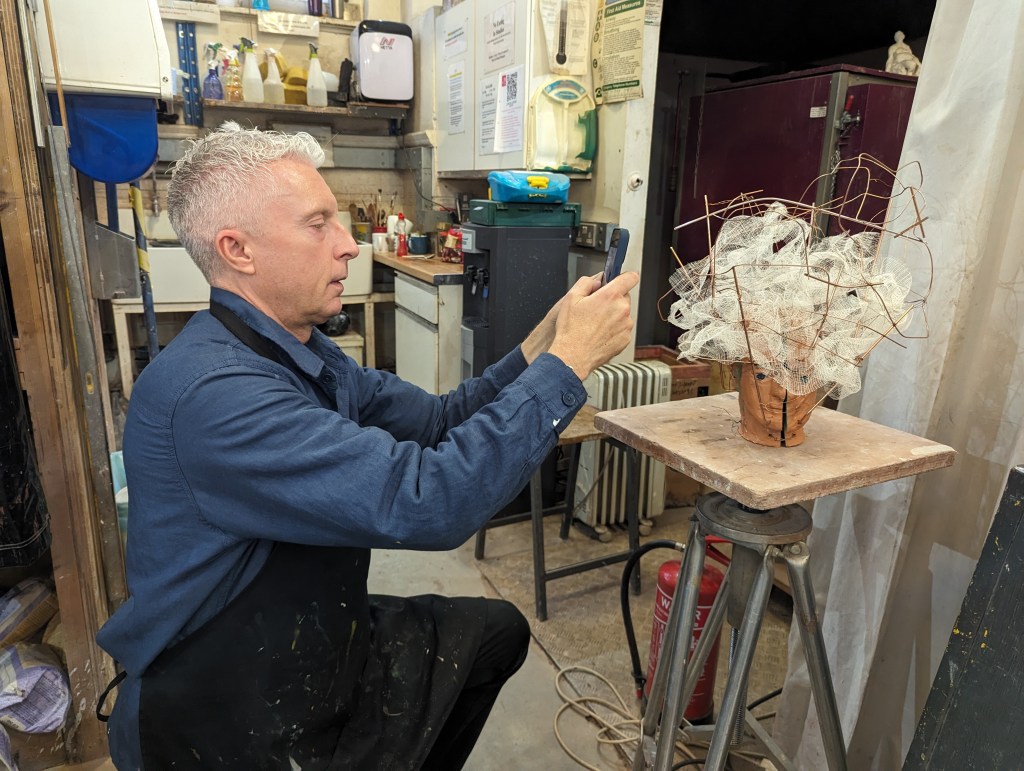
to find the dimension and placing of the arms I made Atlases globe first. A strong plastic beach ball, about 60 cm in diameter was covered in palster infused bandage, the smae method as an old fashioned hospital cast. Dipped in water and then laid on the ball, I had left it in a plastic mesh net that gave the bandages some adhesion. They dried to rigid within five minutes, but remained wet to the touch for several hours.

i realised I should have paid better attention to the recent Tate exhibition of Rodin’s plasters for his final casts, including Balzac, The thinker, the gates to Hell
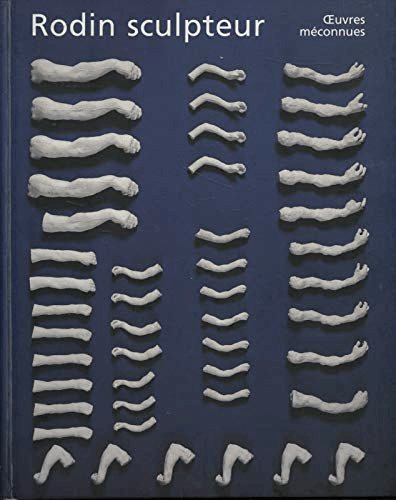
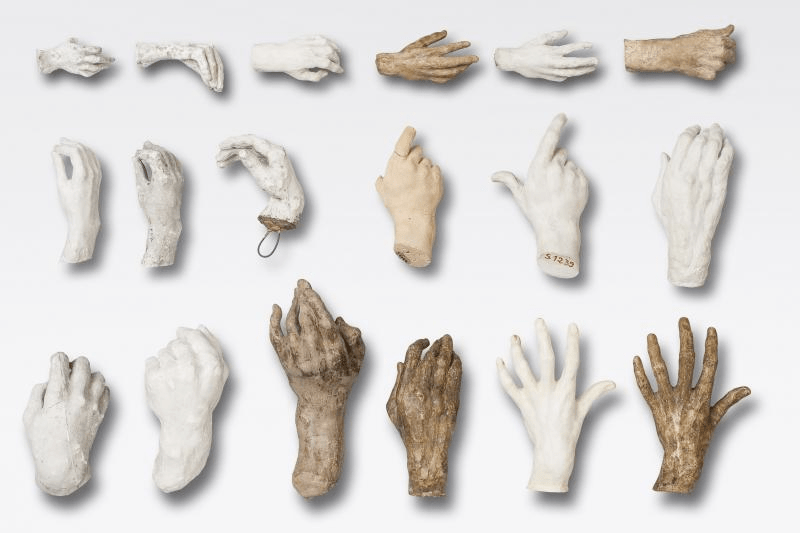
rodin’s collection of hands in plaster and terracota.
I had left the exhibition with an interest in how Rodins studi used his dressing gown dipped in plaster to cover Balzacs body, and that several of the burgers of Calais shared the same hands
I struggeld with the poaster of paris, I learnt how difficult it is to make it the right mix, too much plaster, too much mixing and the plaster sets very quickly. I learnt after wasting several kilos of plaster


I learnt how to mis and apply plaster carefully, that I will need hundreds of meters of plaster bandages to cover a 120 cm statue, That plaster weighs and I will have to build an armature sturdy enough to suppo

I have to seriously work out the center of gravity for the work. The globe weighs around five kg so I have to really strengthen the ankles and knees and fix the feet very firmly on heavy blocks. I am relived to have the dimensions of the globe as I can now build the armature. I have a choiv=ce to either connect the hands to the arms or the globe. After Davids You Tube I will make the hands from thinner more maliable wire
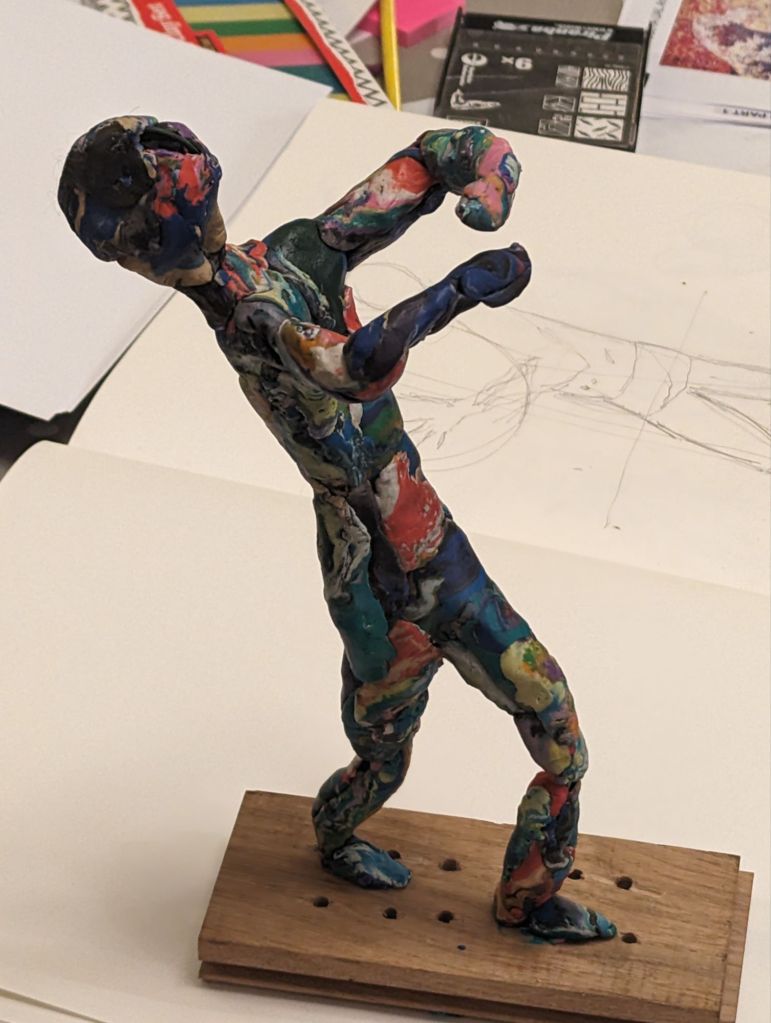
Atlas in plasticine

following a photo shoot with Darren, a circus performer,I have started to research making a 3D sculpture. Making a coat hanger armature I built up with paper , masking tape, and pastacine I investigated how to work in 3D. I found it very challenging, I found that I essentially worked in 2D and made a model with no ral depth. I failed to allow for hips and the size of the chest. For my next armature I will build a real skeleton with hips and ribs. I am considering making a form with polystyrene to be cut with a hot wire ( subtraction rather than addition) to be covered with paster. I have tried SPF with Gesso, but that is absorbed by the foam.
In the Tate Modern I looked at Anna Boghiguian, a Cairo based artist, and am considering her intersting @D cutouts as an alternative,possibly easier form.

Anna boghiguian. INSTITUTION v the masses ,tate modern
I am also considering how to decorate the globe, the essential idea is a woeful Atlas carrying an injured world, I am not sure how dramitc it could be, broken, dripping with blood, on fire, or like the Faranese Atlas covered with not images fo the heavens, but images of sadness and unhappiness
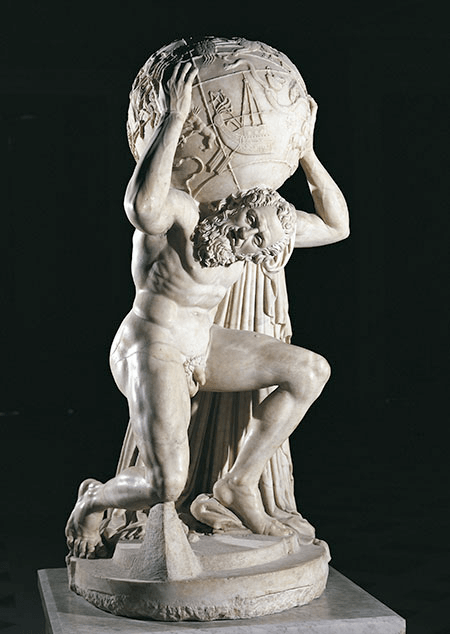
Farnese atlas, a 2nd century roman copy of earlier greek statue, atlas is holding a DEPICTION of the heavens, as a greek titan he was CONDEMNED to support the heavens, to make it easier he was turned to stone, from the RENAISSANCE the heavens were SUBSTITUTED for the world.
in the orginal photo shoot the rubber globe was too light and in my drawings and sculpture I will have to empasise the muscles using photos of the Farnese Atlas
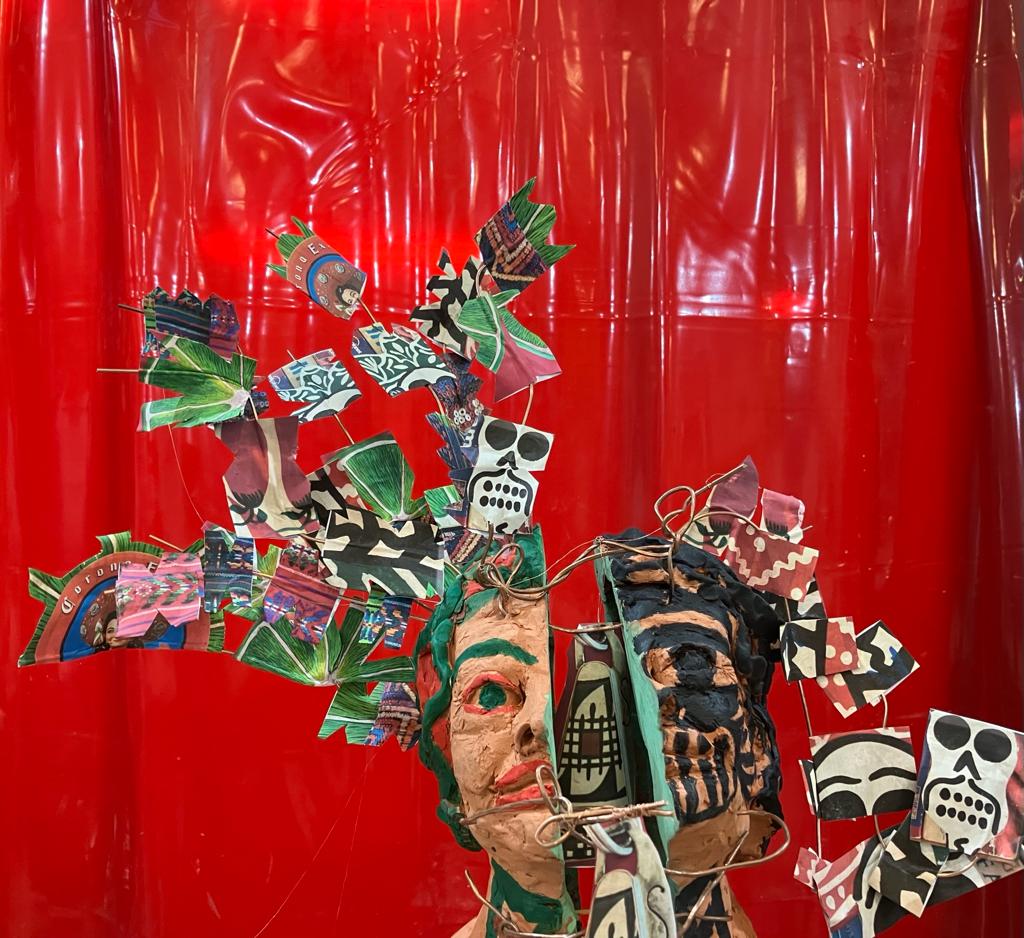
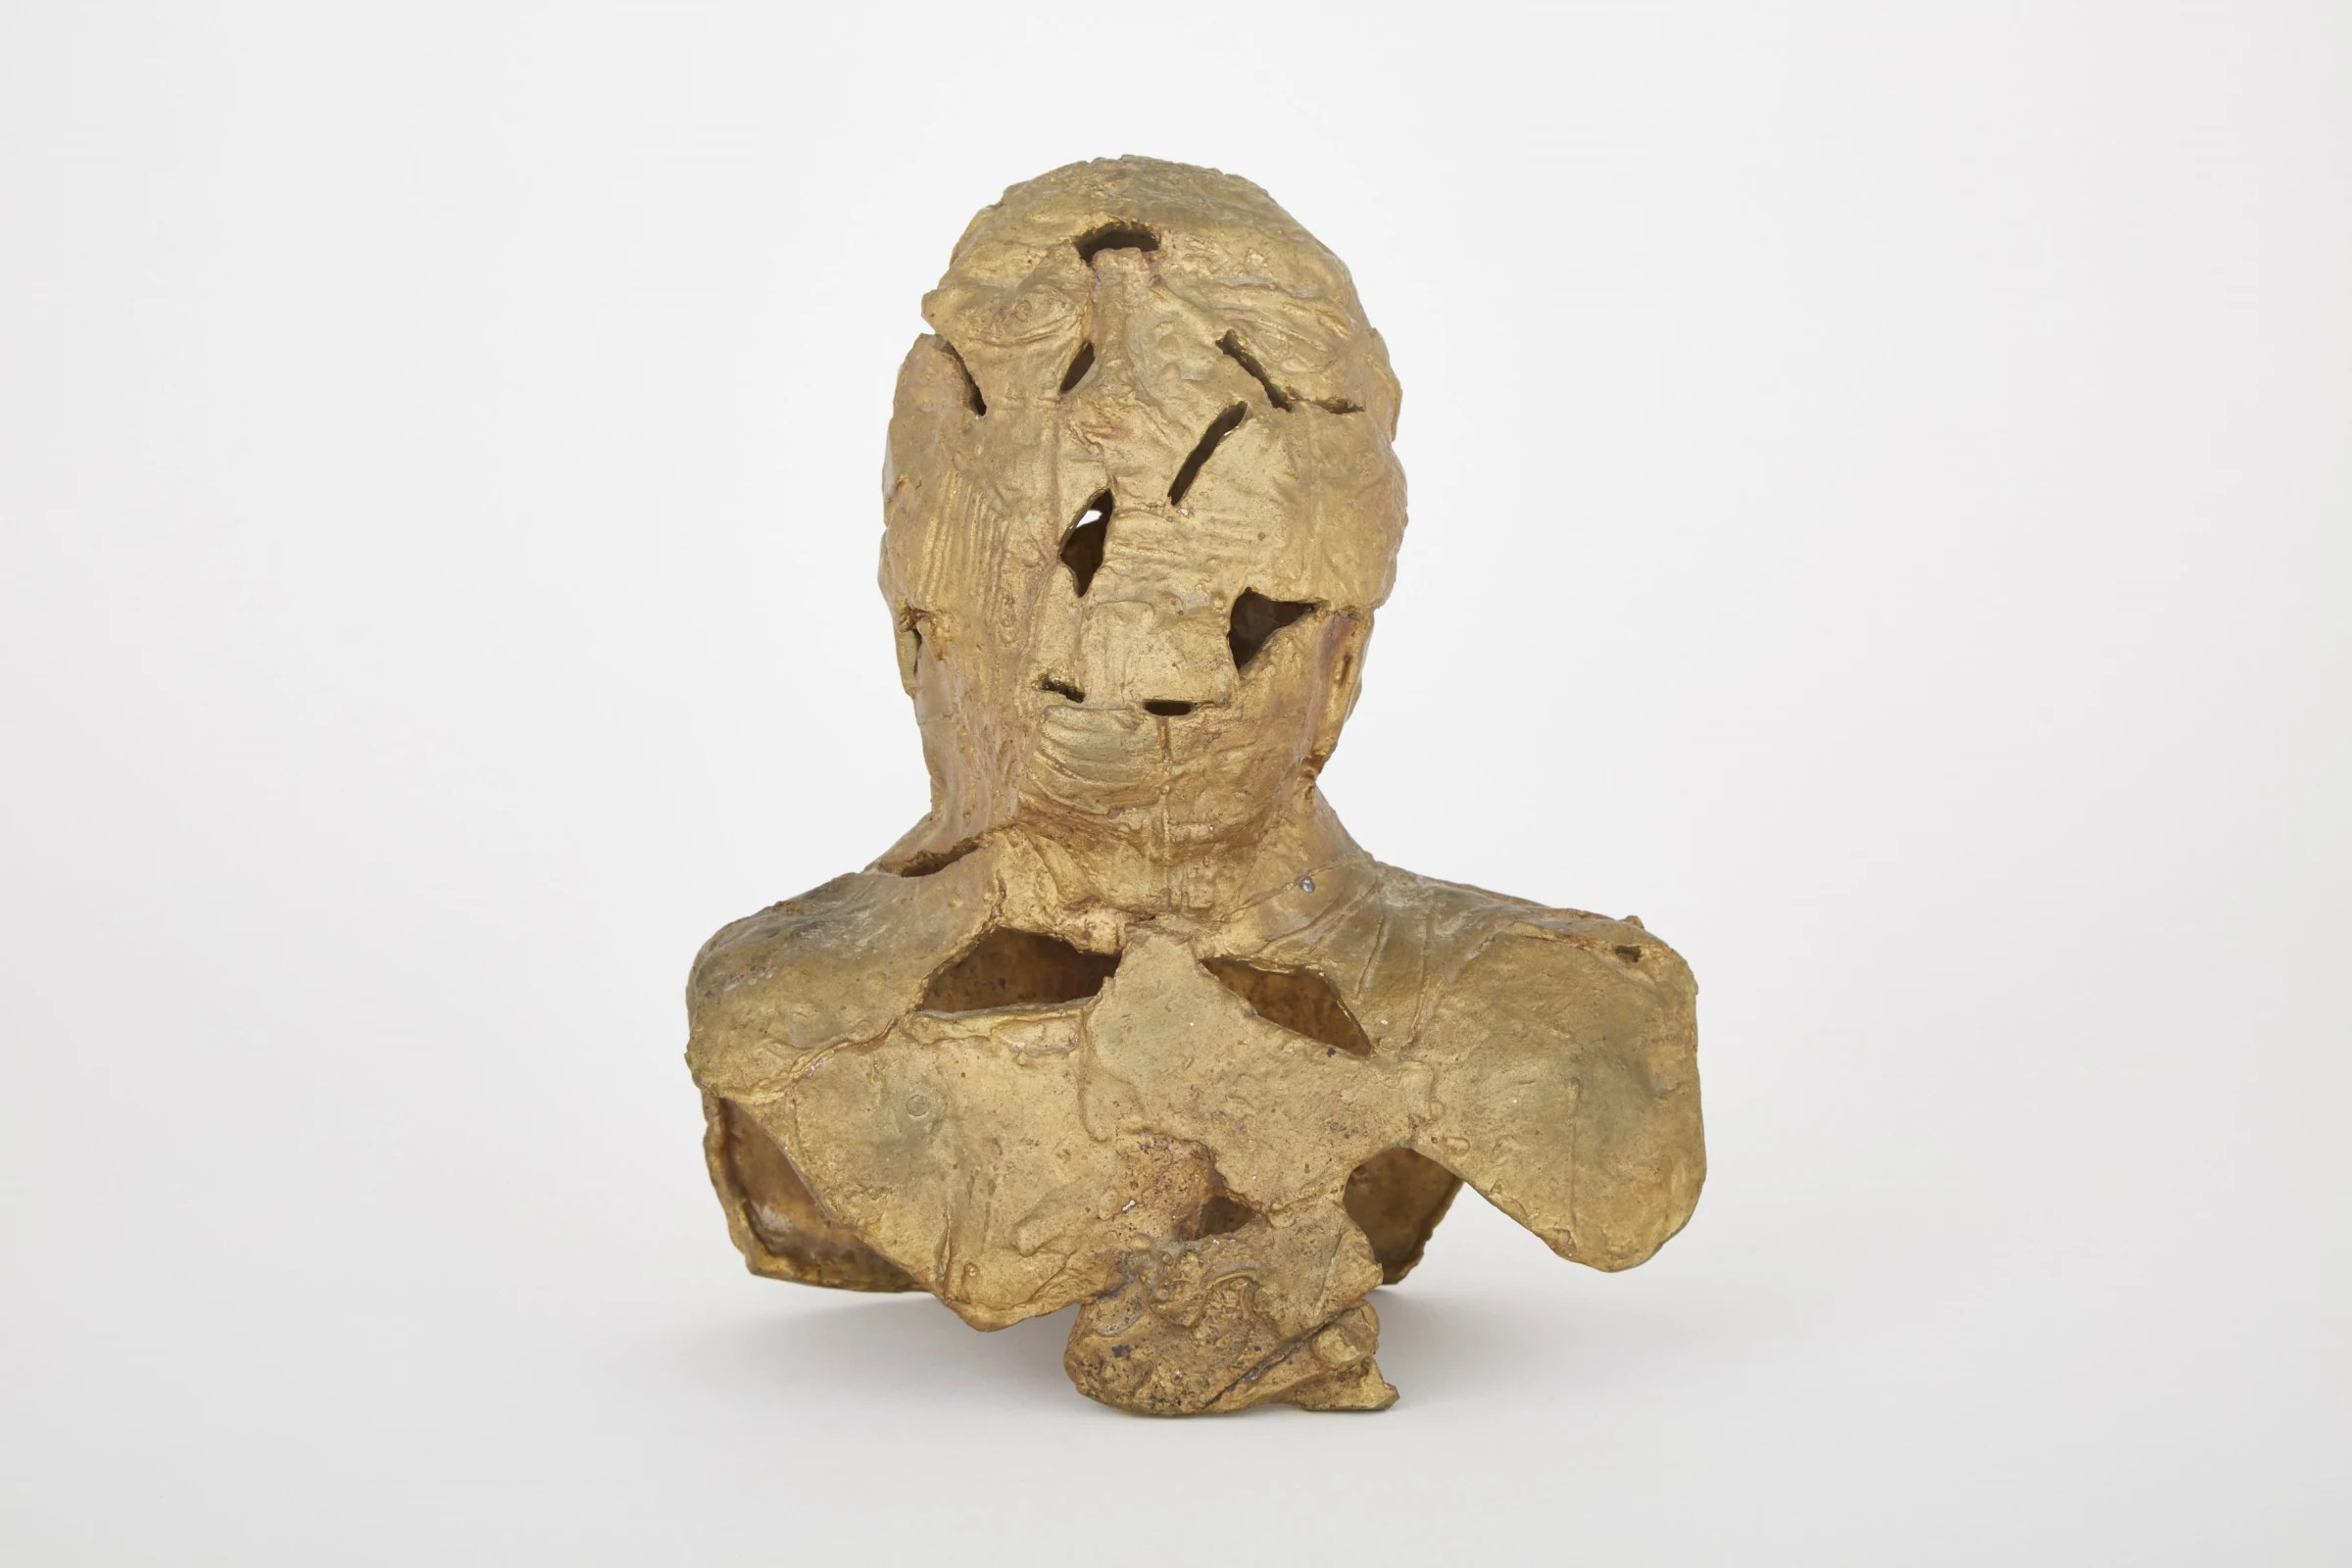
An interesting bust
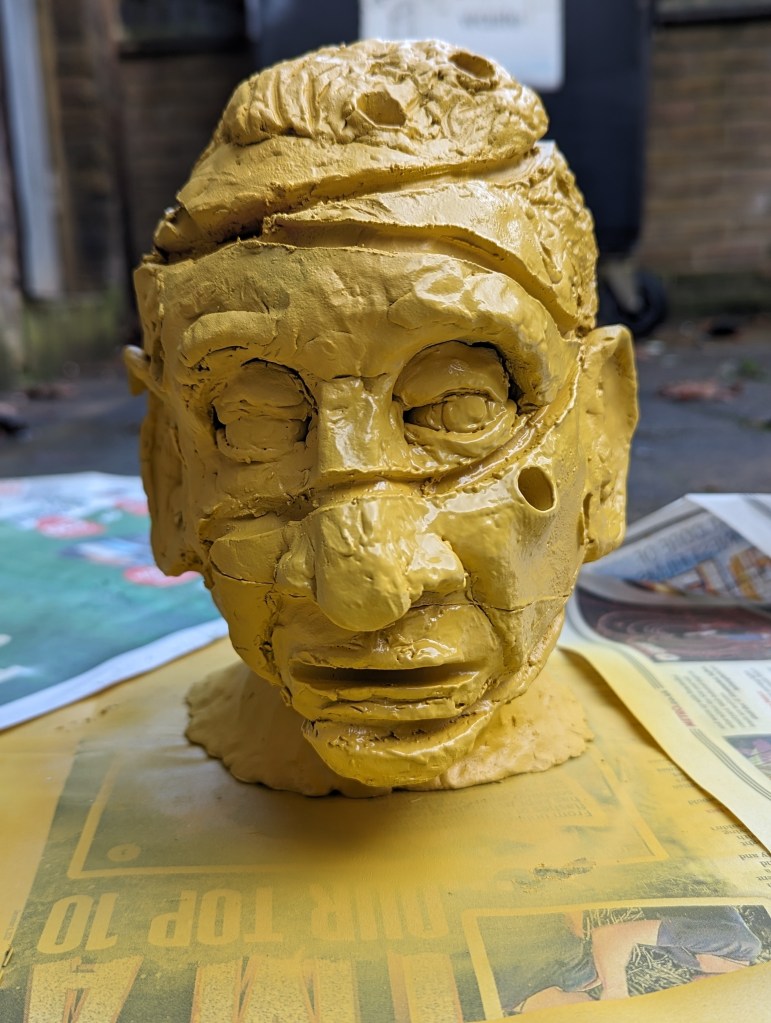
Having learnt the simple but essential basics of crafting a bust and making our own, we were tasked with planning to cut and thoughtfully reassemble our head, attached to objects that we identify with.
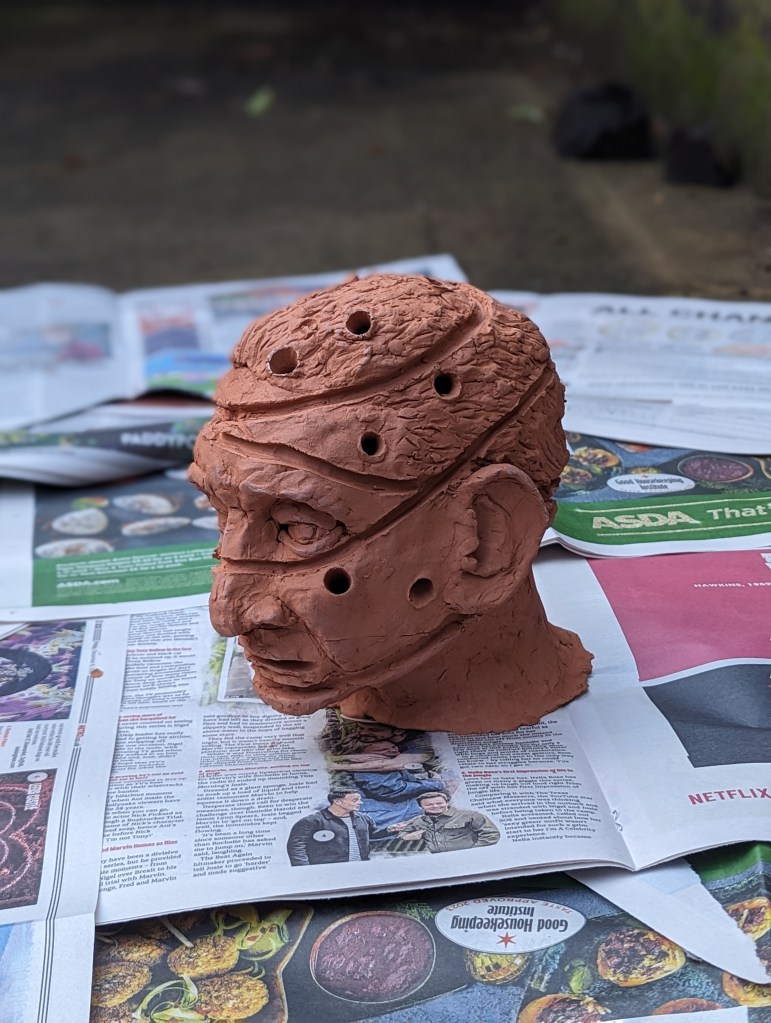
I decided on cutting into a spiral with a thin supporting clay ribbon for support.
It fired well, i had thought of using old nails from my fathers tool kit or embedding barbed wire, but then felt that they were depressing tropes. Closer to my current identity I decided was a head full of paint and drawing and painting tools
poking out. I used yellow spray paint (very pungent odour)
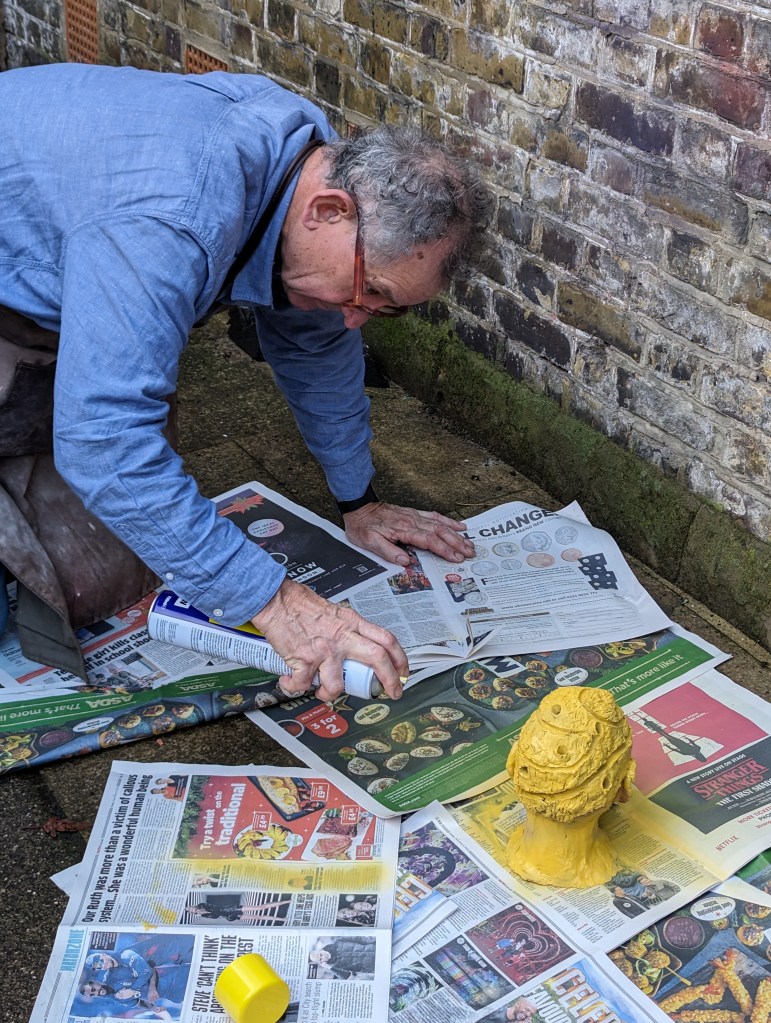
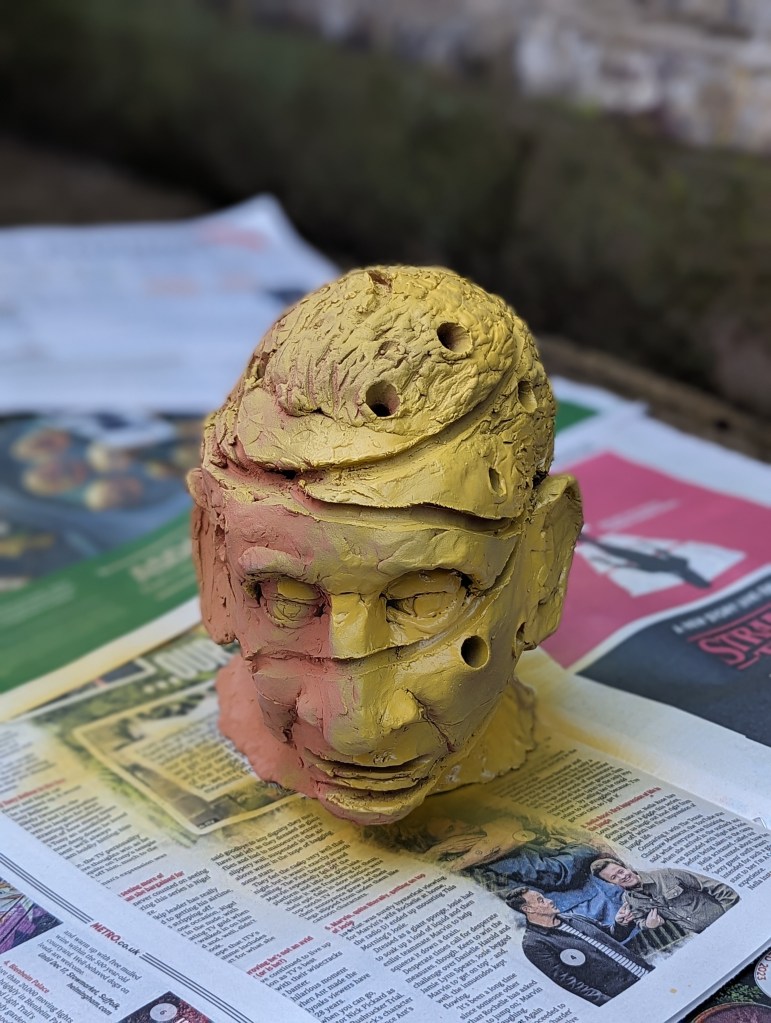
And the used colored hot glue to represent oozing paints from the cuts in my head. Initially I tried long strips of colour but settled on a spectrum of colour as messy as an artists palate
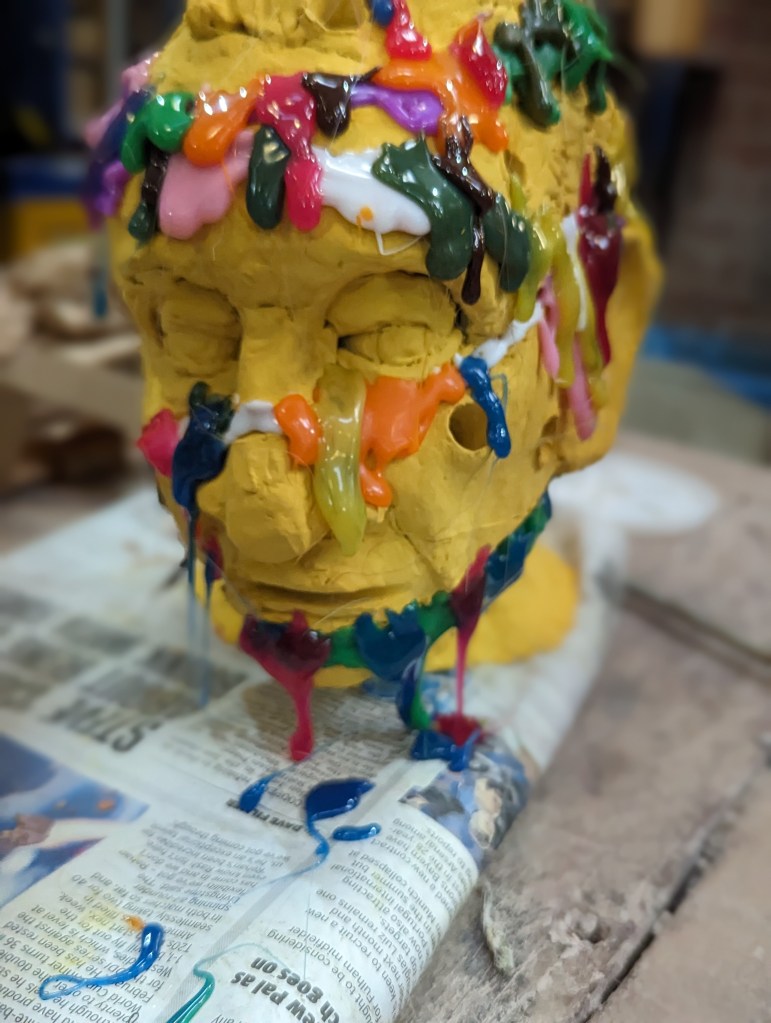
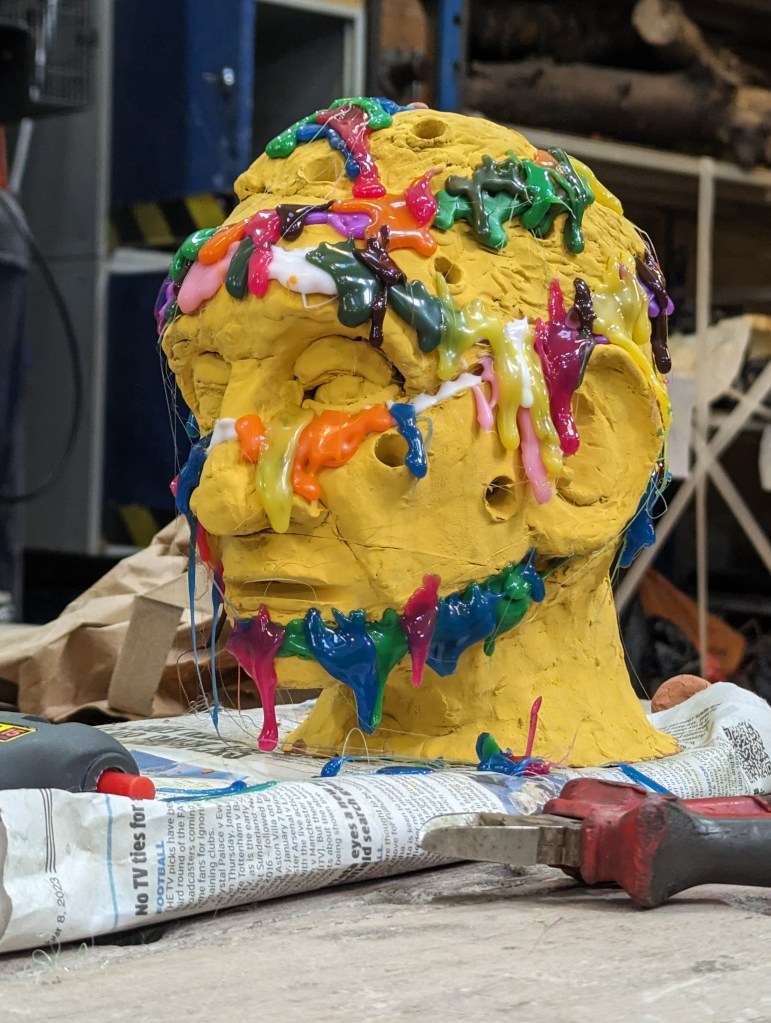
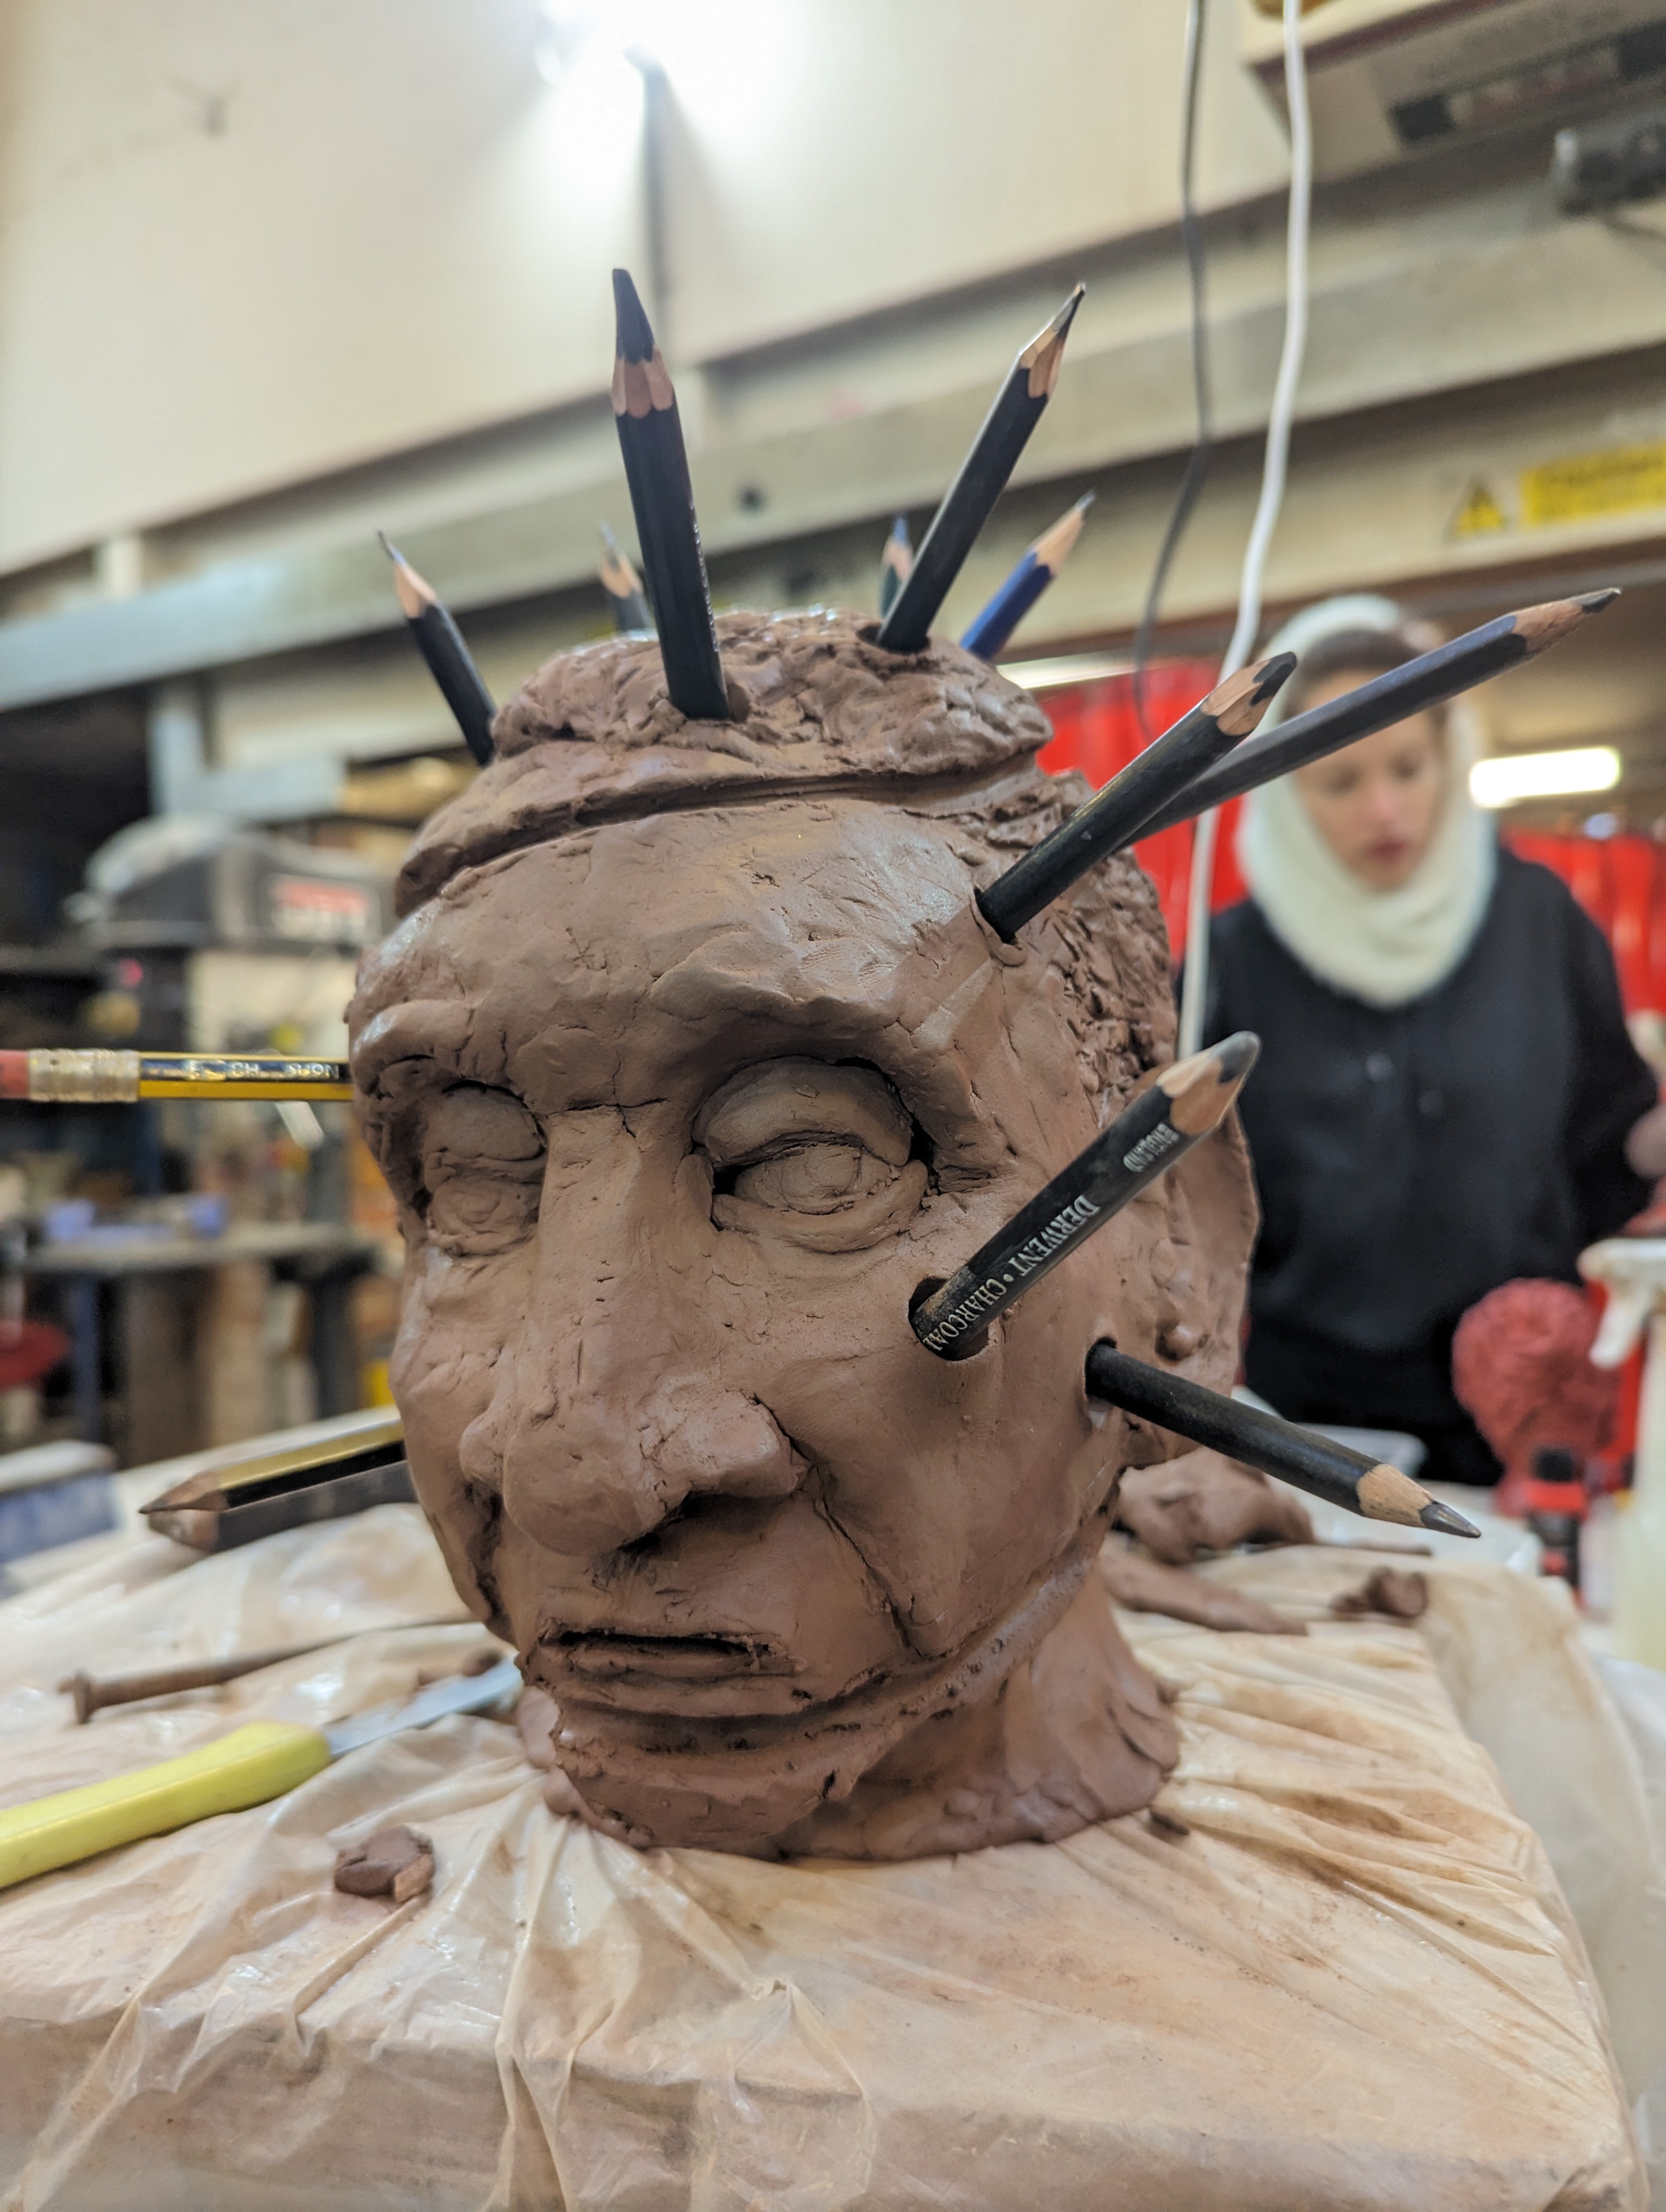
I had a collection of broken pencils and useless brushes and glued them into the pre fired holes
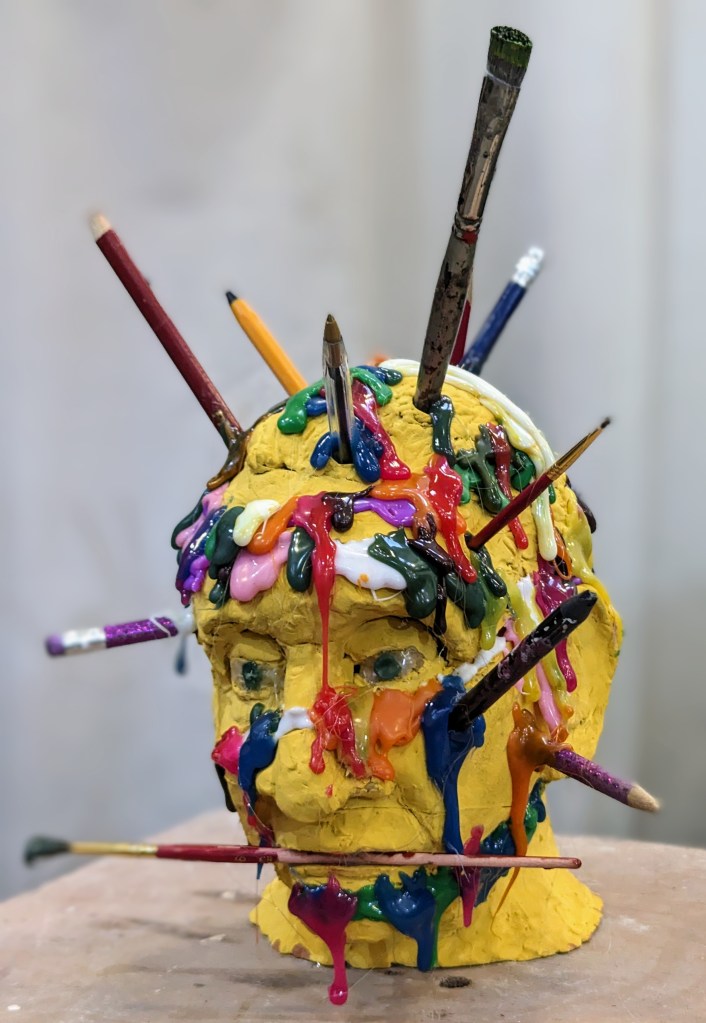
I consider it a success, the bust did meet the plan, if in an eccentric way . The class produced a group of very different successful pieces.
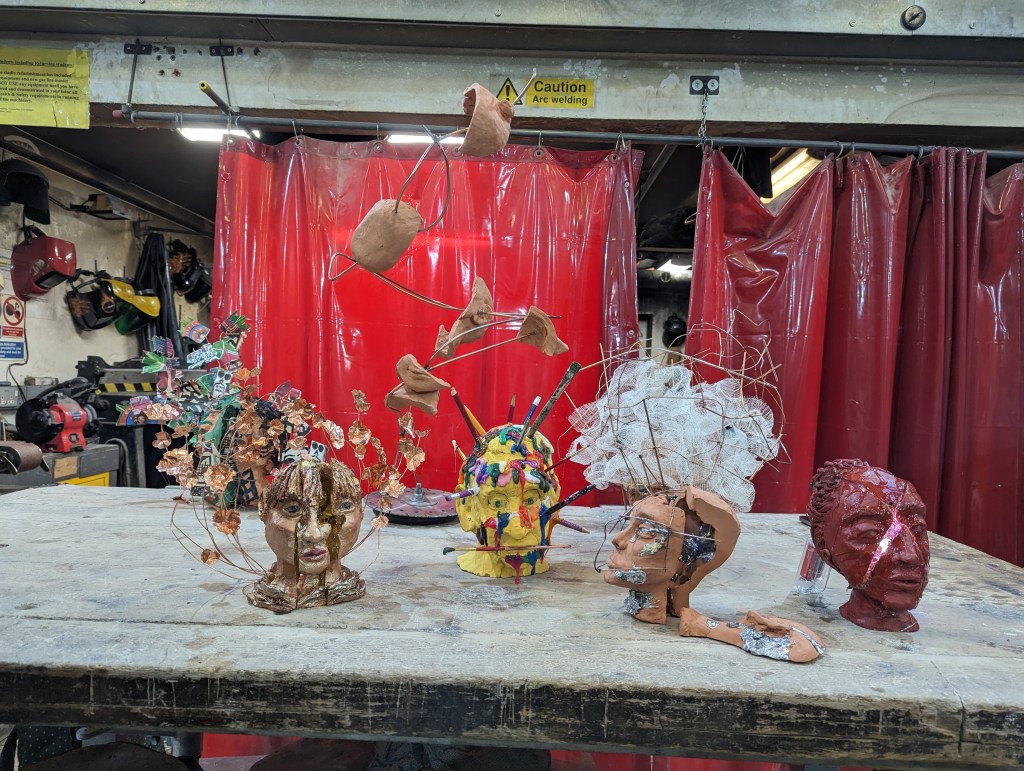
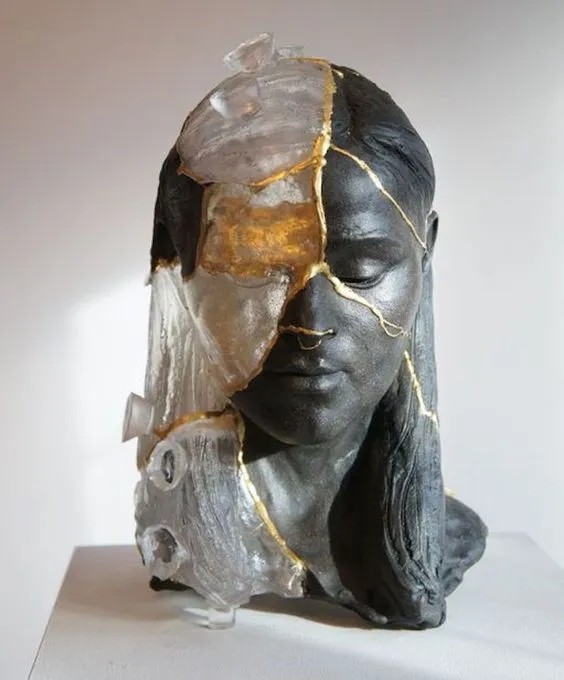
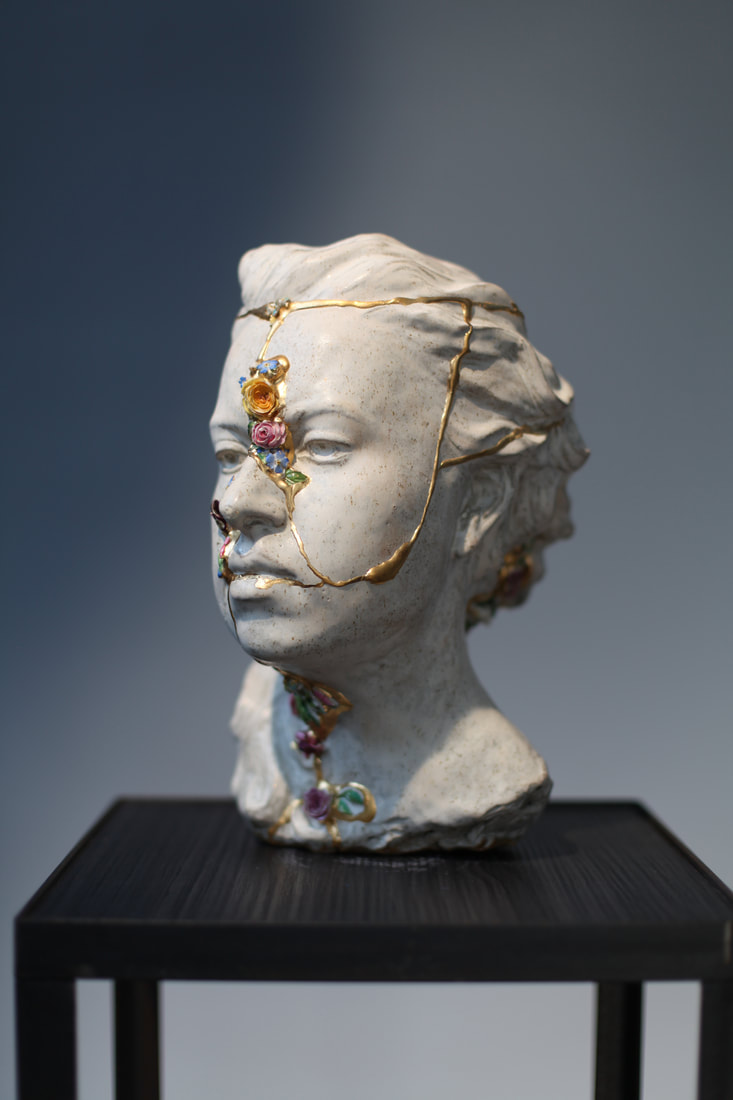
The two most interesting busts:
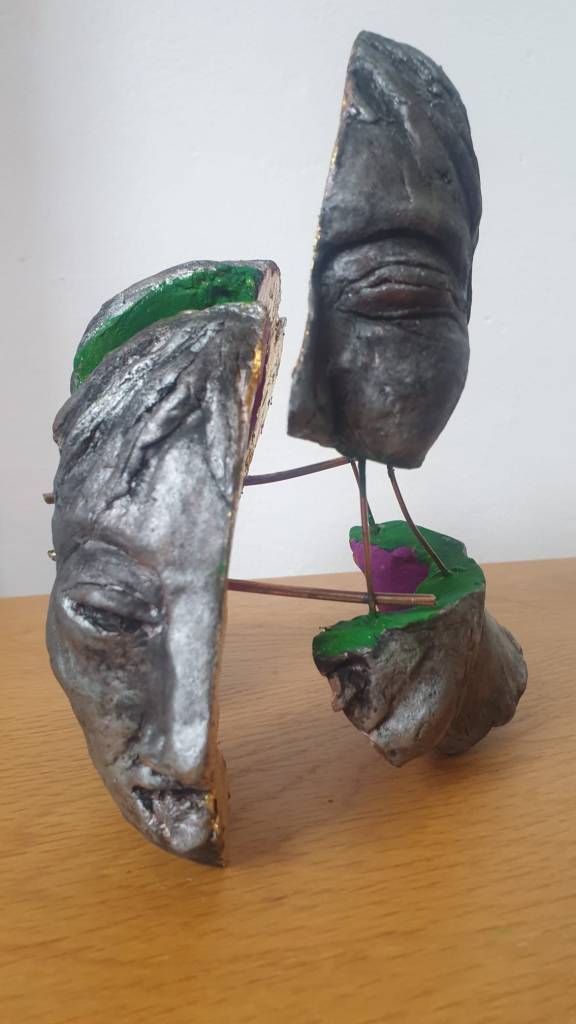
Cutting up heads
I missed a vital week because of Covid. Returning to my rather grim bust i had the task of cutting up and planning a reconstruction.

Having learnt to hollow out my bust for firing, and enjoying the wonderful plasticity of clay, I decided to cut it into a spiral. Discussing with Ben if it was possible ( the clay would collapse unless supported ) I tried a thin supporting ribbon , tracing then cutting a spiral.. the clay bent in places but i succeeded in a single spiral

After a discussion with Ben I incised two extra spirals
After firing i plan to insert pencils and paint brushes in pre positioned holes and to have paint like substance spilling from the spiral cuts. I plan to use quick drying hot glue. To finish the bust I will either spray it a bright yellow or cover with strips of paper from an art magazine. It depends on what finish the terracota will take.
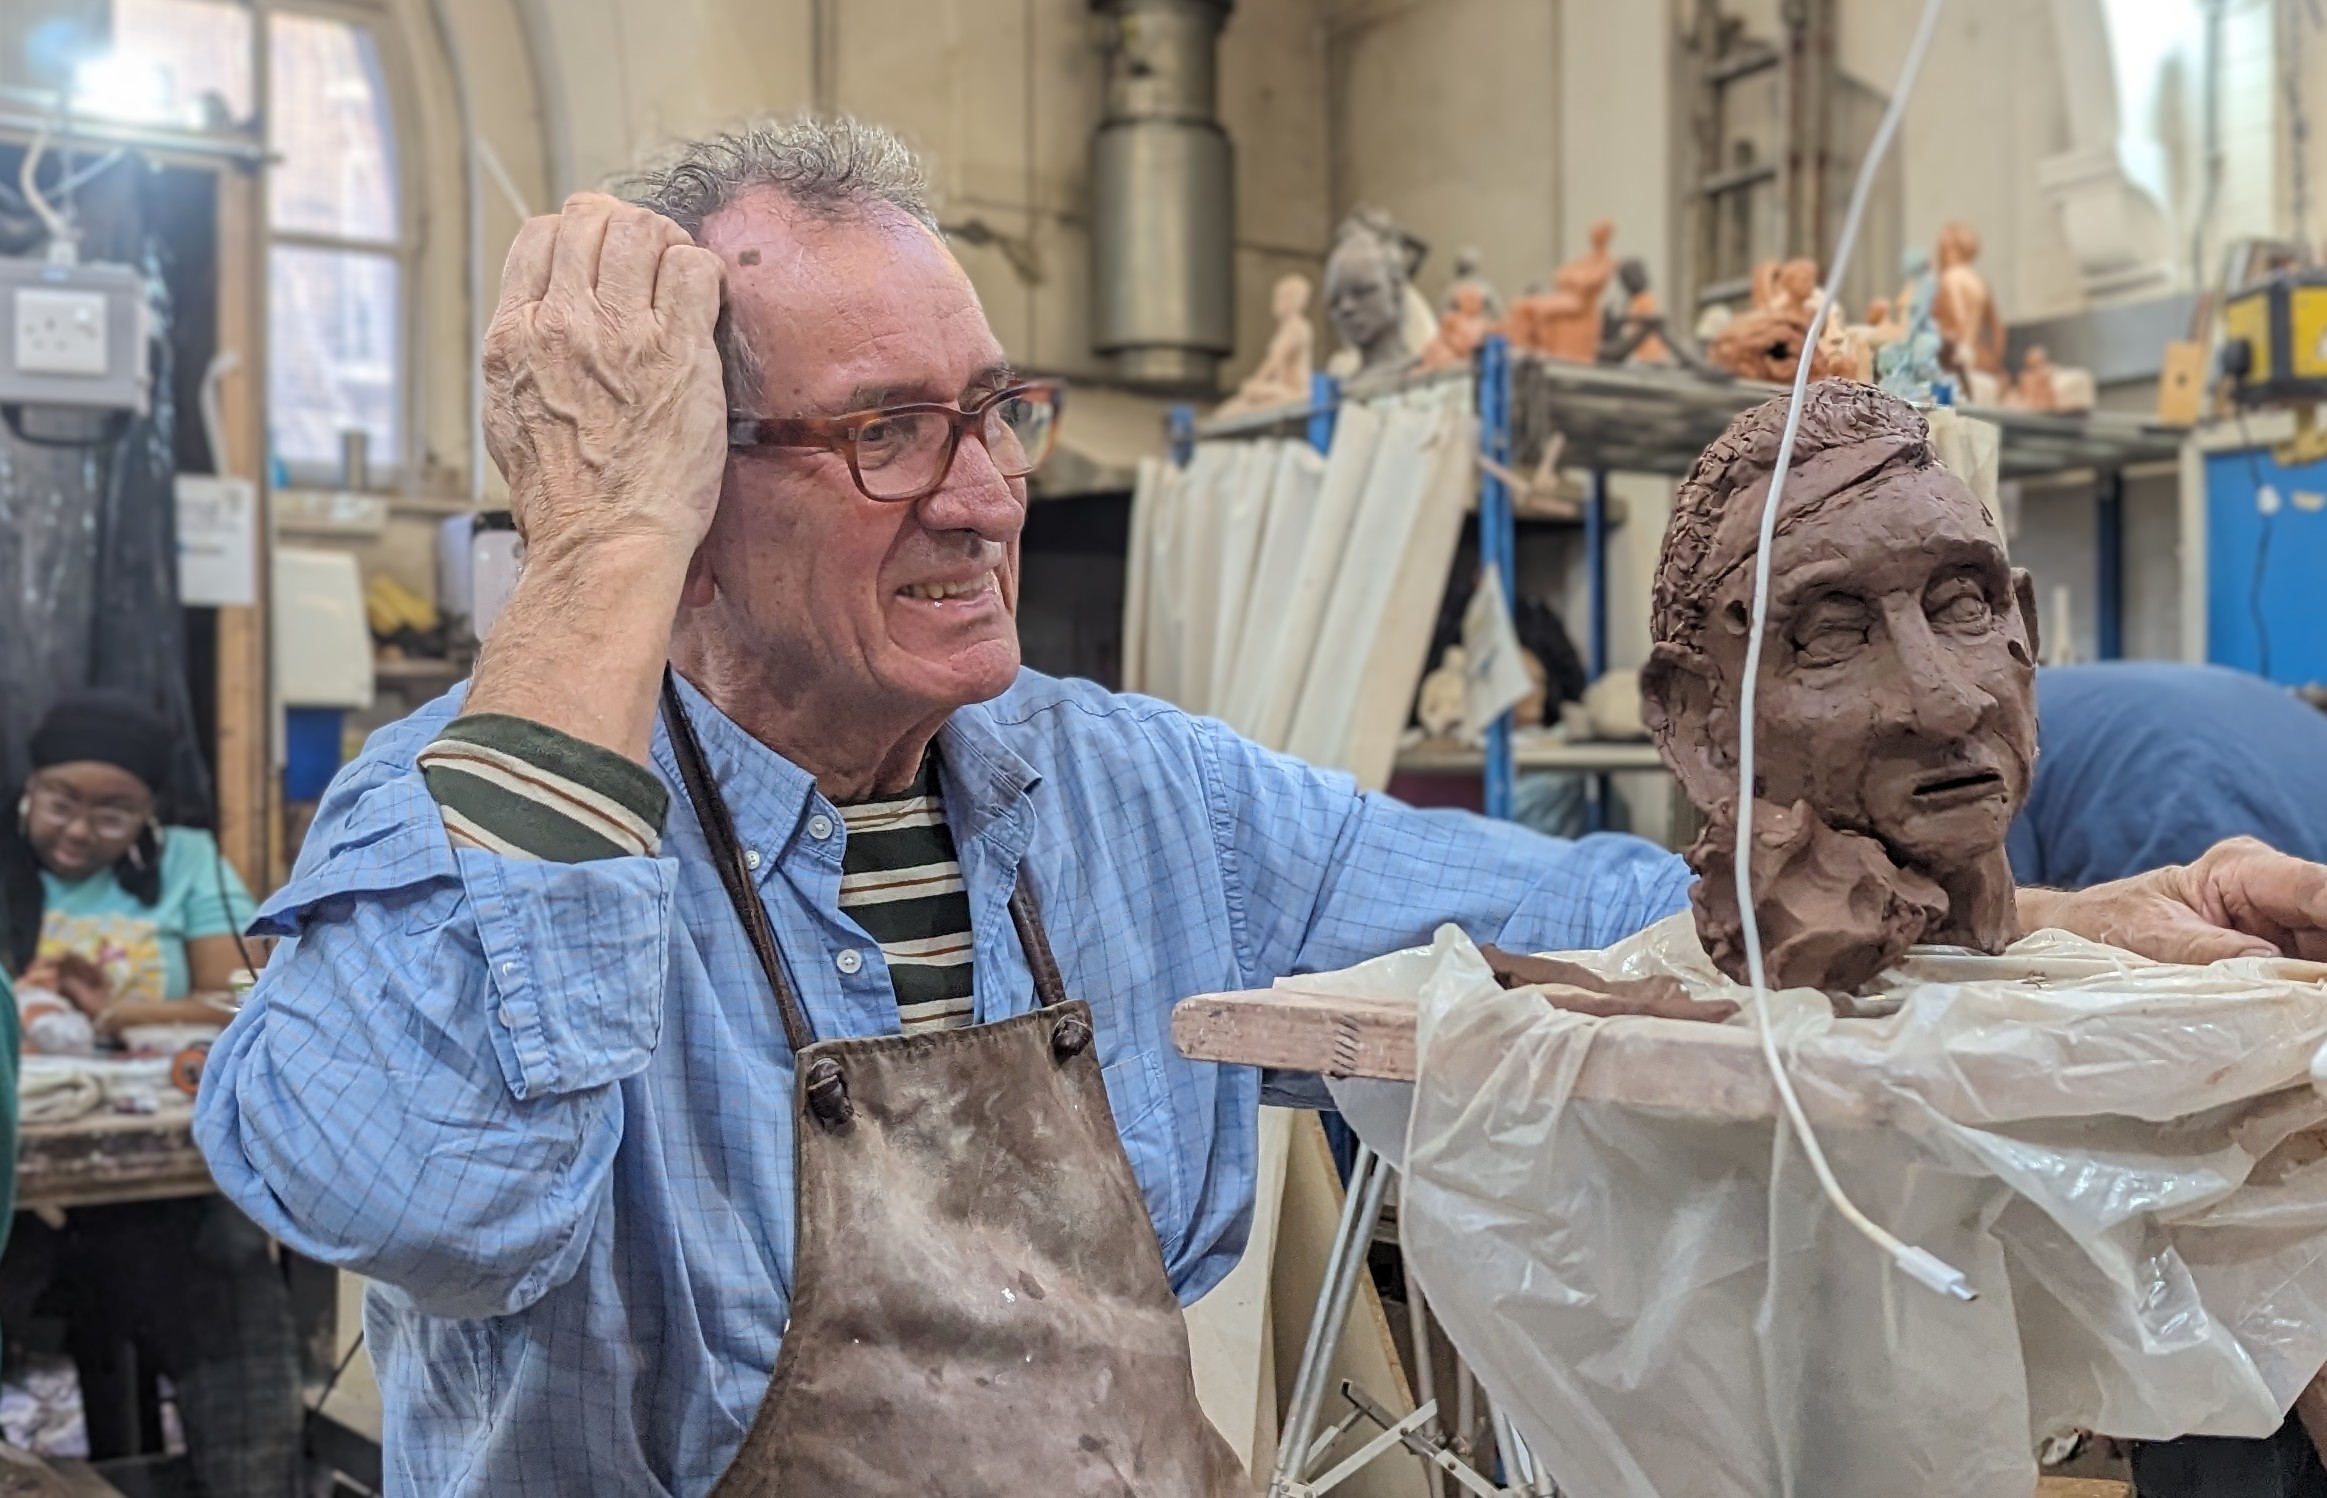
Clay glorious clay, thinking in three dimensions
Over three weeks we have learnt about the properties of clay
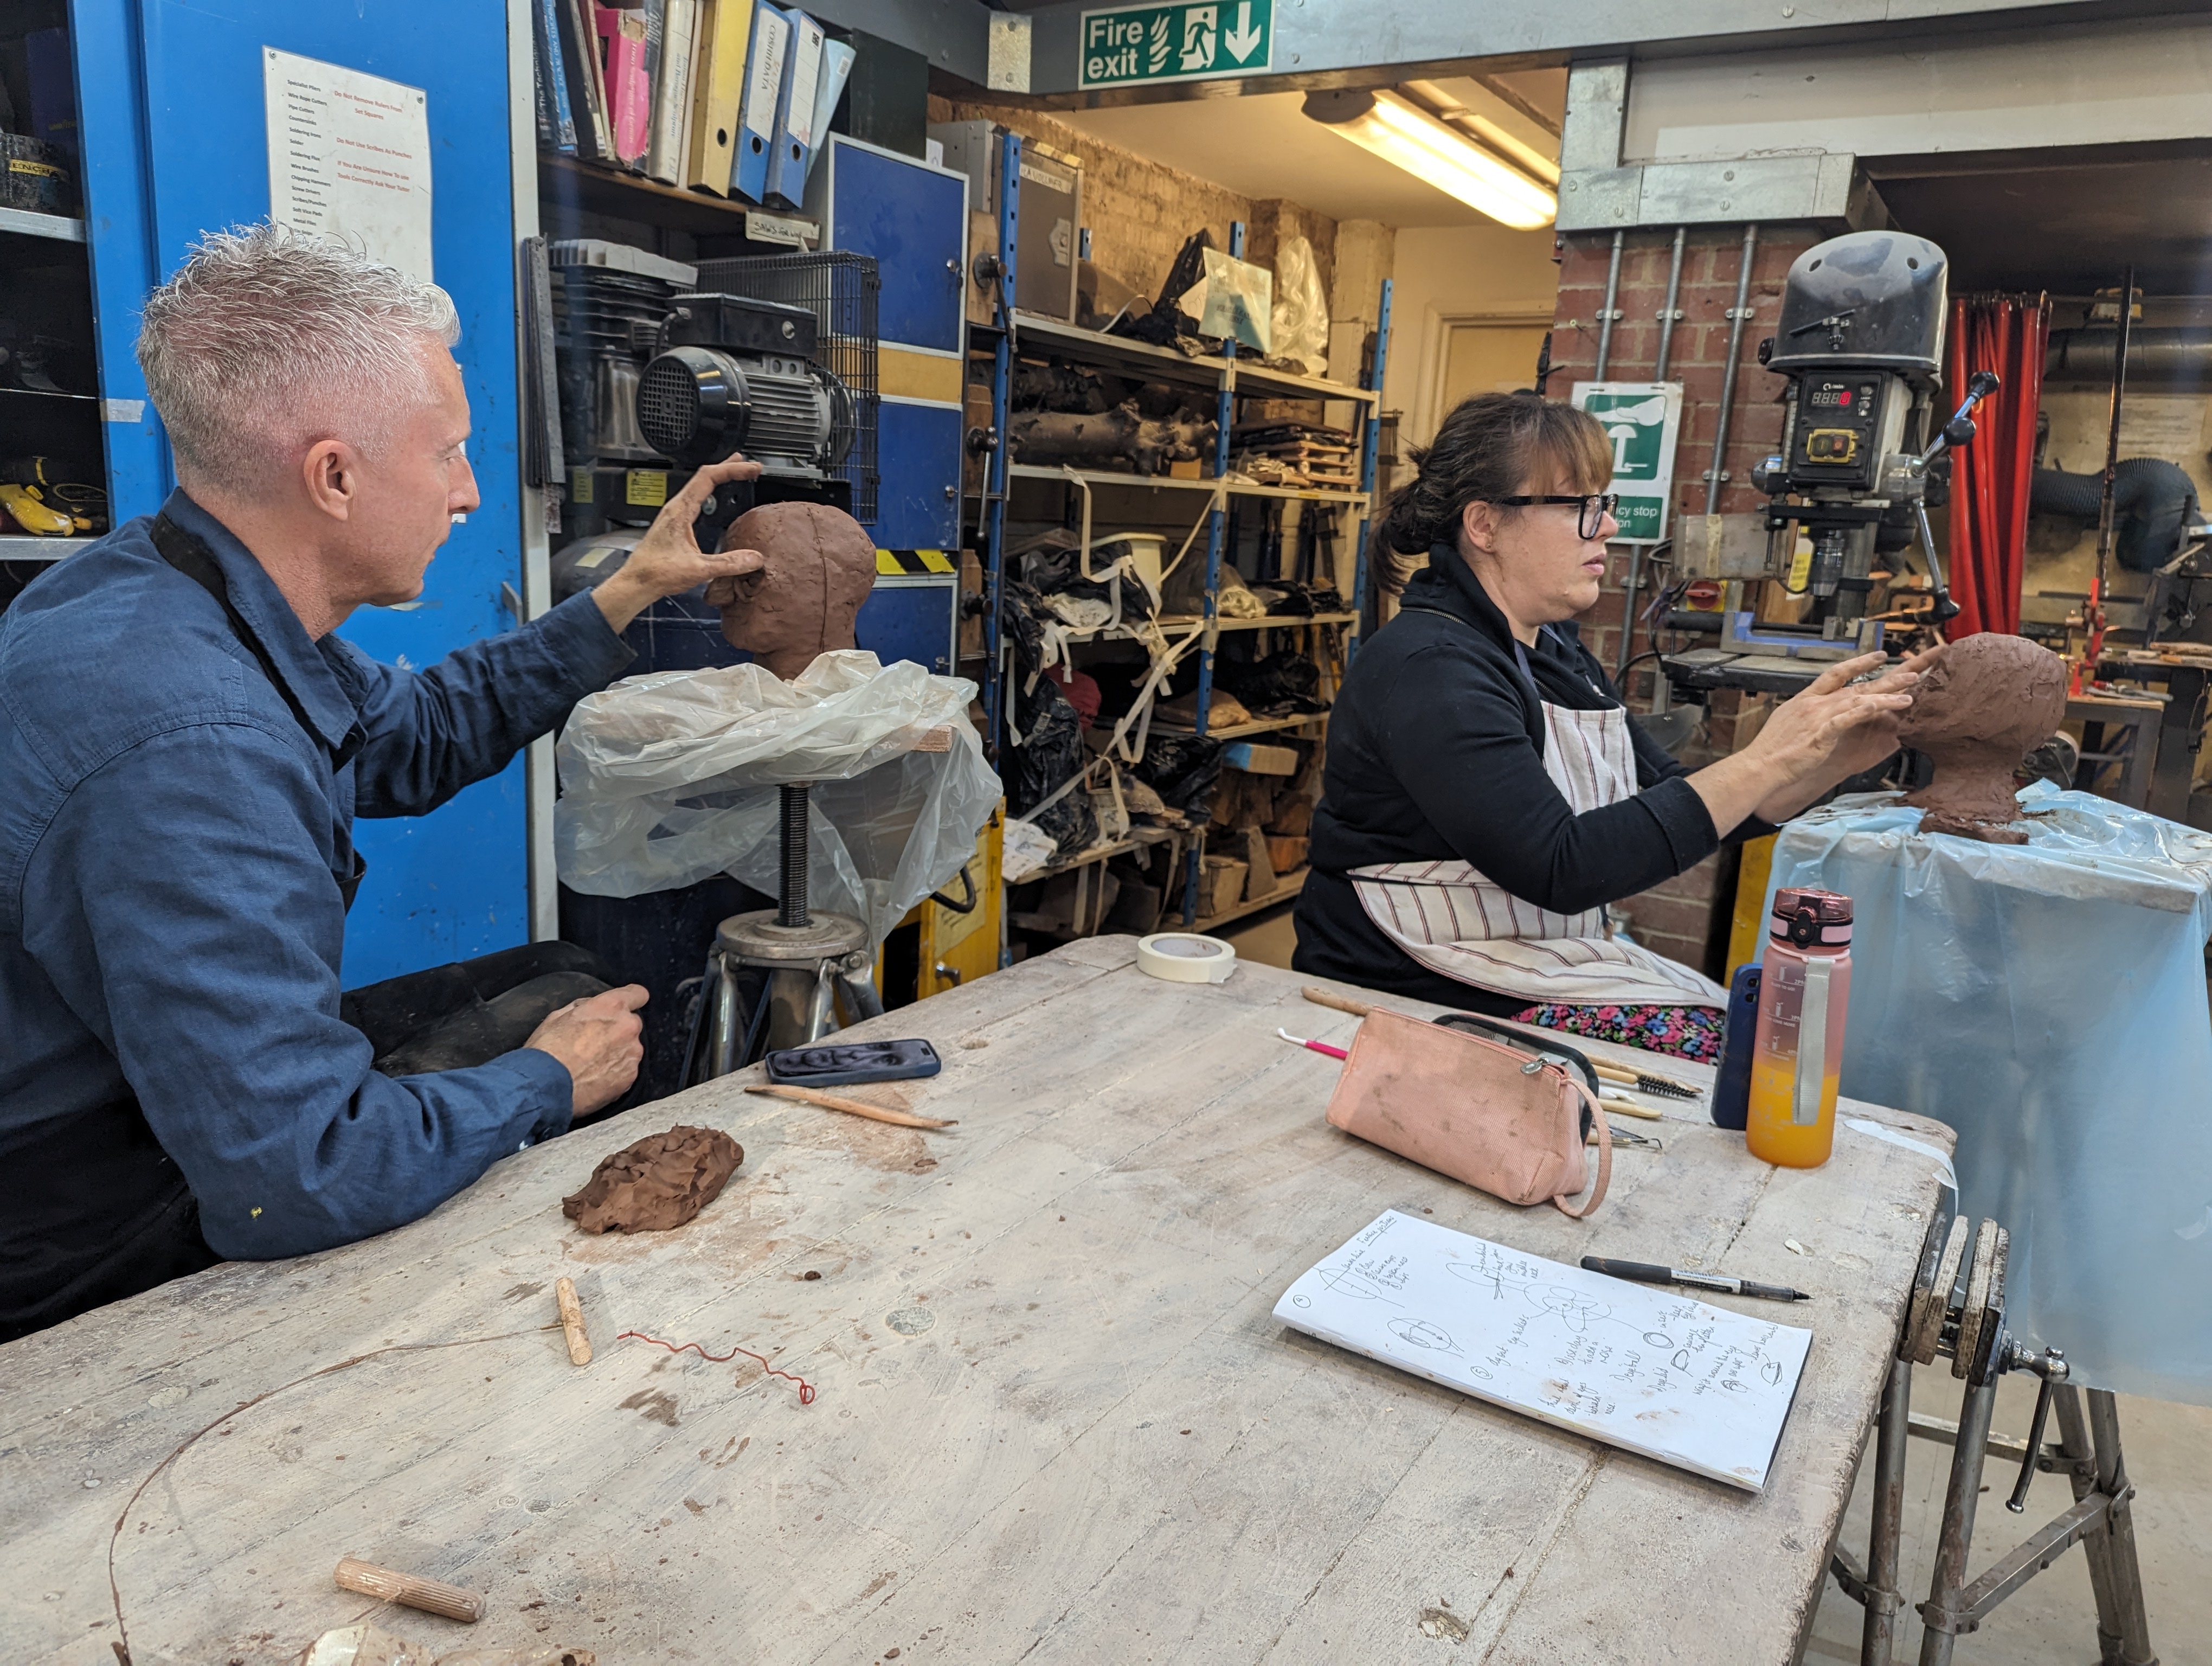
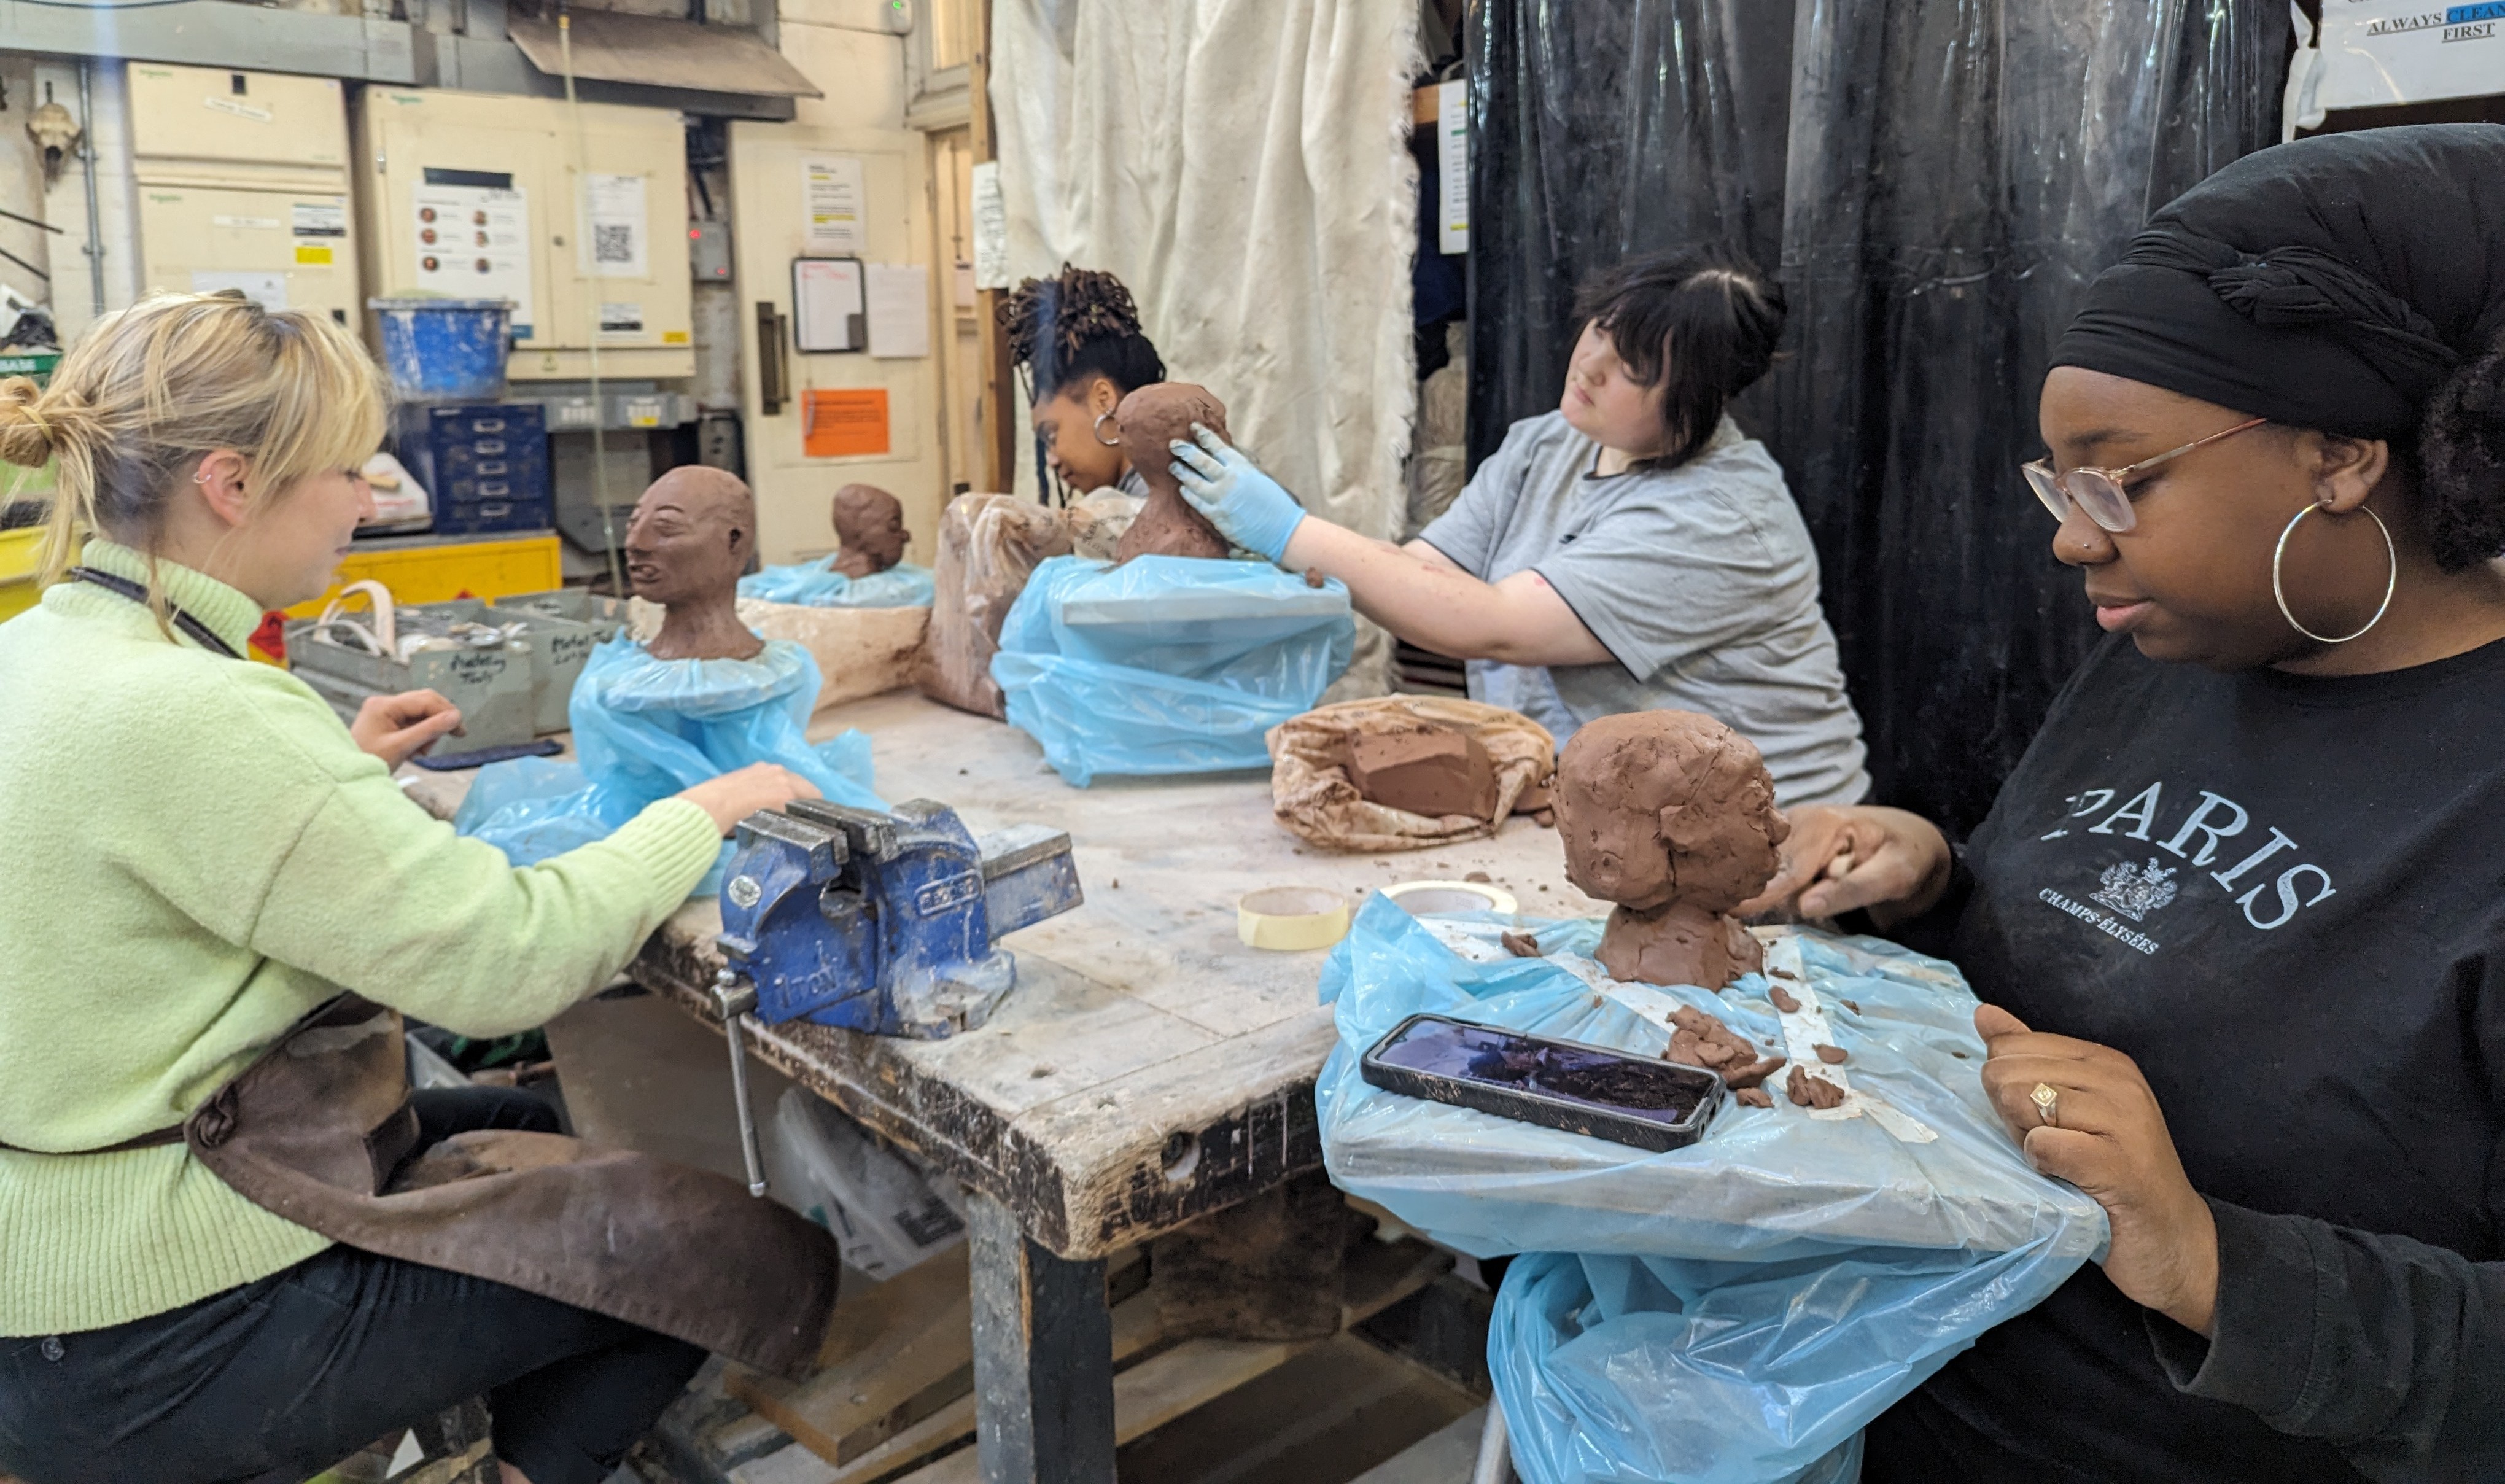
The lesson is thinking and planning in three dimensions. During the last weeks we have produced work on paper, drawing , painting , printing,….now we entered the third and most difficult dimension. From tone and line we have to consider bulk, weight, texture shadow.
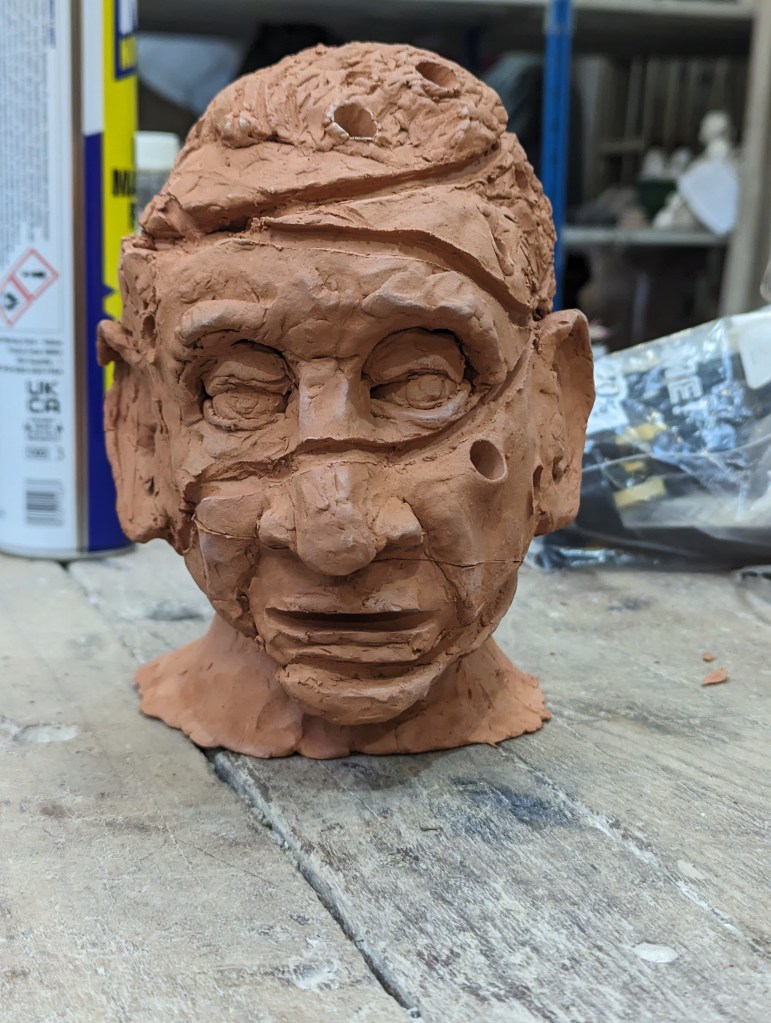
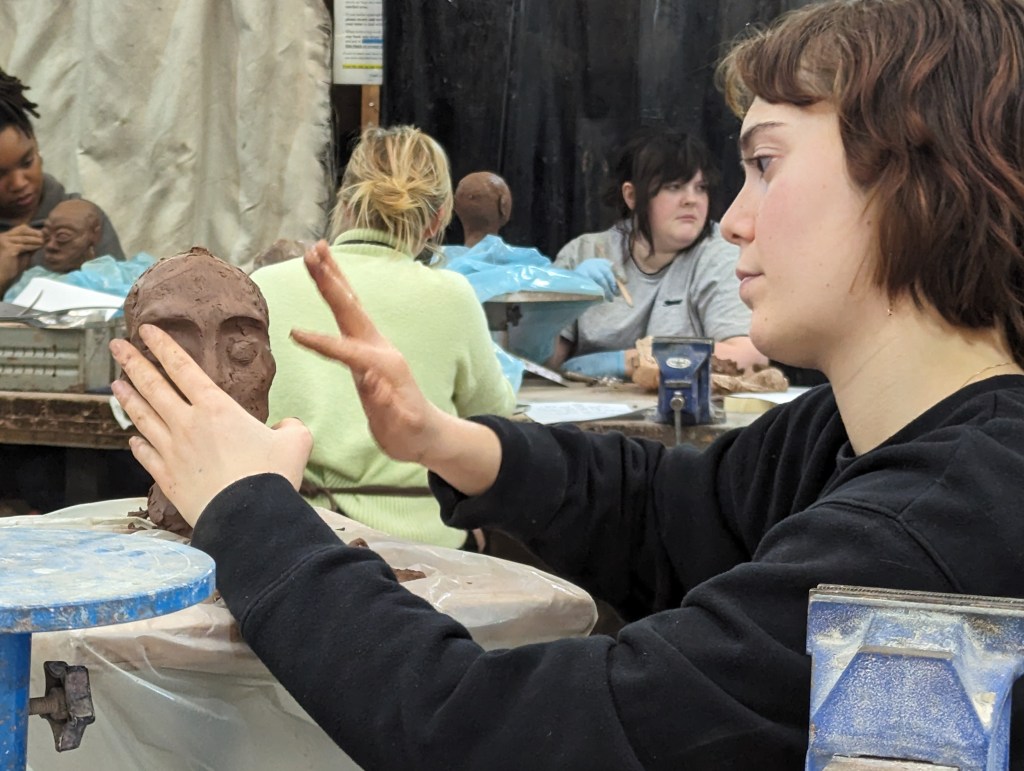
Starting with a set of head shots and a large lump of red clay we learnt to look at our heads, the enormous bulk behind our ears, the spacing of our features
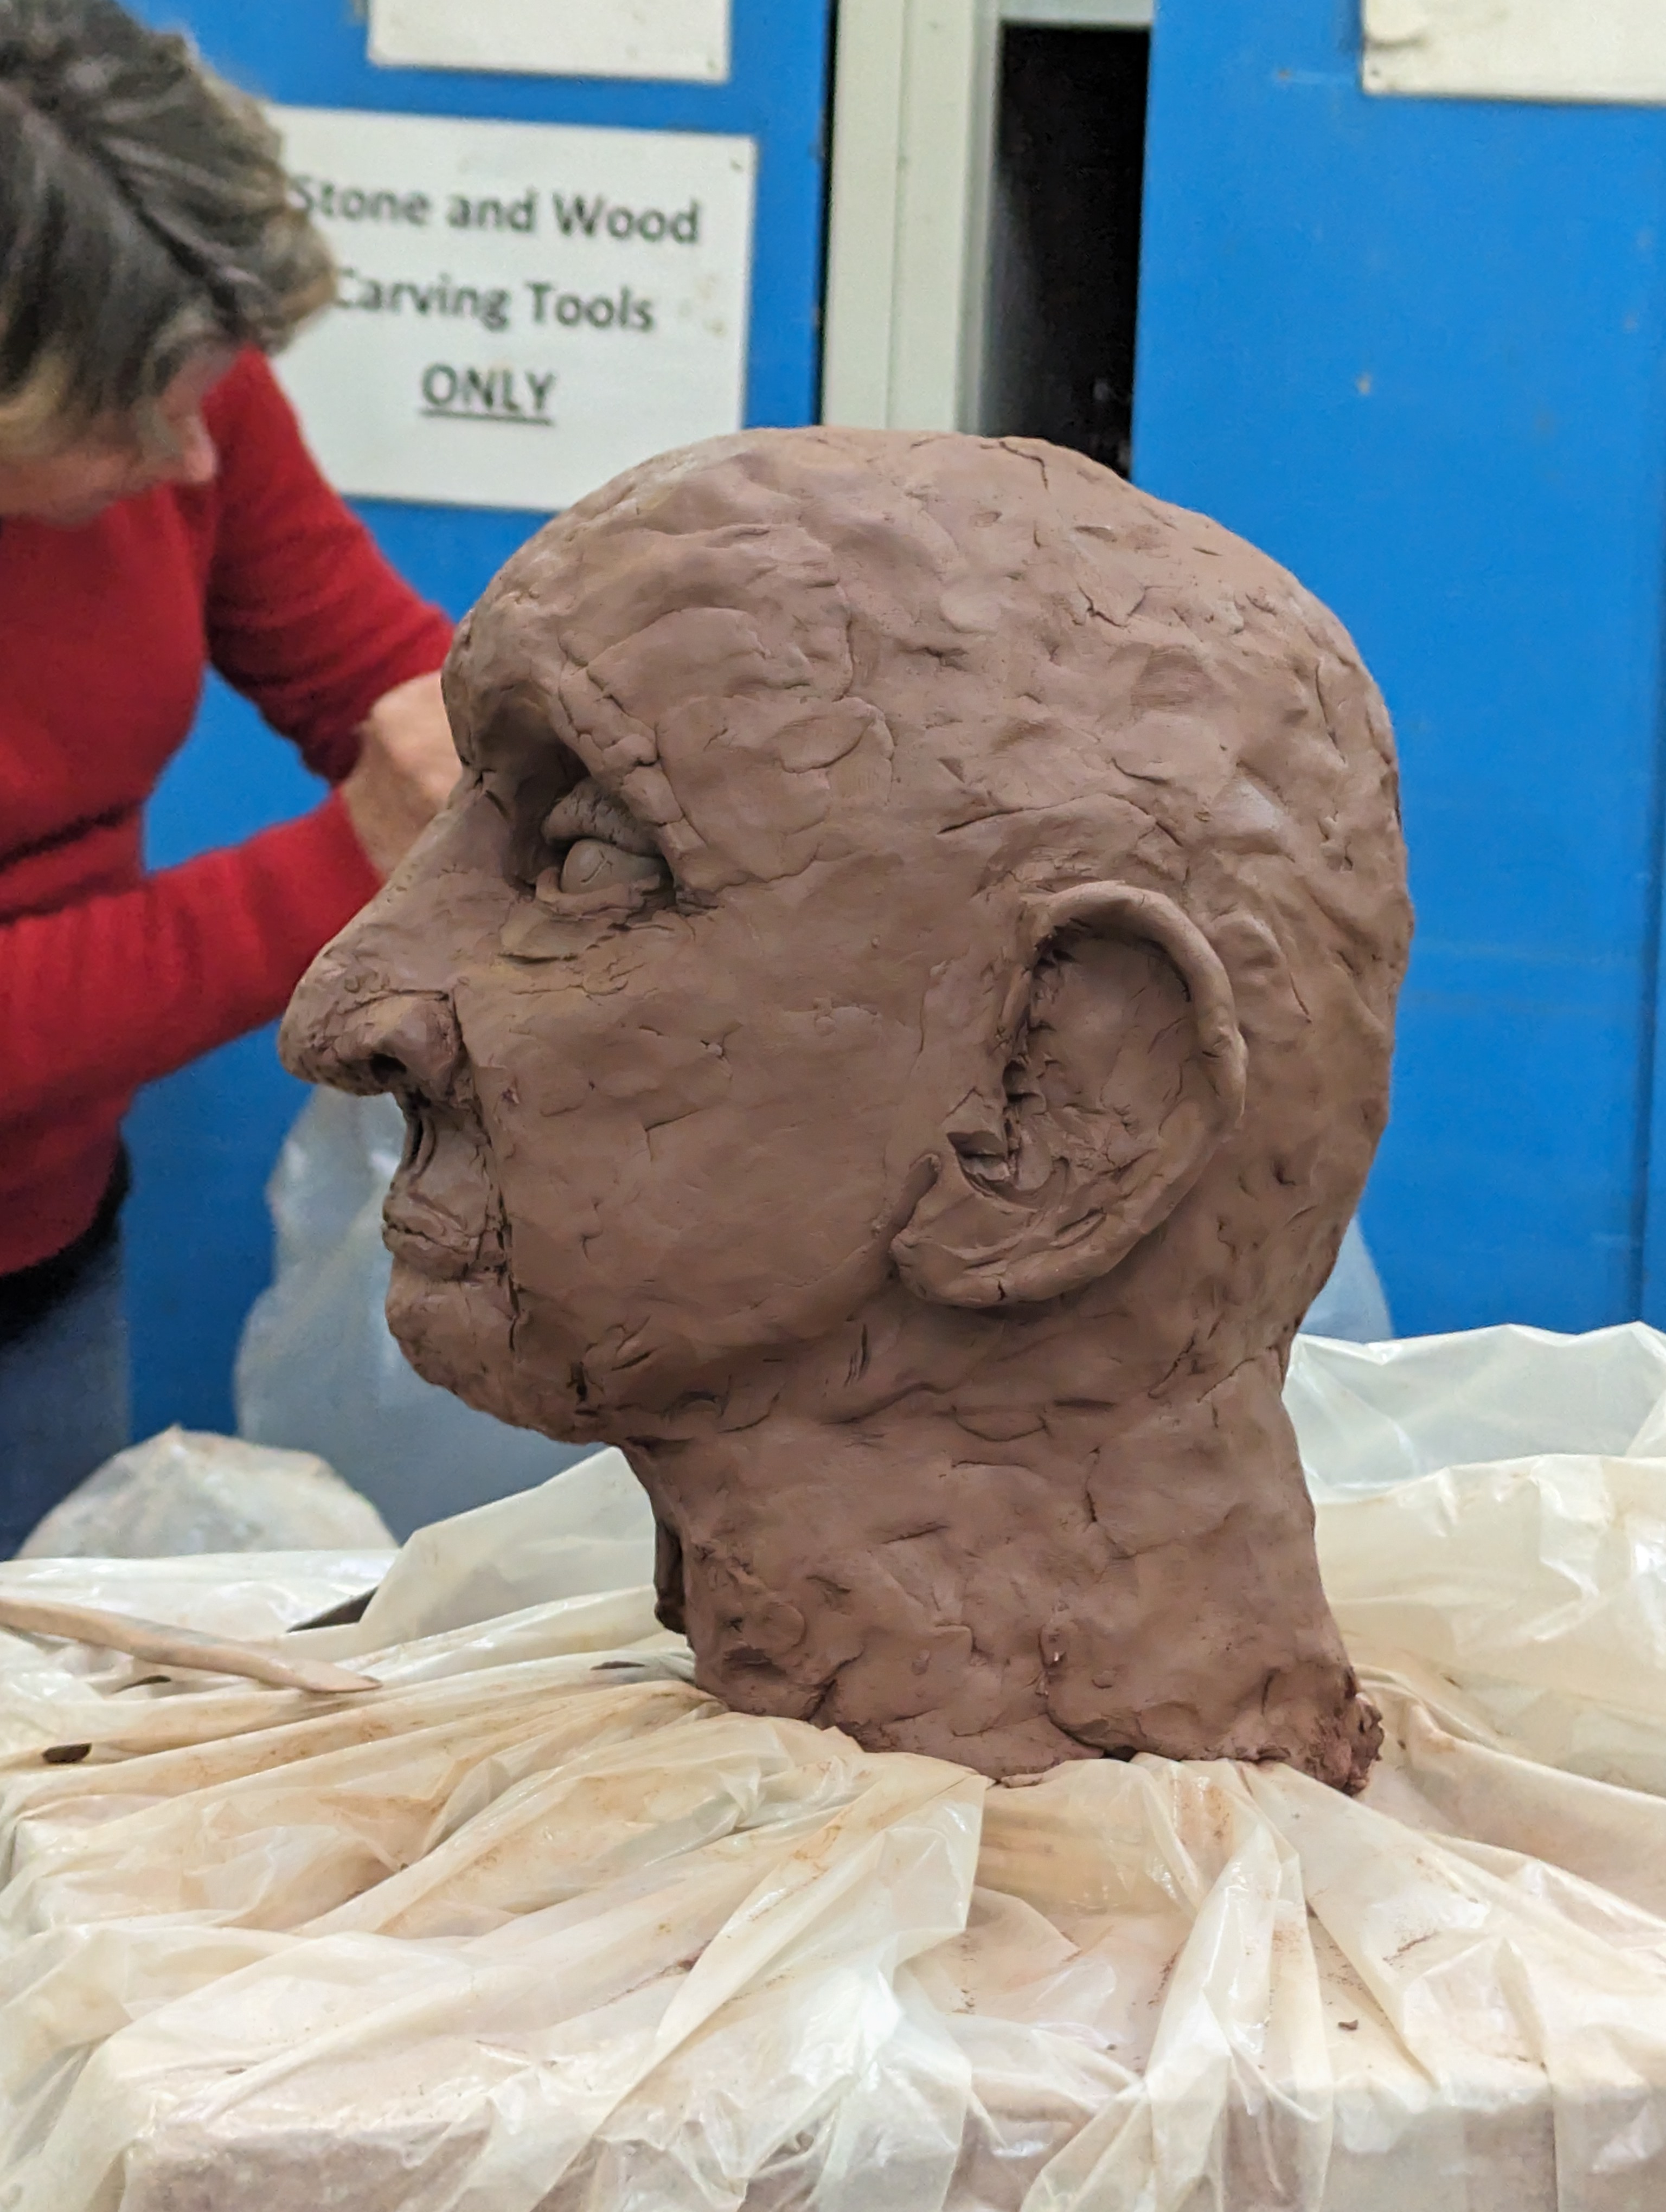
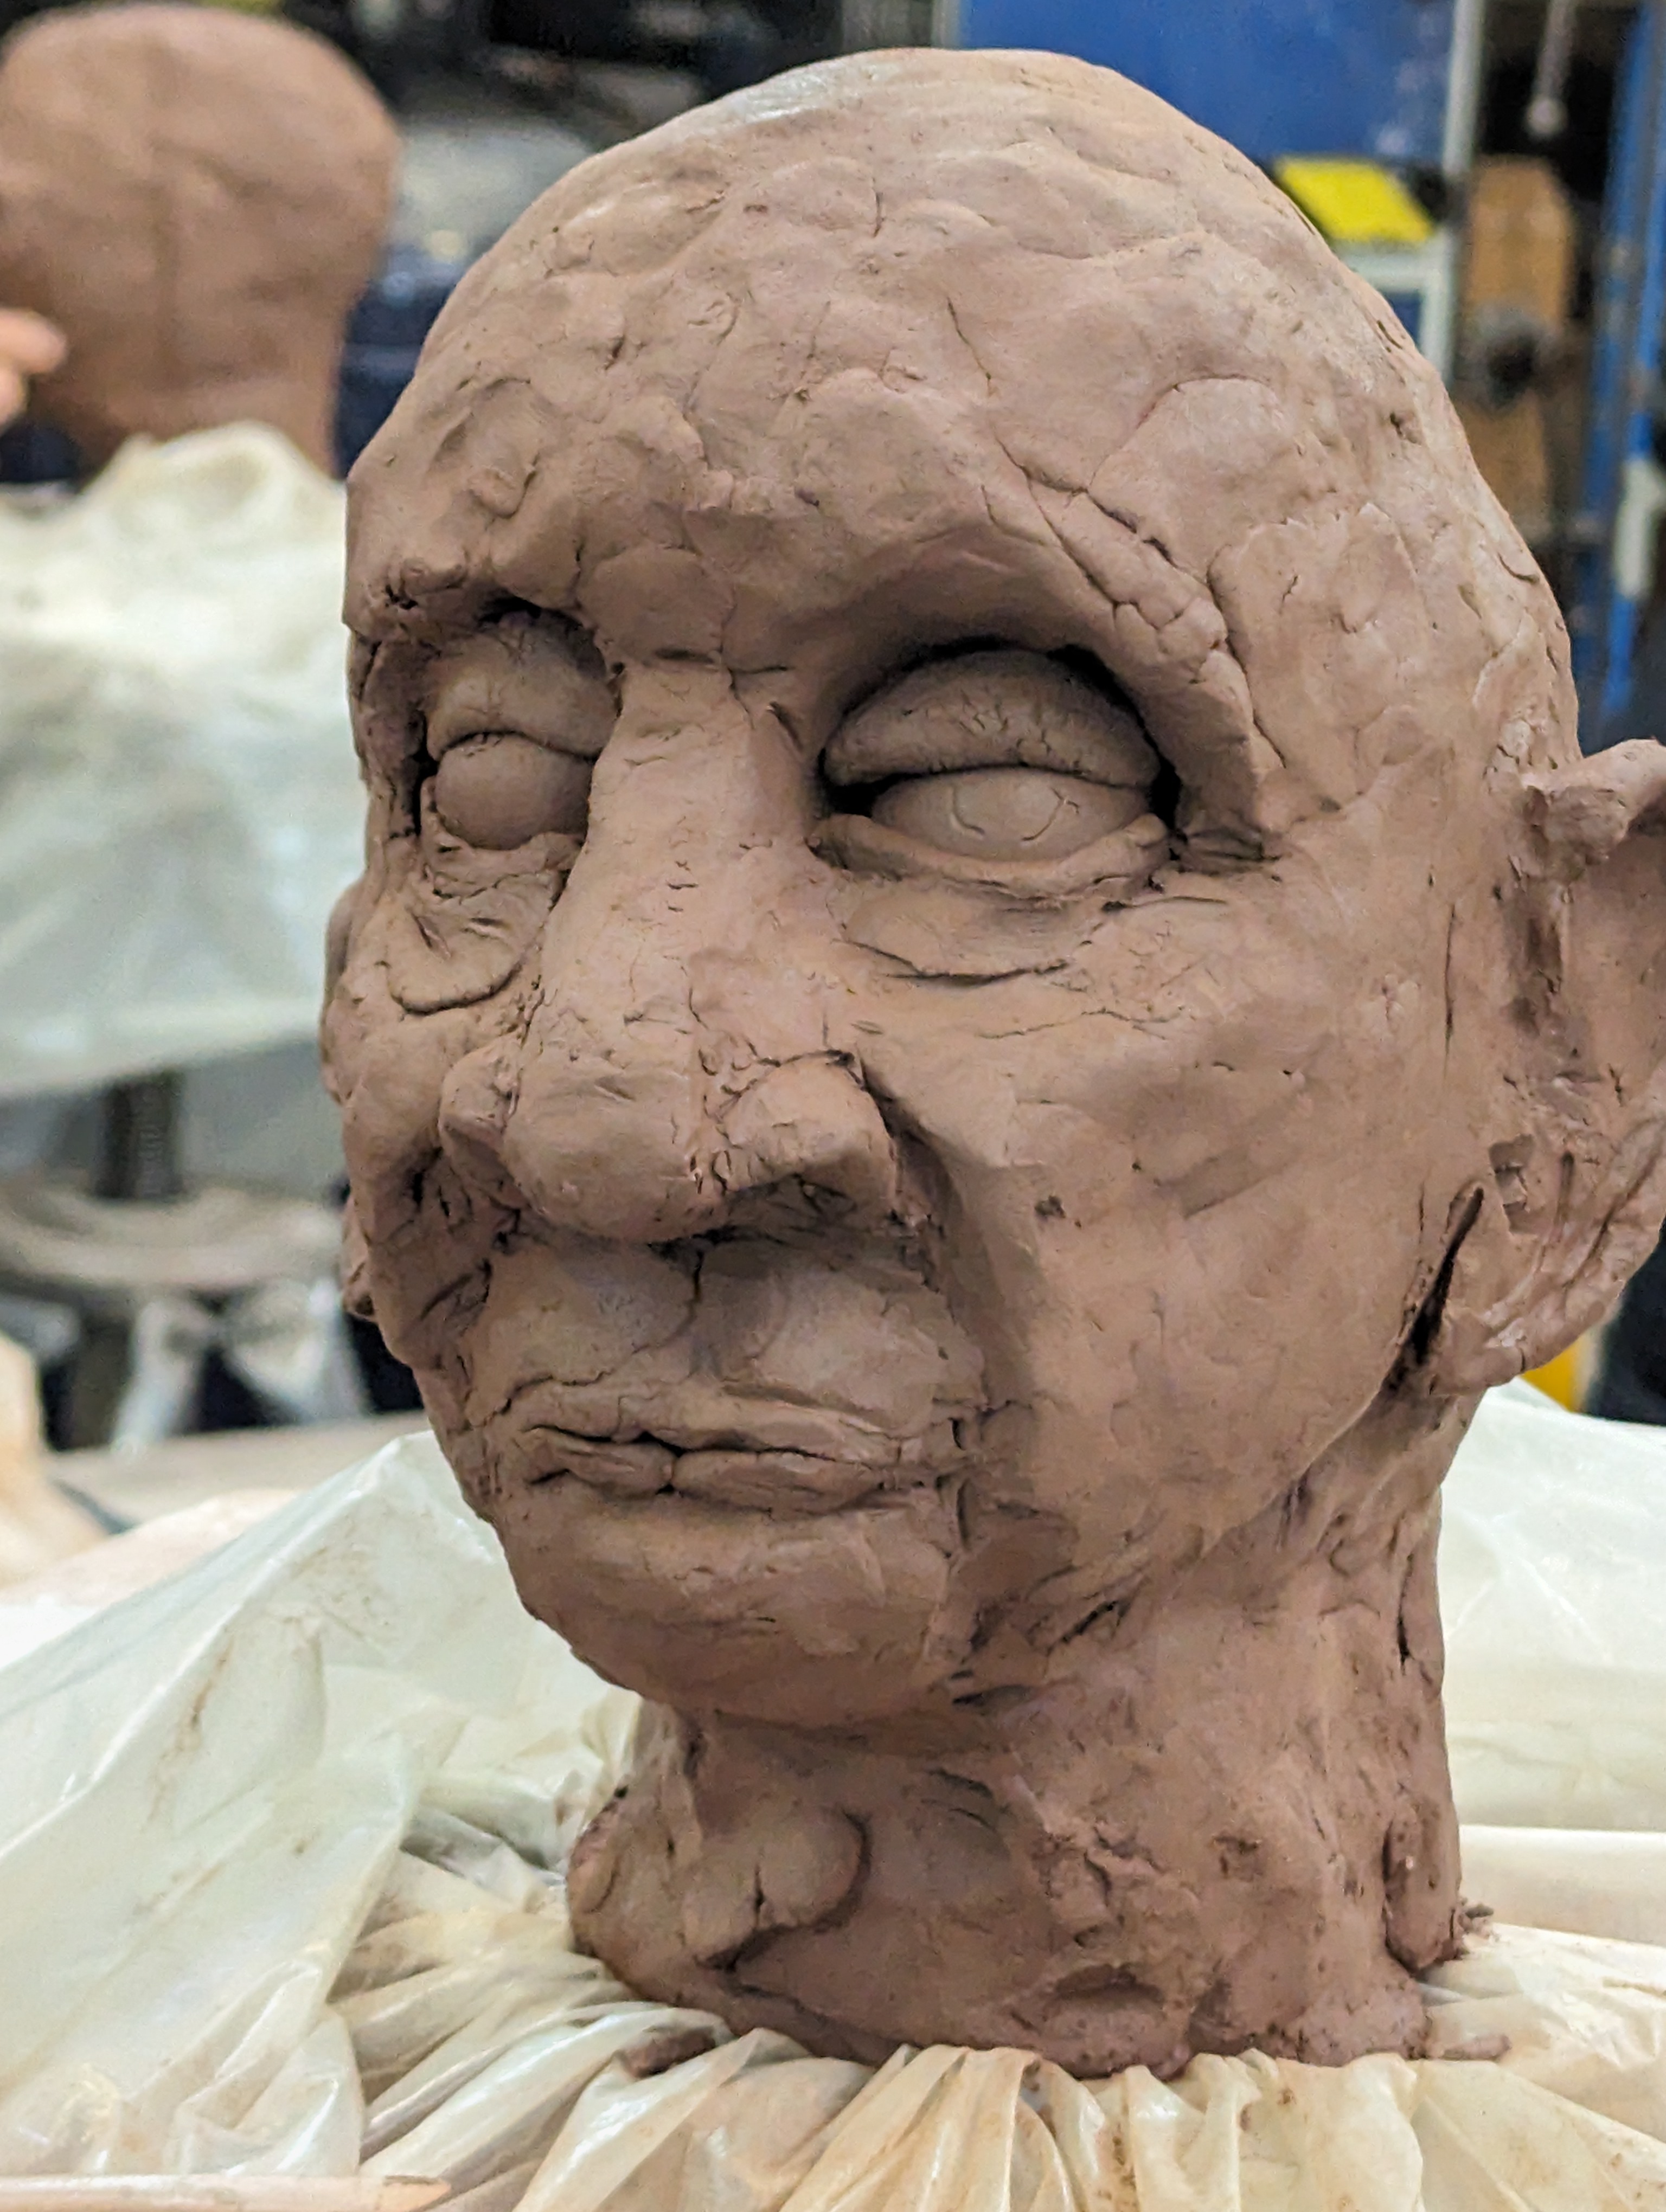
It was deeply satisfying to learn to gouge out eye sockets, make eyeballs, eye lids, lips … three muscles in the top, two in the bottom. As usual in all self portraits I produced a portrait of my father, more spitting image than joseph epstein.
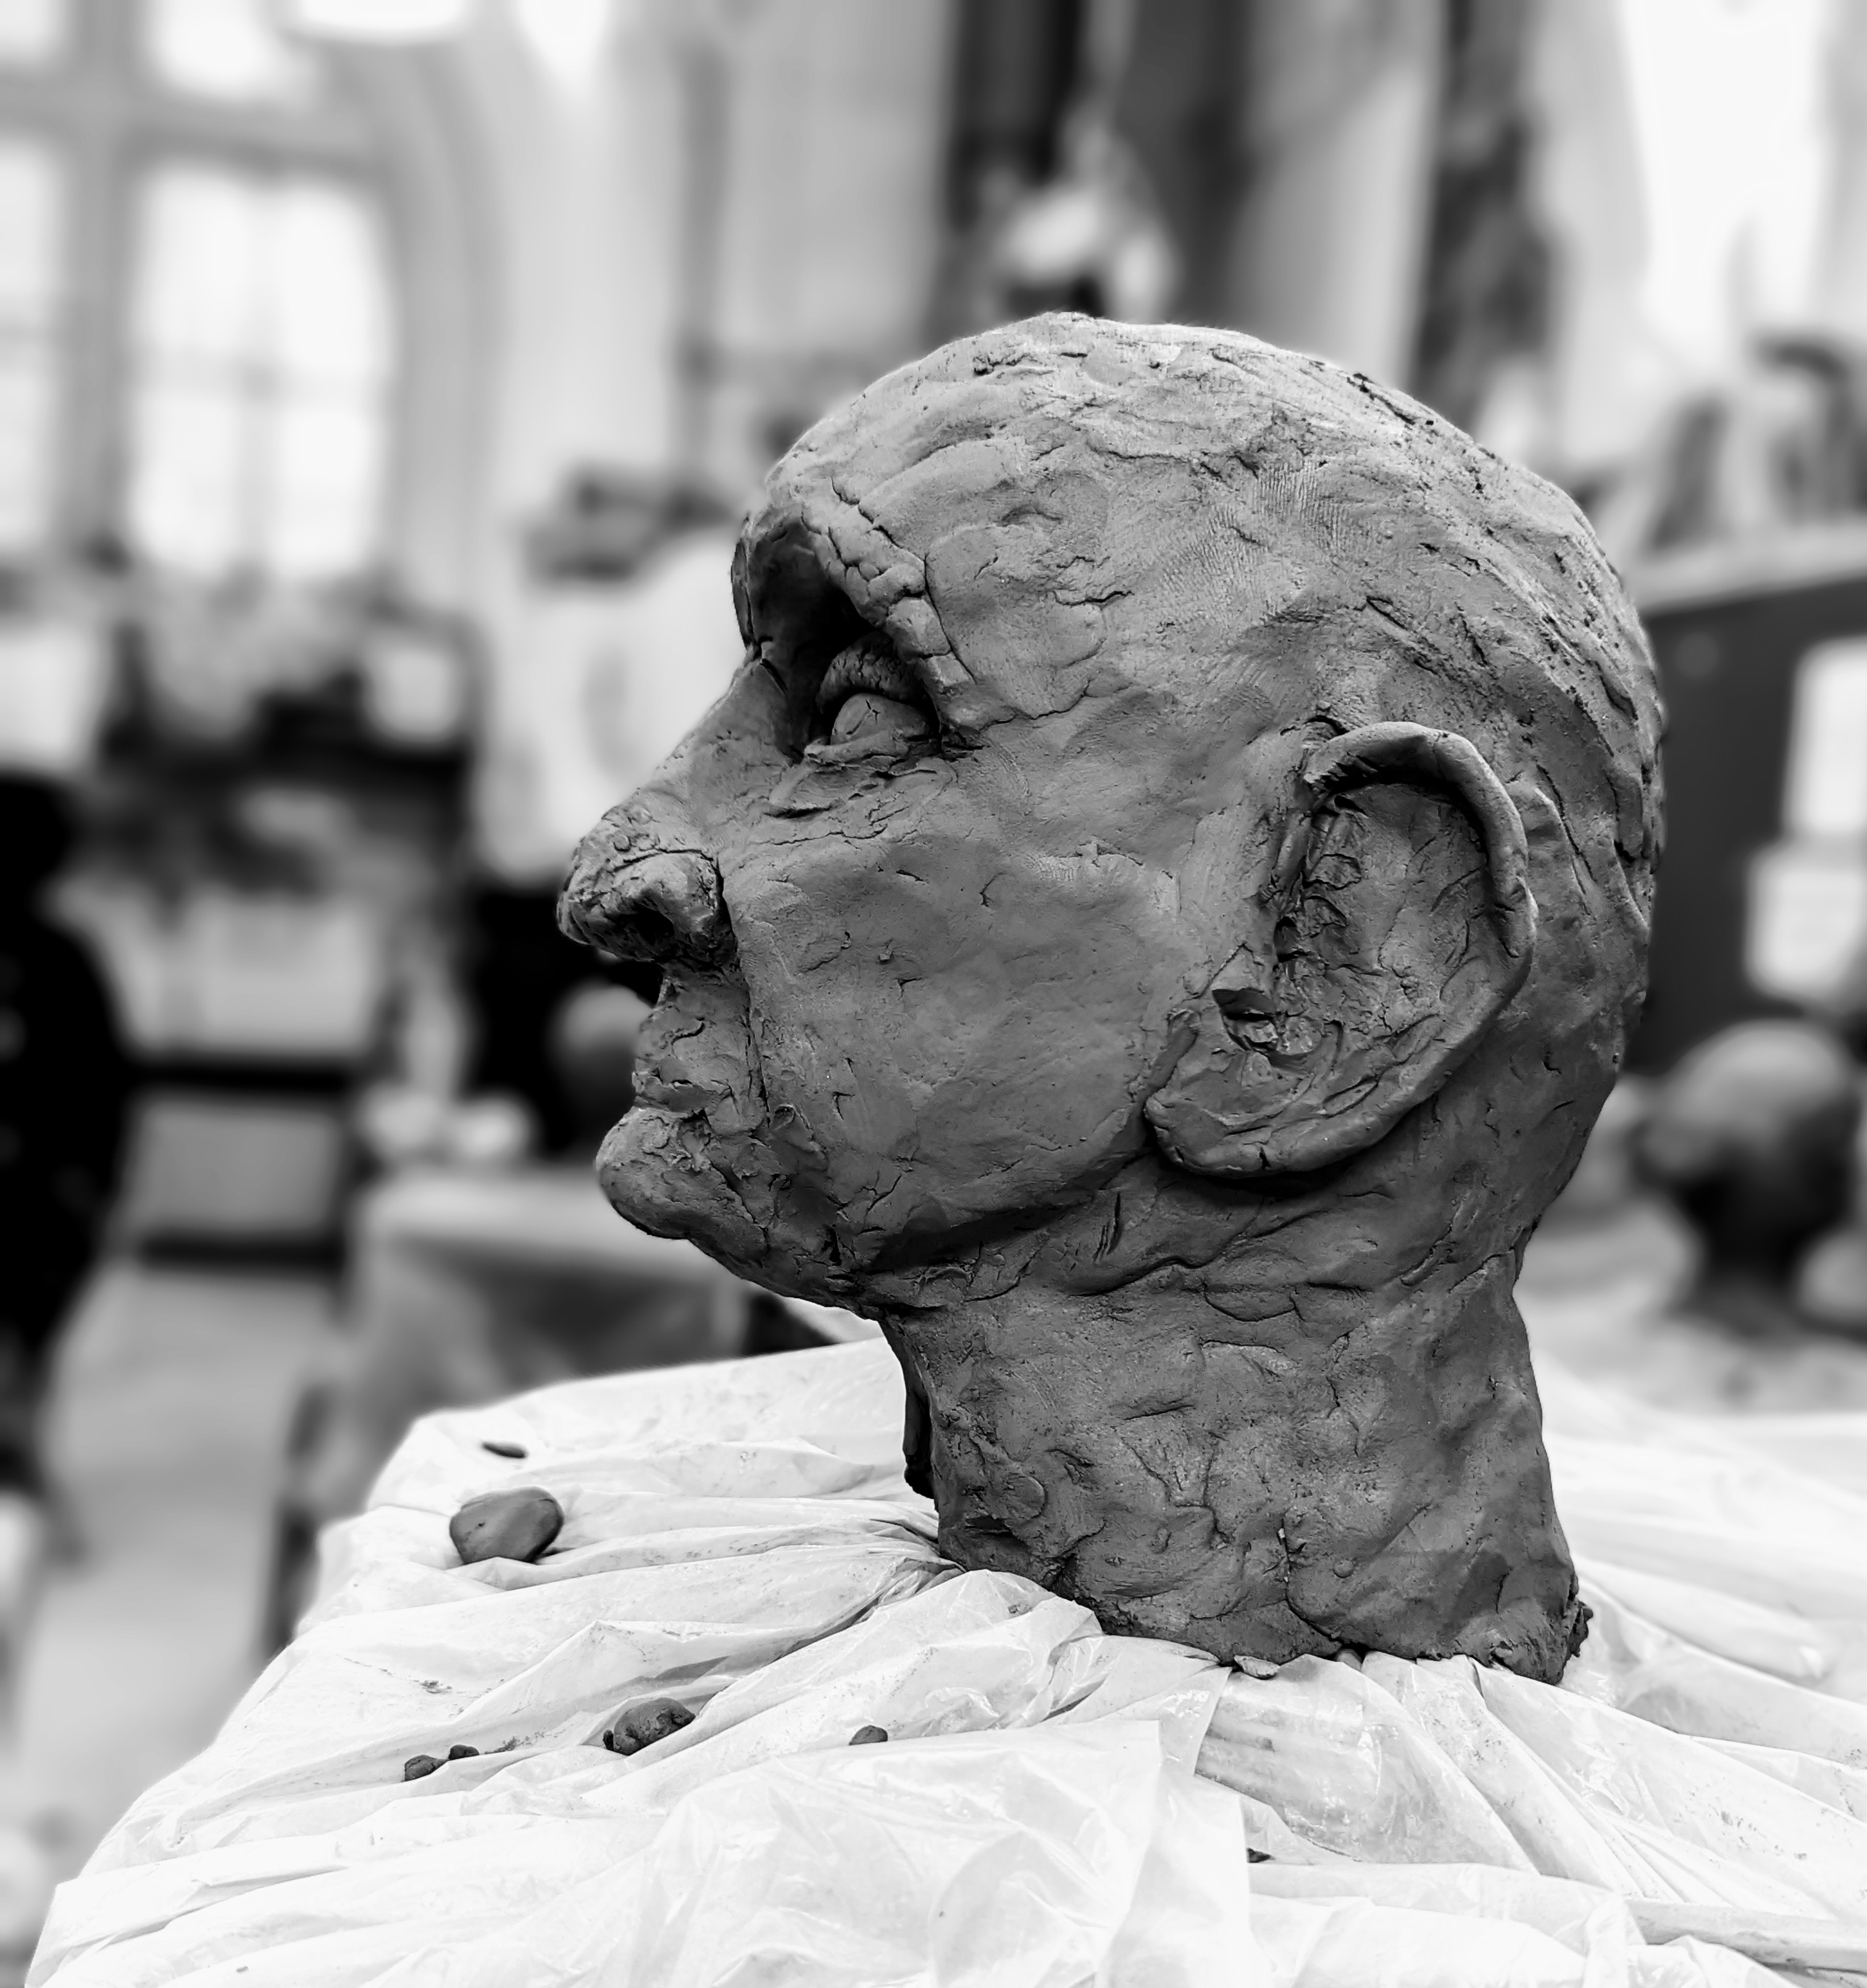
It has been a deeply satisfying experience, opening a whole exciting dimension. The possibilities in the sculpture studios are very exciting .
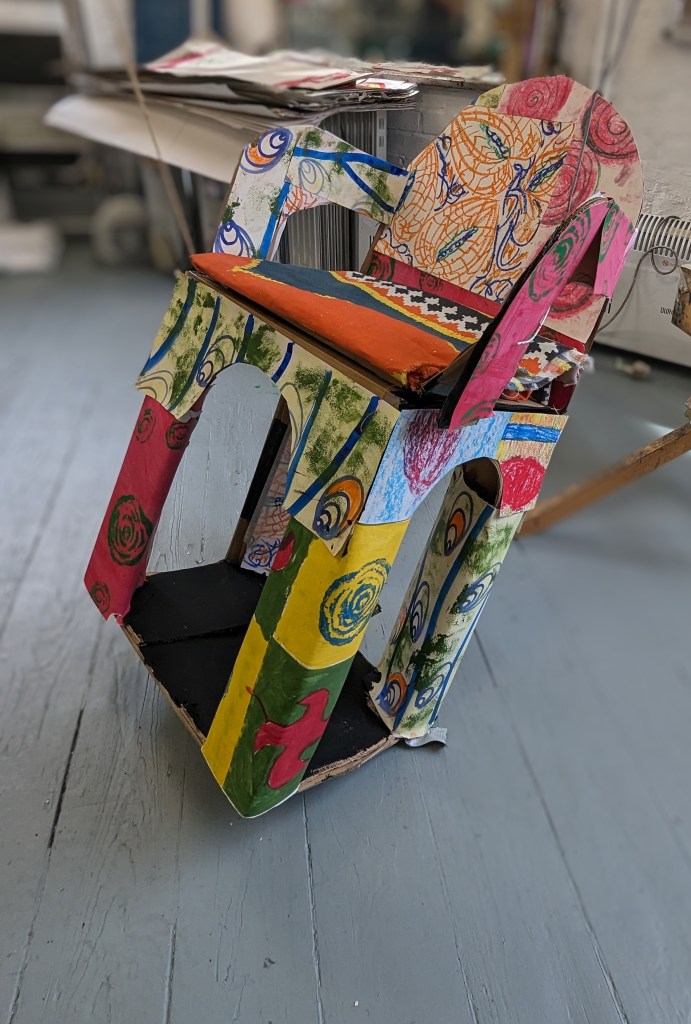
Yinka Shonibare chair
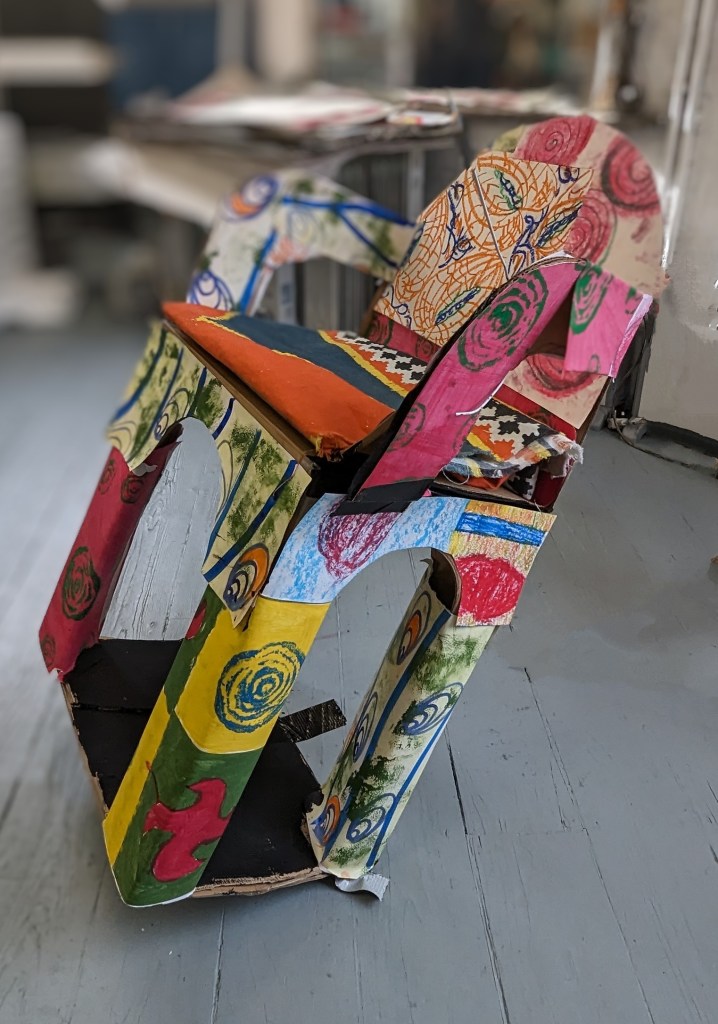


isabel, Andi, Catherine, Sana and i make fabric and cover the chair, two boxes make an excellent chair
Reflections posted on teams, my first attempt, interesting none of the images in the essay copied
Yinka Shoniabre a British Nigerian artist, is well established in the UK and internationally recognised. Probably most well-known for‘Nelson’s ship in a bottle’ an installation on the 4th Plinth in Trafalger Sq.
Shoniabre sculptural works are finely executed, with a fine and lightly humorous take on serious subjects. In almost all of the work, West African ’lost wax’ Batik prints appear. Sometimes the fabrics are sourced commercially or, like, Nelson’s ship specially printed.
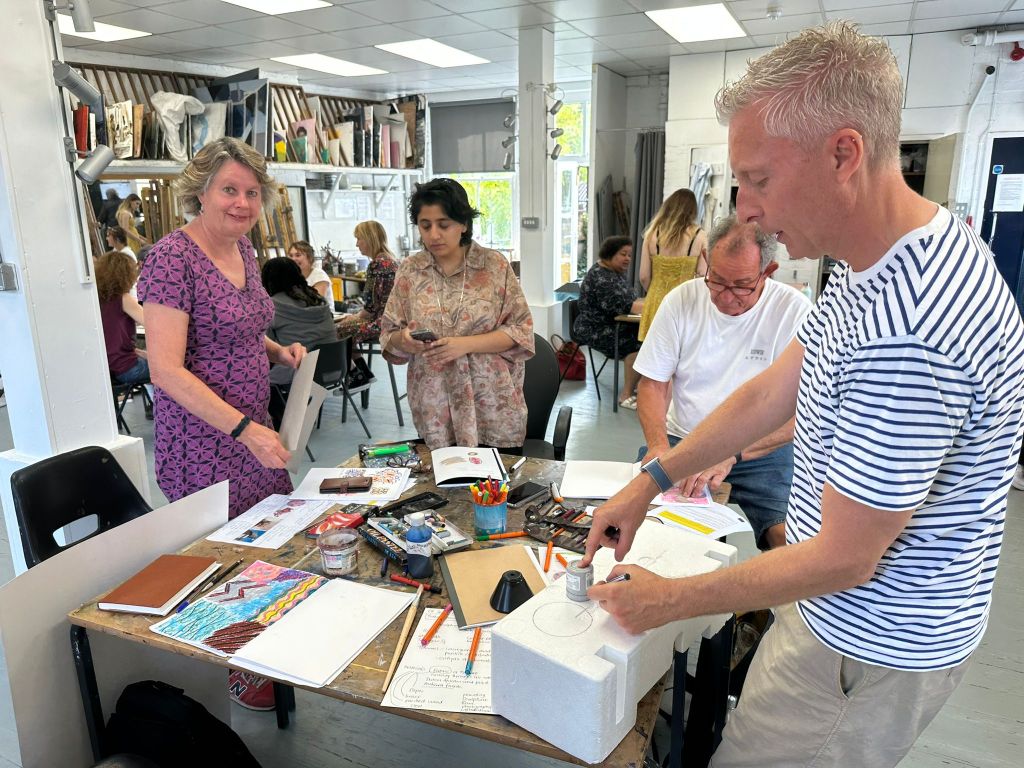
Our group of five were tasked to produce a 3d ‘chair’ inspired by Shoniabre. We had an excellent discussion, we all knew of some of Shonibare’s work, one of the group had expert knowledge of the work and was helpful in guiding the discussion. It was easily decided to fabricate a chair and ‘upholster’ it in our own versions of west African prints. We made our designs in different ways, with a good idea of the styles and palate of West African prints. Sana and I went ‘dumpster diving’ and found some perfect boxes in a nearby bin.
The discussion of the chair, its appearance and message was very clear. My experience of West Africa I made the points: traditionally in the country people sat on the ground, tribal chiefs had a stools as symbols of authority. These days the most common chair in Nigeria is a plastic garden chair. In many of Shonibare’s work the characters are off balance, or uneasily balanced on chairs or single wheels. We chose to have the chair tilted backwards in an optimistic but dangerous way, a chair not easy to sit on, but not a chief‘s stool
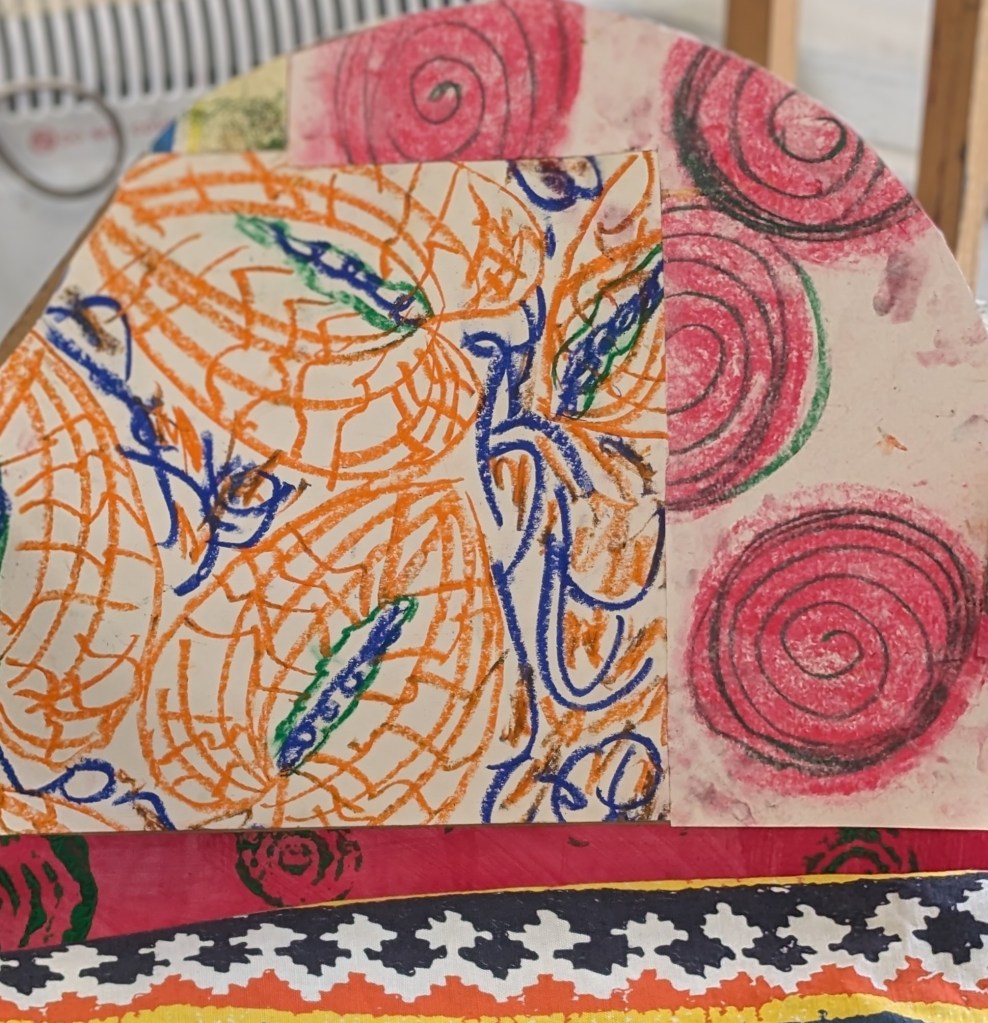
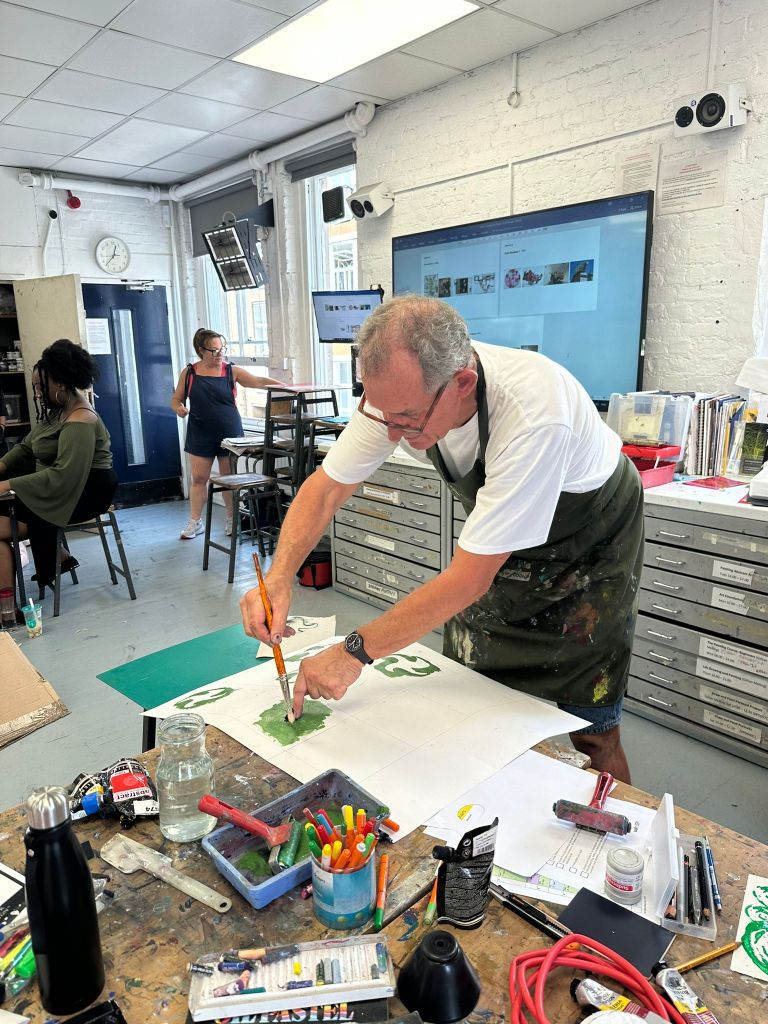
We worked on our fabric designs, one was painted, two drawn with wax crayon, one printed with a clever use of a bit of polystyrene we got from the bin, I tried stencilling in a repeat pattern
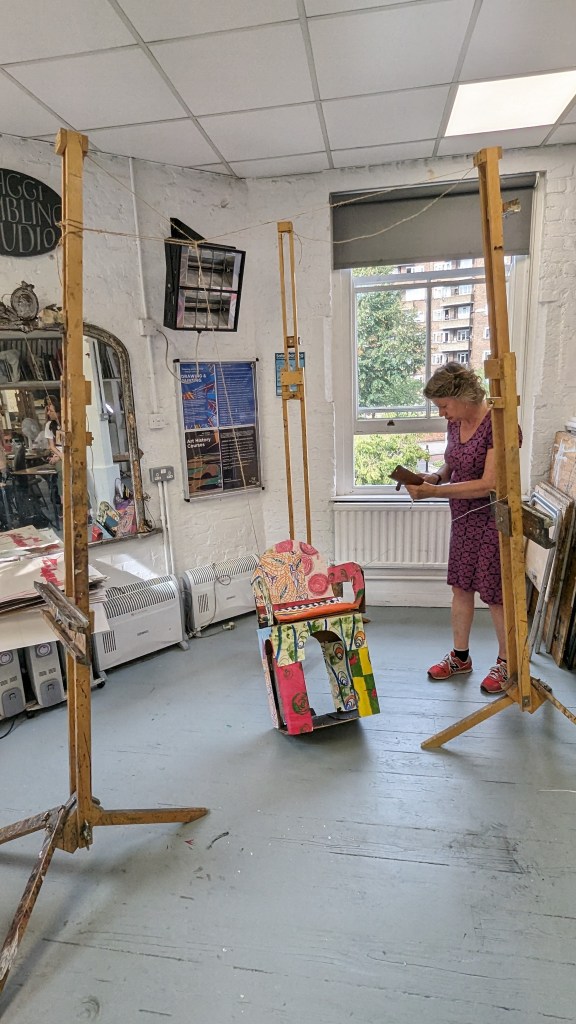
Fortunately, the boxes were perfect to fabricate a chair, one for the legs, the otherfor the curved back and legs in the form of a garden chair, We divided our tasks, I was keen to fabricate the chair with Sana, the other three started on the upholstery and erecting three easels to suspend the work.
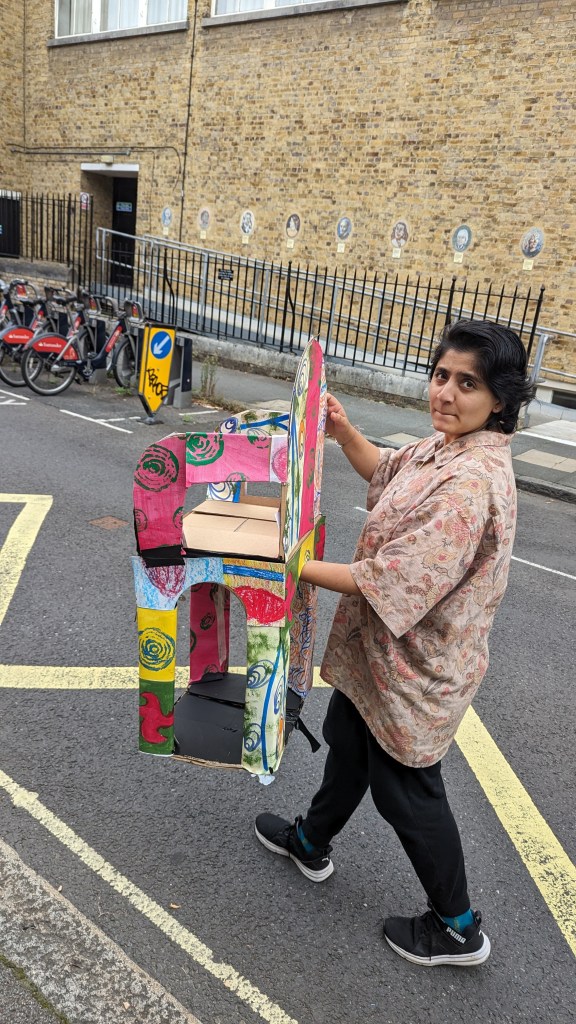
We finished in the time given and produced a very attractive chair, colourful, poignent and with some significance in its ‘off balance’ state.
It was with some sadness that we took it back to the bin.
We learnt many lessons in group endeavour, I believe we all felt significantly invested in the project without jealously or feeling the pressure of our peers, it was a true collaborative process The fabric, designing and making was very creative and we all learnt from each other’s ides, I finished off my time-consuming stencil with polystyrene printing.
I found that designing and fabricating the chair was
